Sponsored by: Cricut. All opinions are honest and my own. This post also contains affiliate links. If you purchase via these links, I may receive a small commission at no additional cost to you.
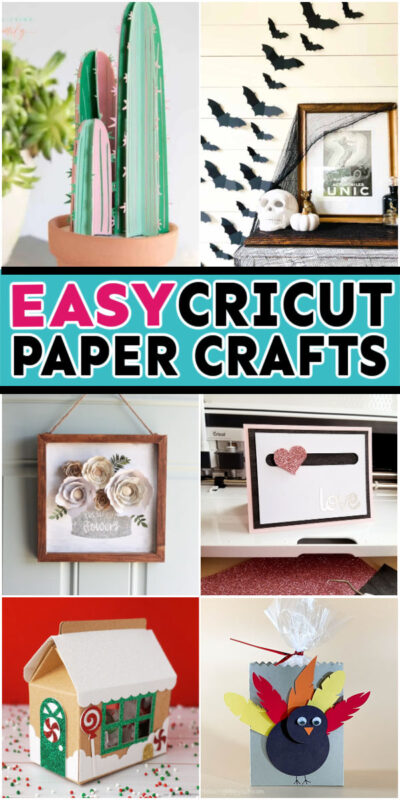
And the answer is a resounding no – you don’t have to buy vinyl or any other materials. There are a TON of Cricut paper projects you can make, and they’re often the easiest and cutest of all! I think sometimes people just think because they have an amazing cutting machine that they have to get complicated but I use my Cricut machines (I have all of them – Cricut Joy, Cricut Explore Air 2, Cricut Maker, and Cricut Maker 3) all the time to make paper projects like my mom and me gift box and my outer space party decorations (more than just cupcake toppers)! Honestly, I don’t post about them a lot of the times because they’re so simple, but I use one of my machines at least weekly to make a fun Cricut paper project! And when I say Cricut paper projects, I’m not just talking about paper flowers and greeting cards, although those are great, I’m talking all sorts of cool Cricut crafts. Make sure to check the huge list toward the bottom of this post of a TON of Cricut paper crafts you can make in minutes! It’s a great place to start whether you’re breaking in a new Cricut machine with your first project or just want something new to try out! There are easy Cricut projects and some more challenging Cricut project ideas – something for everyone! And if you’re just trying out a new machine, let me tell you – these ghost boo tags are a great place to start because they’re almost impossible to mess up!
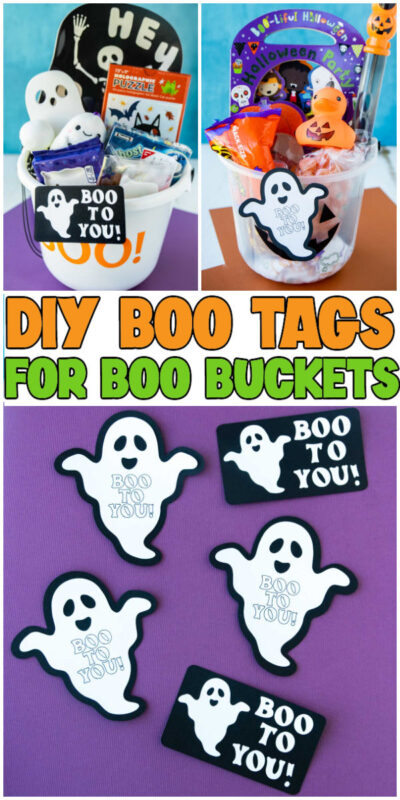
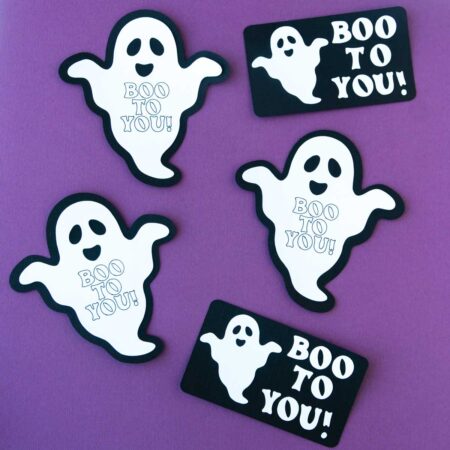
DIY Boo Bucket Tags
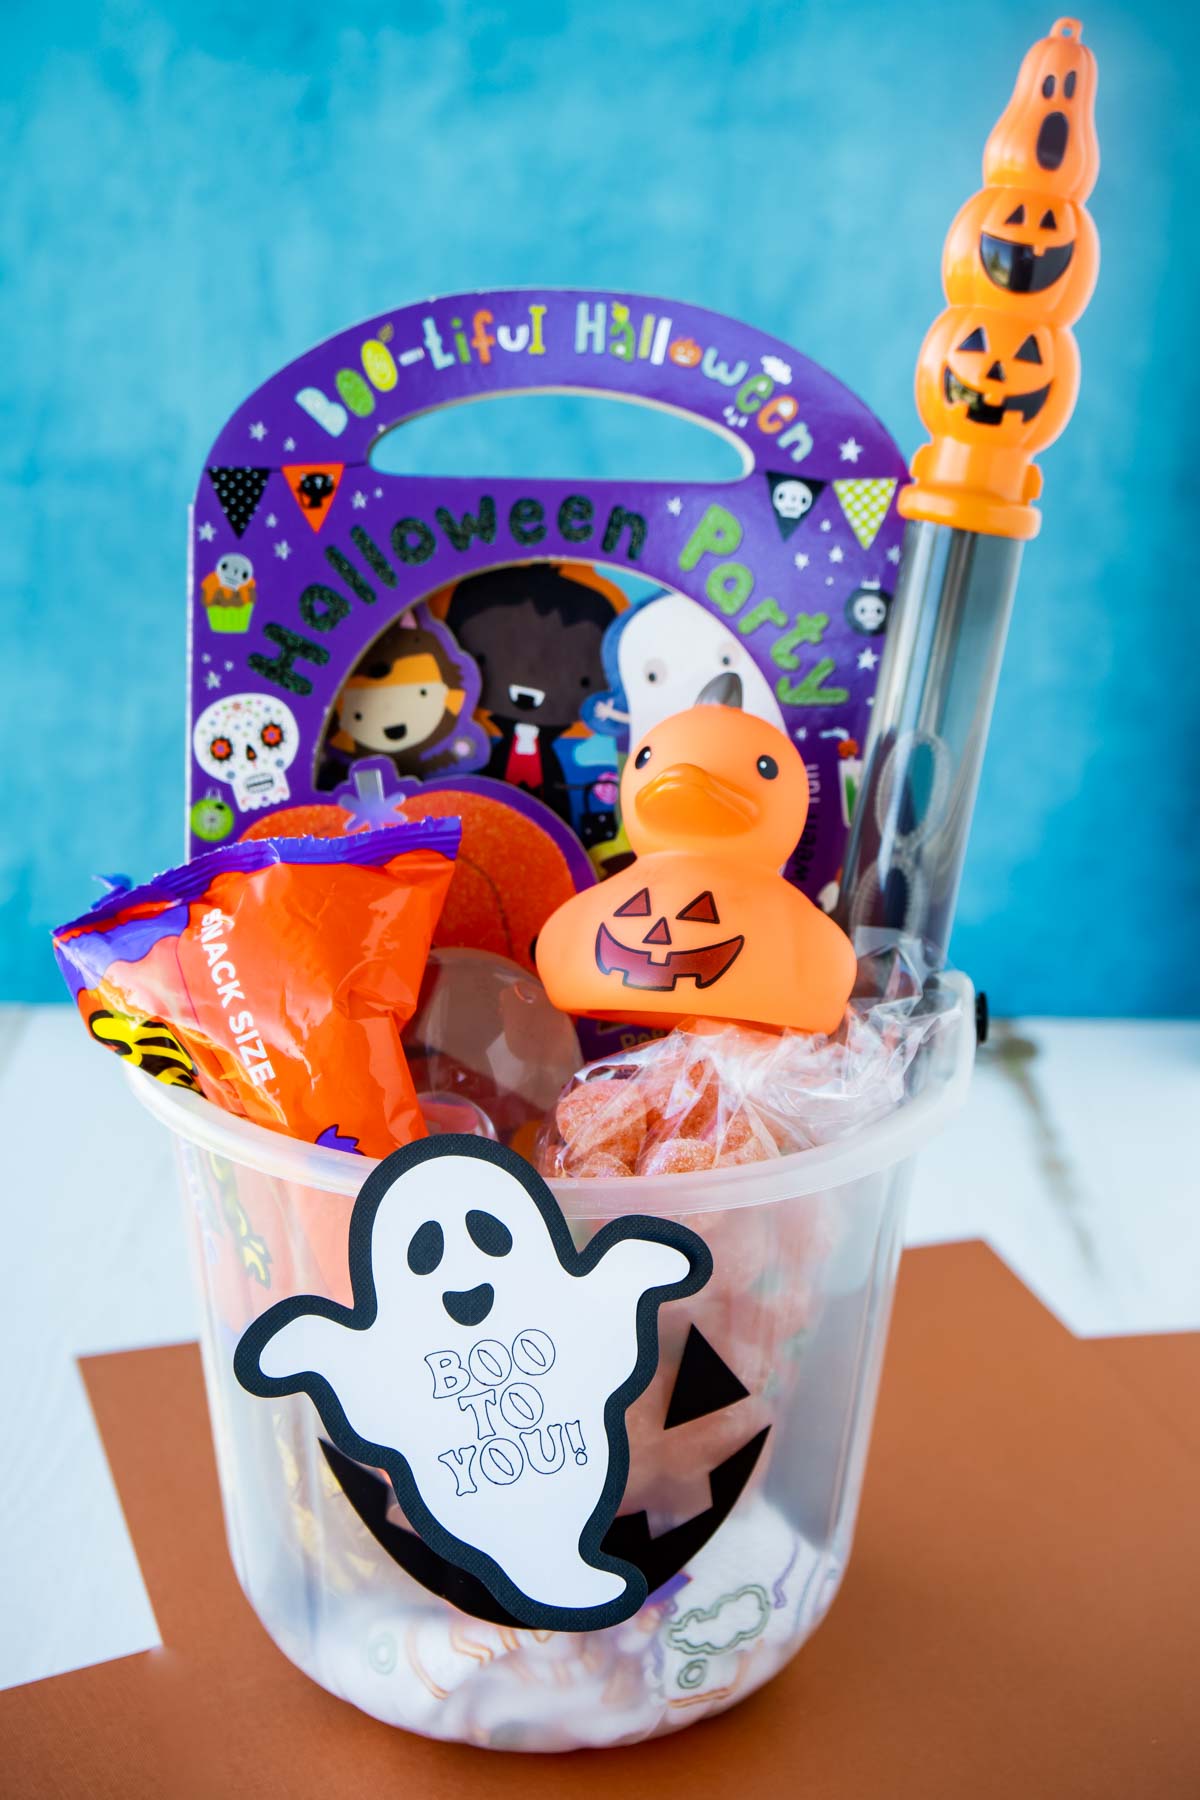
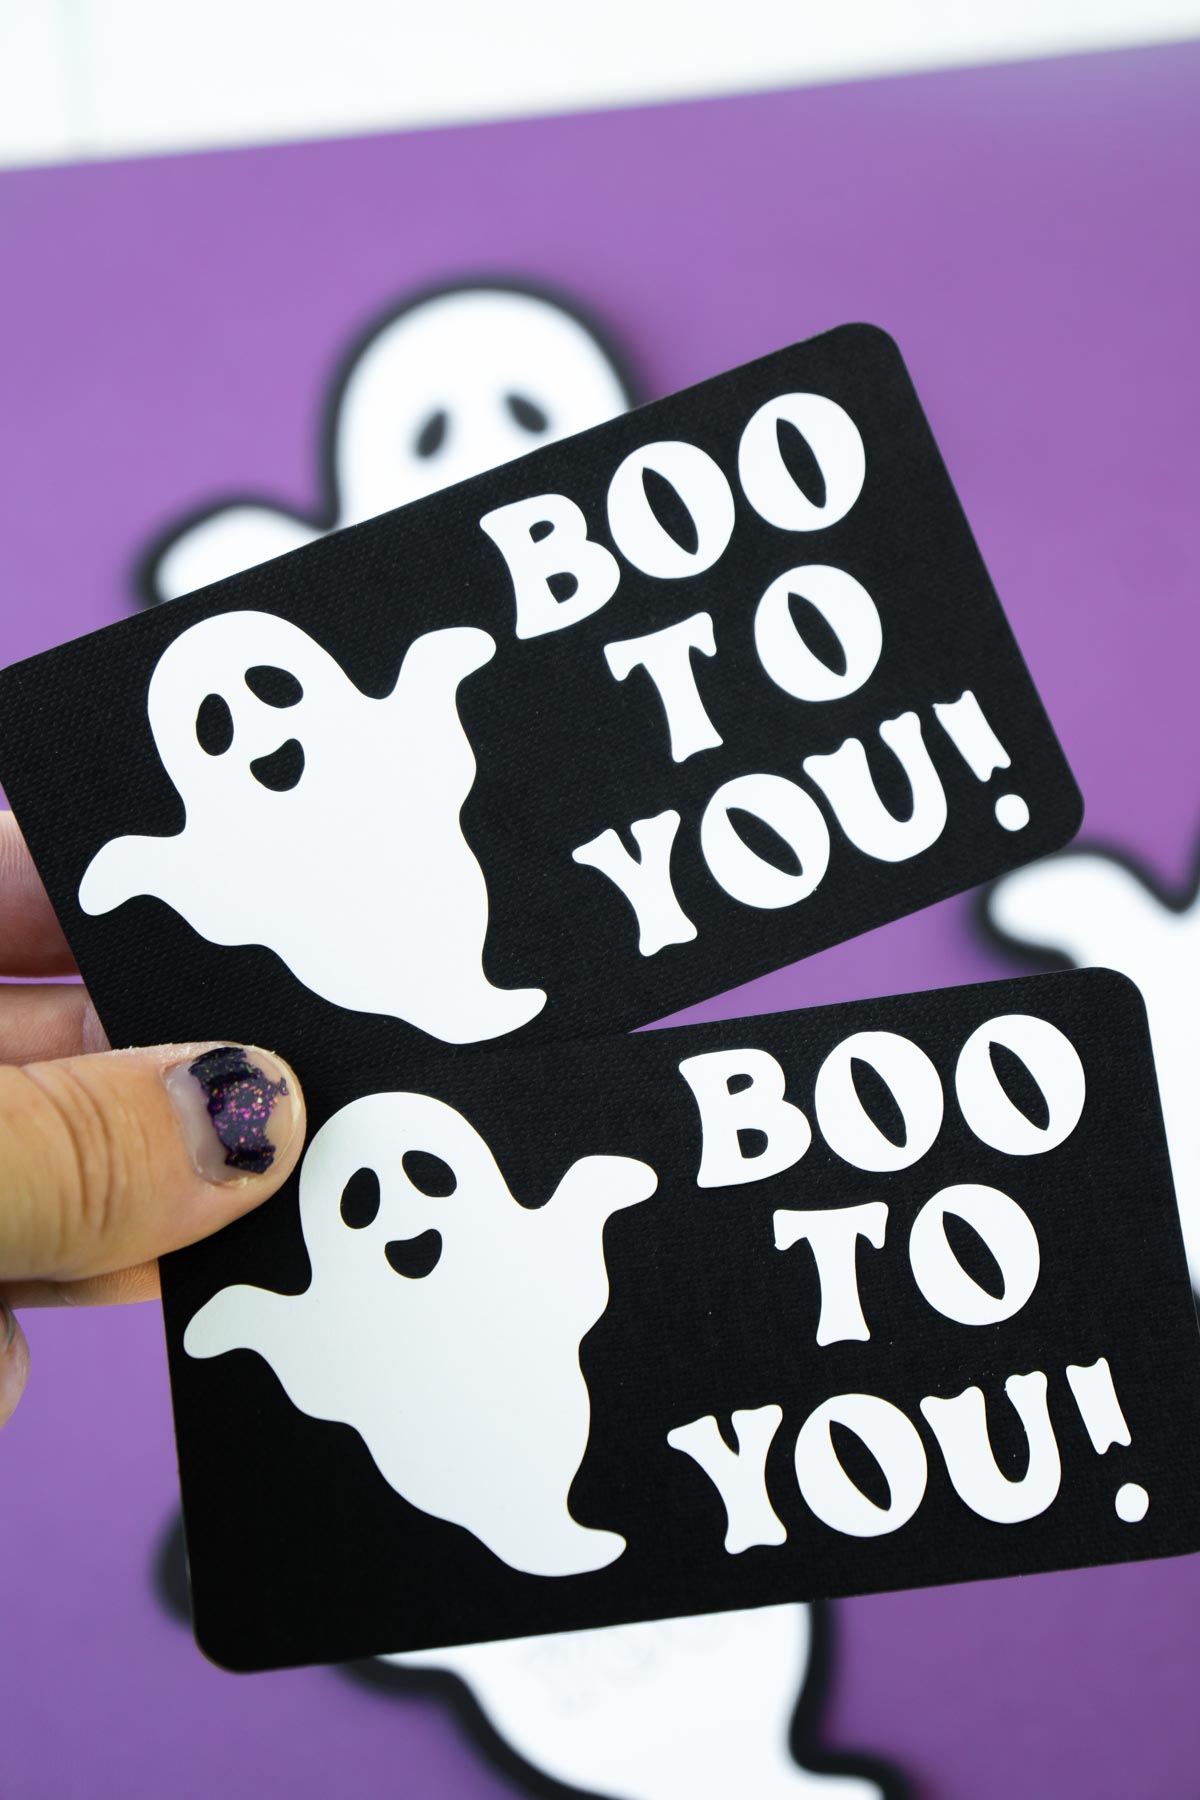
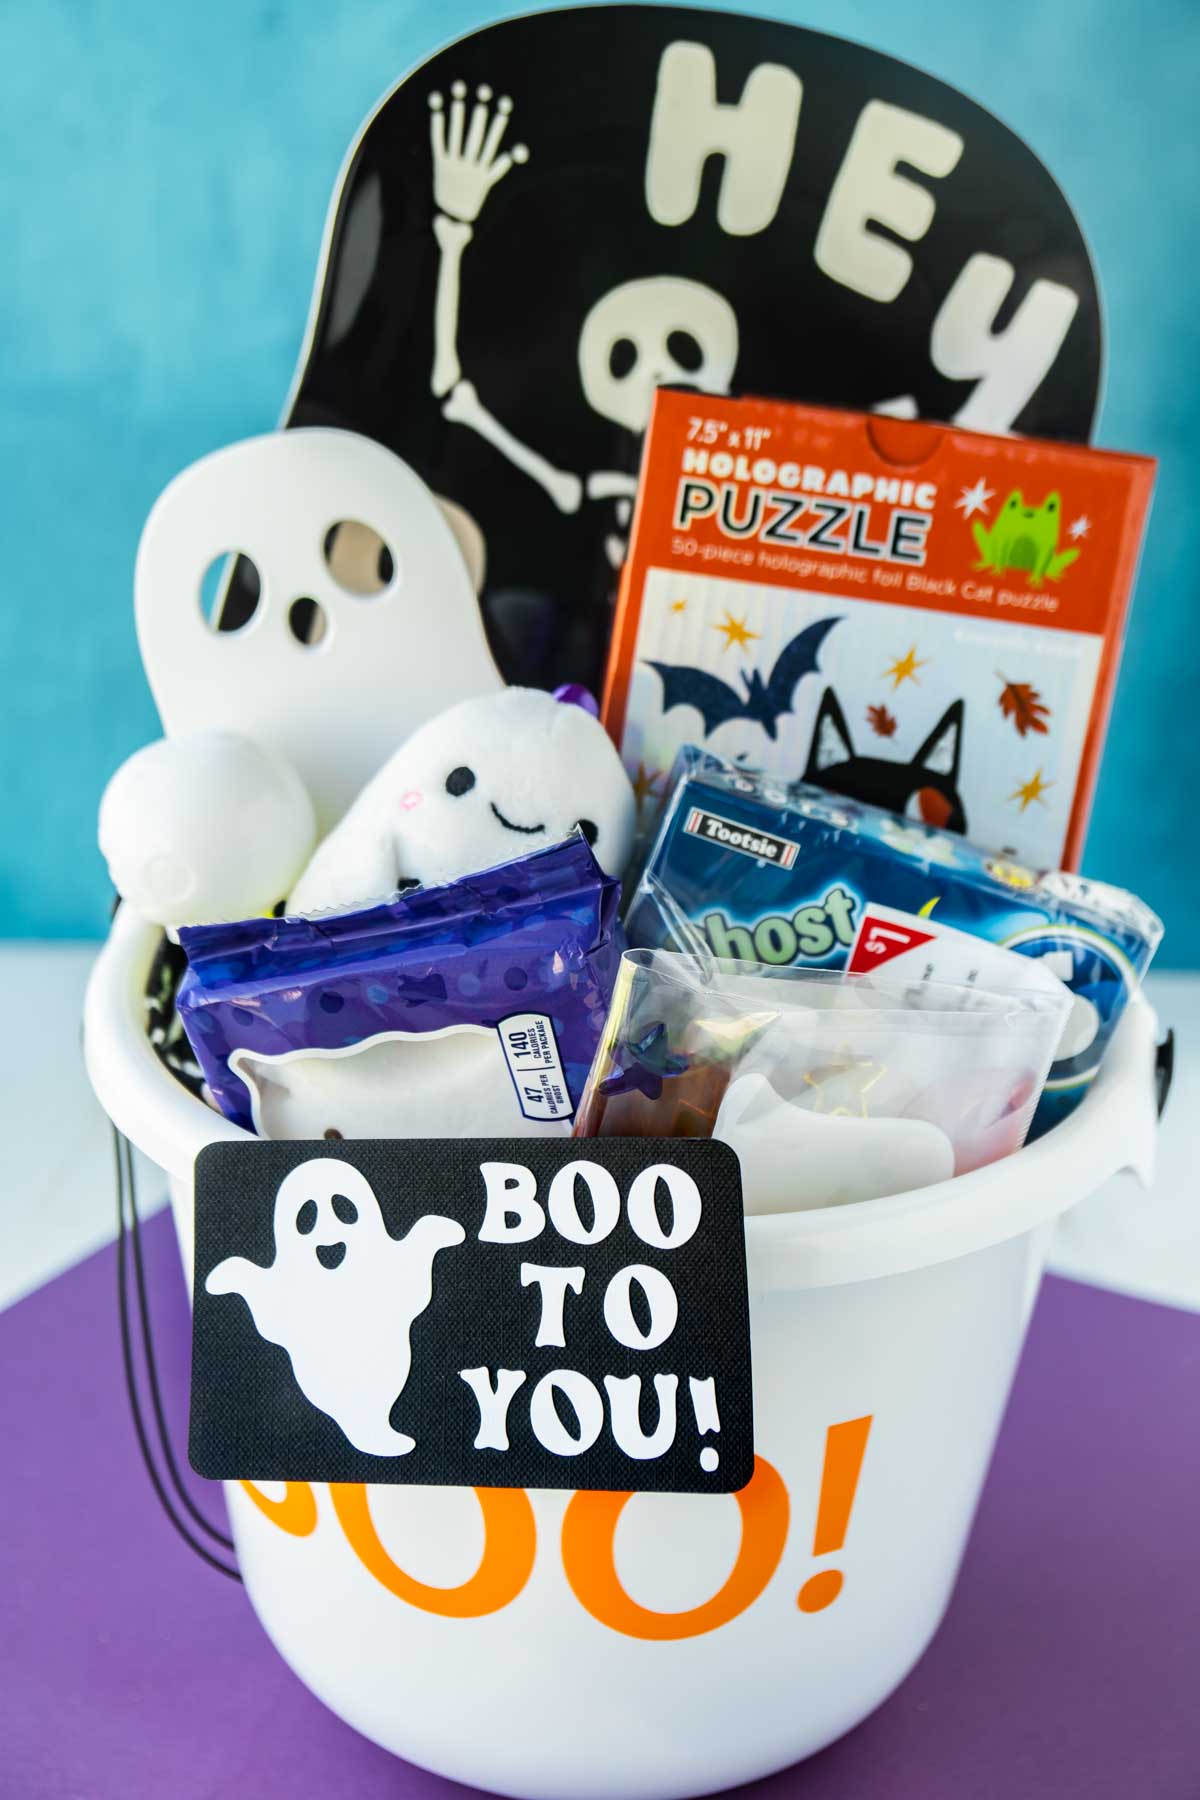
I recently got a Cricut Maker 3 and thought it would be fun to try out a simple Halloween paper project that also incorporates Cricut’s newest Smart Cardstock that’s designed to work with the Cricut Maker 3 without a mat. And it’s amazing. I’m obsessed. I may never use glue again. It’s now one of my favorite Cricut materials. Anyway, I’m going to show you how simple it was to make these ghostly boo tags for my boys’ boo buckets this year! I just how they just add a fun personalized element to them even though everything else is store-bought! It makes me feel somewhat crafty during a year I just haven’t had much time to craft! You might even say I’m a paper crafter after this project! Or maybe not quite.
Why You’ll Love This Craft
Free template – I’ve created a free Cricut Design Space template that you can open here to make your own ghosts., making it one of those easy projects that’ll just take you a few minutes! Customizable – I’ve walked you through step by step how I designed these ghost tags but more importantly, the step by step tutorial walks you through how to make this simple Cricut paper craft if you want to recreate it with any other shape or design! Personalized – these are a great way to personalize a gift and add your own little touch to it! I have terrible handwriting but you could even just scrap the Boo To You writing and write in your own message as well!
Supplies
Supply Notes
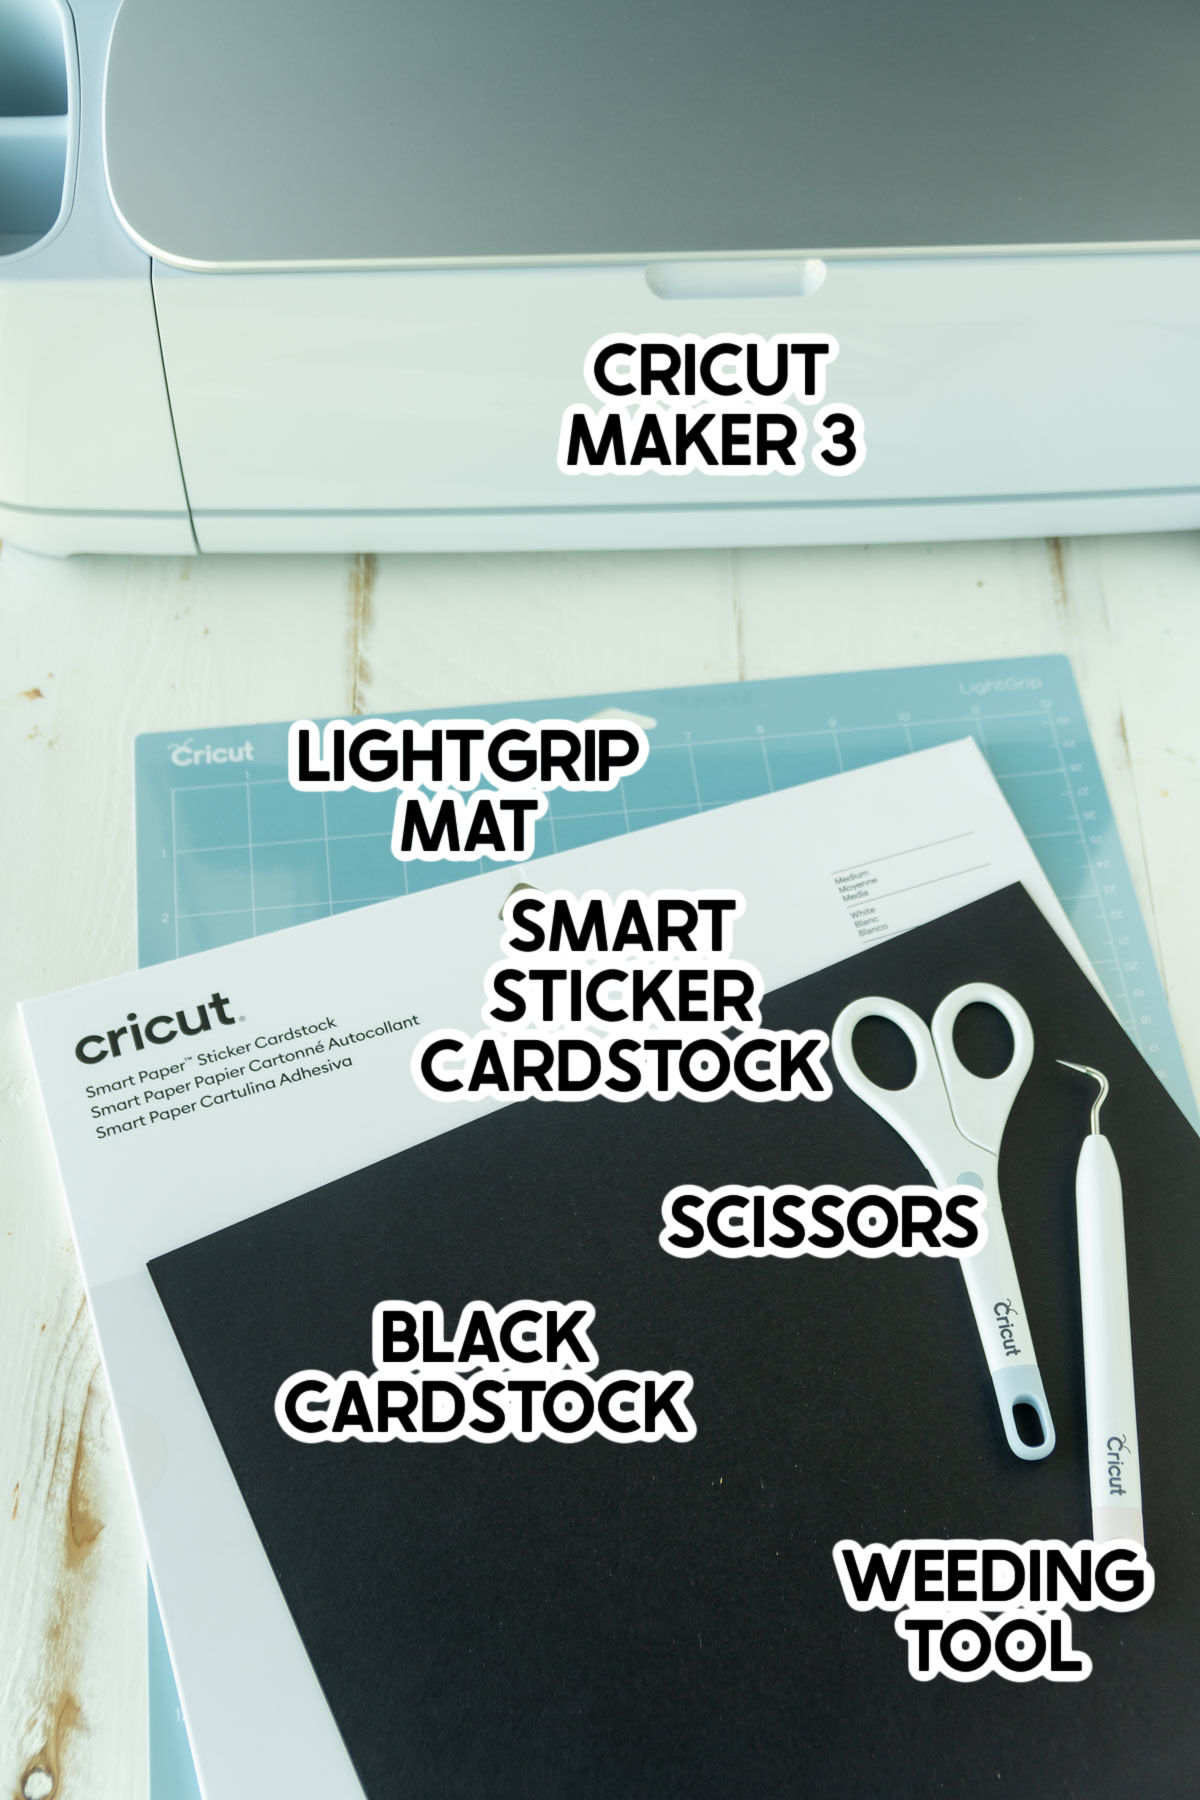
Cricut Maker 3 – I used my Cricut Maker 3 so that I could use try out the Smart Paper Sticker Cardstock but you could totally do this same exact project with any Cricut machine and just white and black cardstock and glue the white onto the black instead of using the sticker cardstock. Smart Sticker Cardstock – this stuff is just plain awesome. It’s cardstock with an adhesive backing and perfect for cards, gift tags, or anything where you’re going to be adhering pieces of paper to something else. Oh and did I mention it’s one of their new Smart materials so you can just load it right into the Cricut Maker 3 without a mat. So easy! It’s available in a variety of colors, and I already stocked up!Cricut Pen – I used a fine point black pen but something a little thicker would likely work too, just don’t do the calligraphy pen with these! Cricut LightGrip Mat – I like the LightGrip cutting mat for Cricut paper projects because the material is fairly lightweight and you want to be able to pull it off easily. You could also use a StandardGrip Mat if that’s all you have but the LightGrip is my personal preference. Weeding Tool – this is one of my must-have Cricut Maker accessories (really for any Cricut machine) and always helpful to get out those little pieces of ghost eyes and letters! Black Cardstock – I love how the Cricut cardstock comes in 12×12 sheets that fit perfectly into my Cricut machine. They also come in a variety of colors and bundles like this bundle I got that included black, purple, green, orange, and yellow. Ghost Tag Design Space File – if you want to make these exact ghost tags, you can grab the file to use here! Cricut Fine Point Blade – this comes with all of the machines that I know of so you’ll likely have this, but just make sure you have it out for this project!
How to make These Ghost Tags
Okay so I’m going to show you how to make these ghost tags but along the way, I’m also going to show you how to make your own Cricut paper projects like these if you want to use the idea but make it your own!
1 – Make Your Design in Cricut Design Space
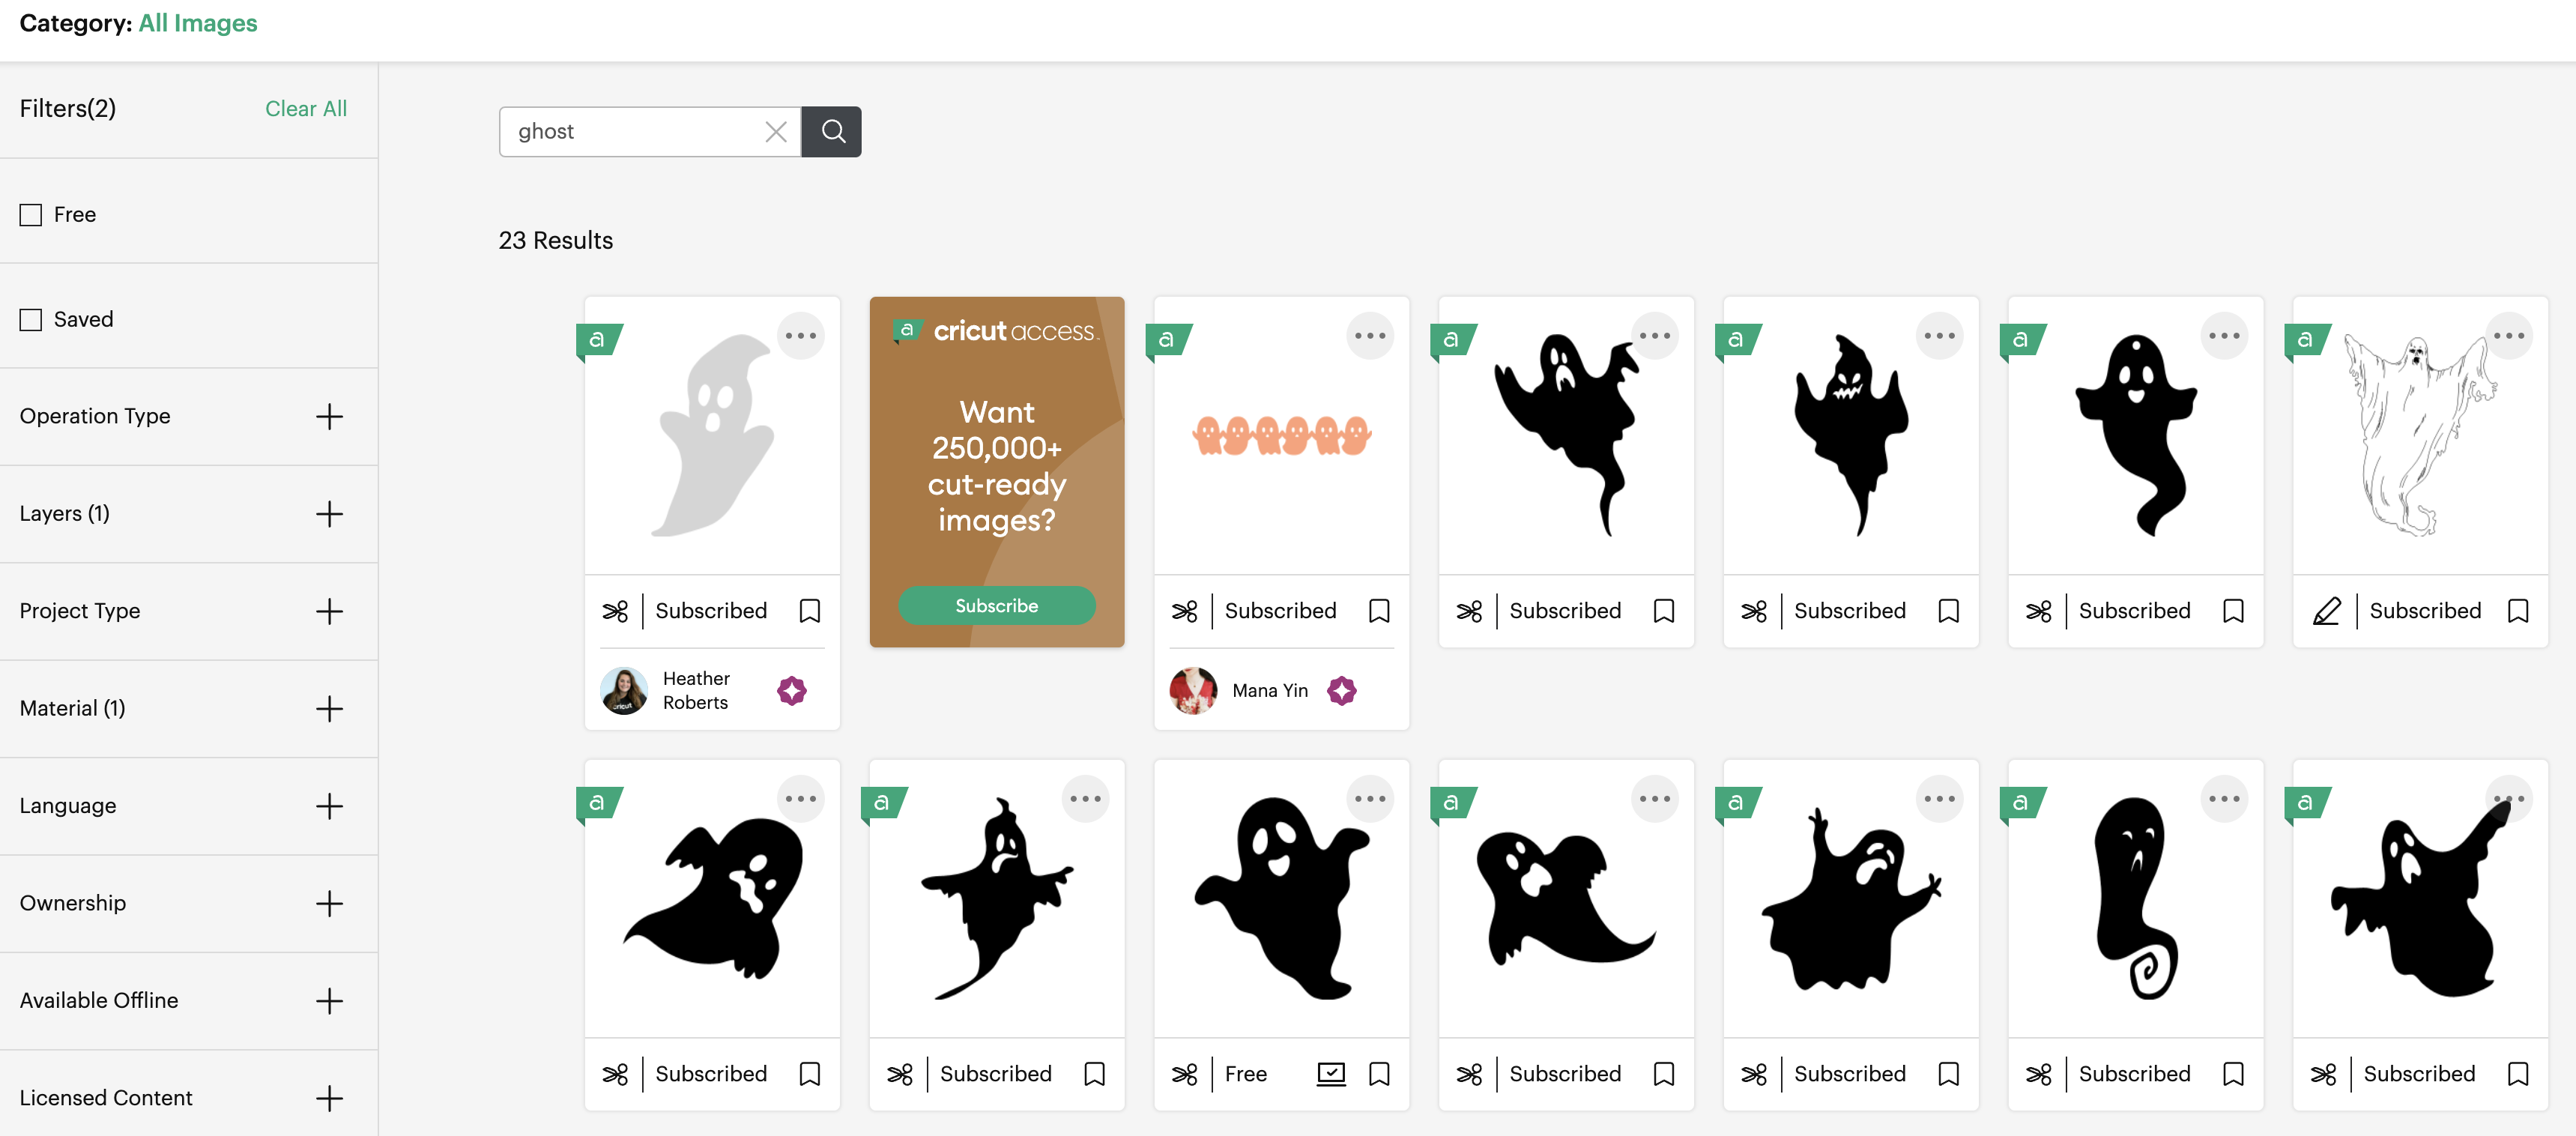
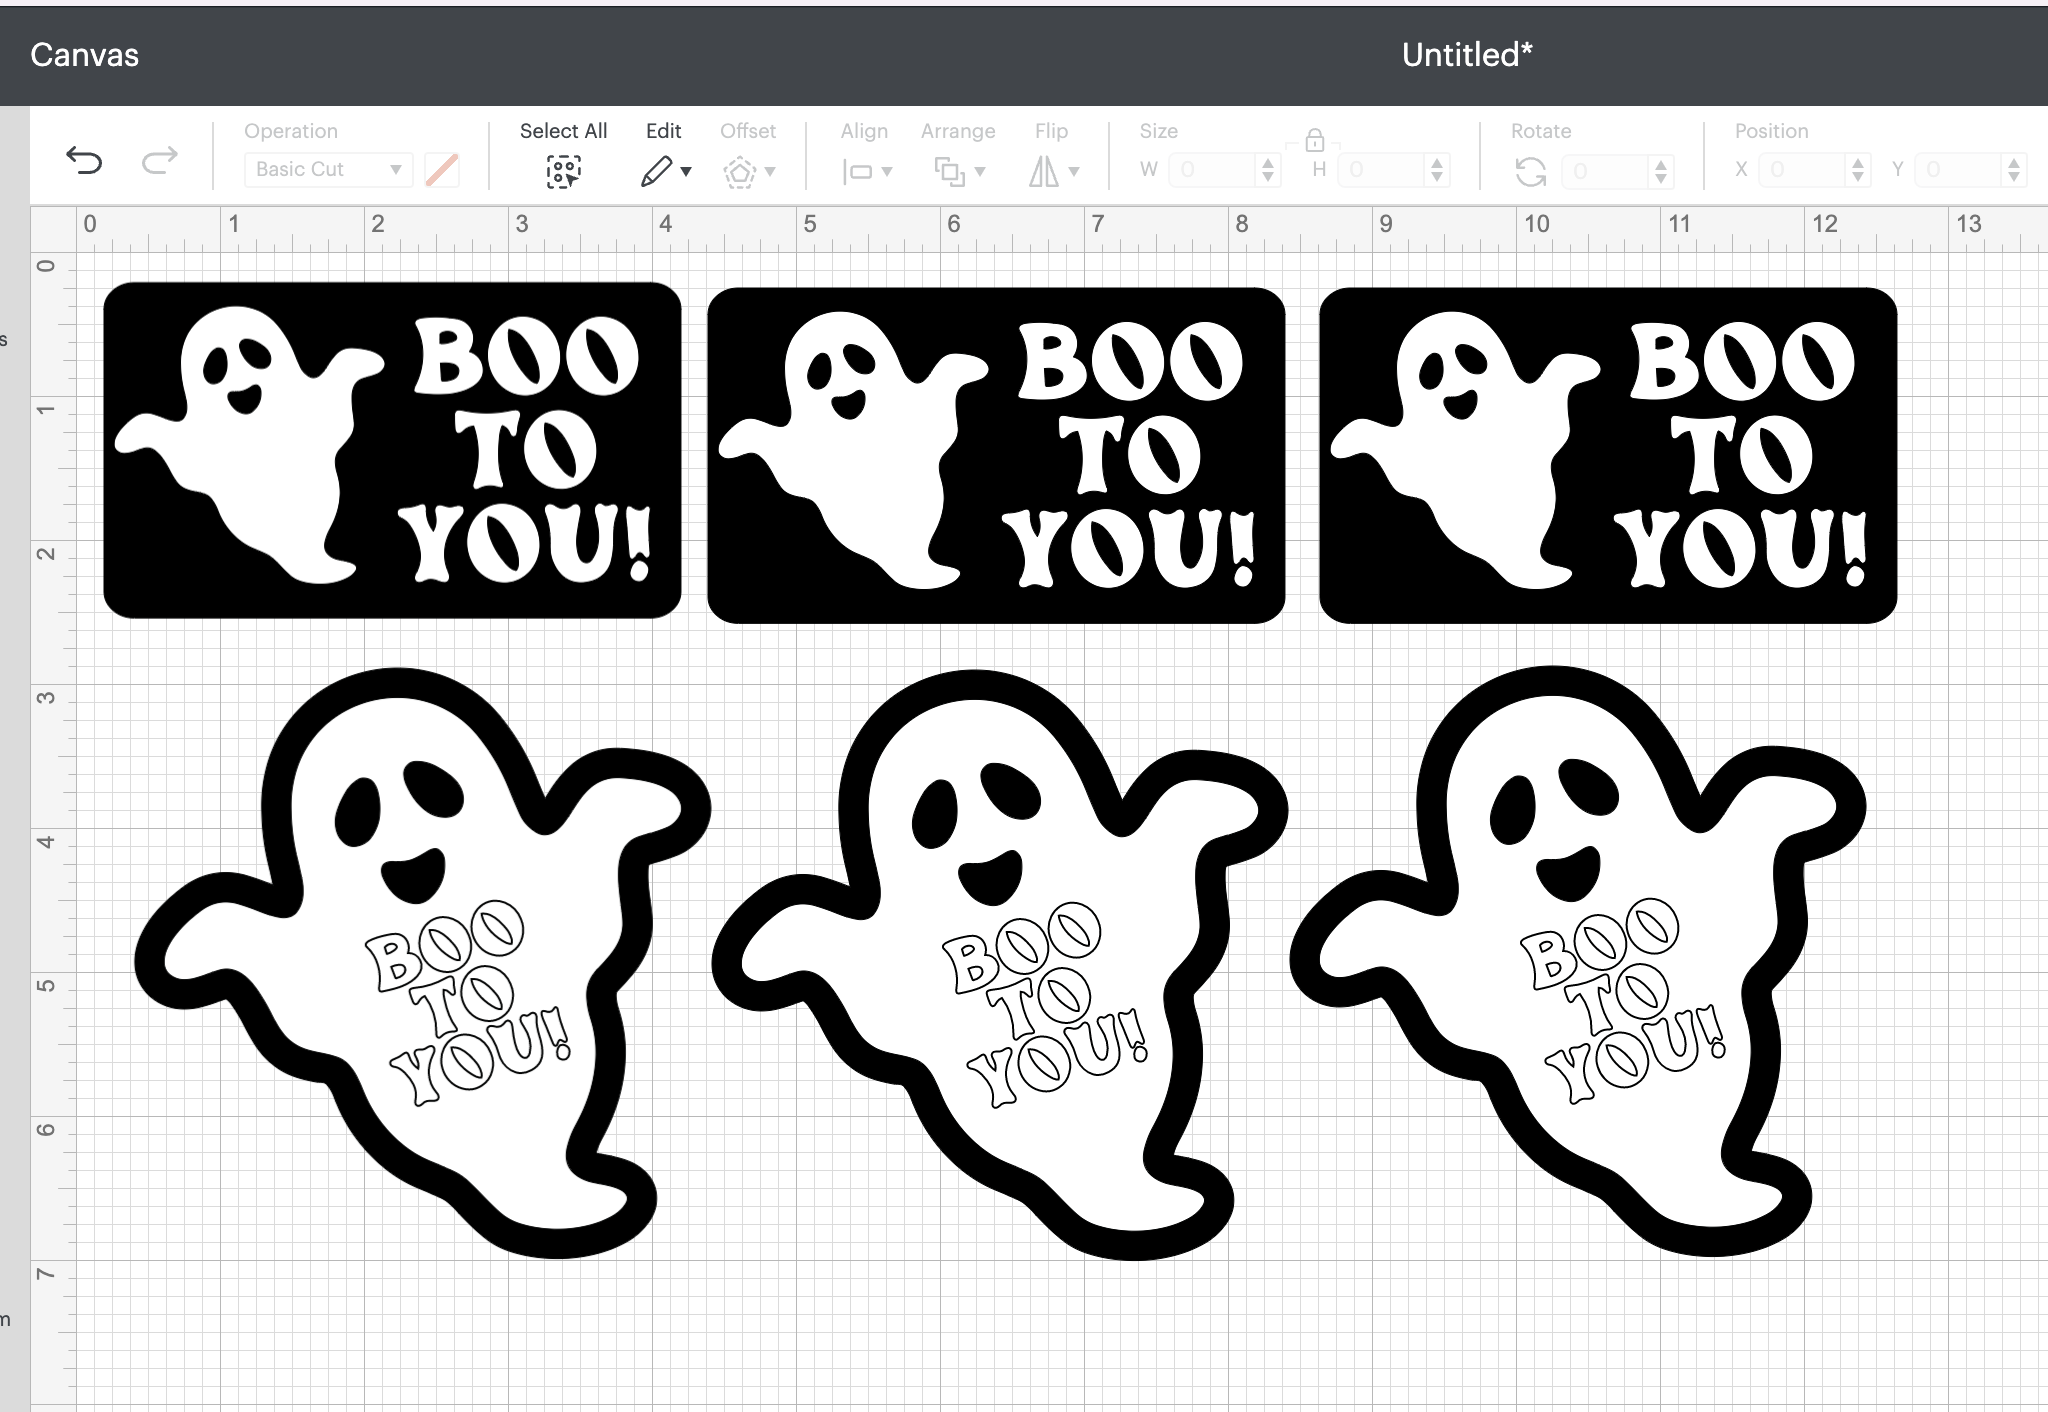
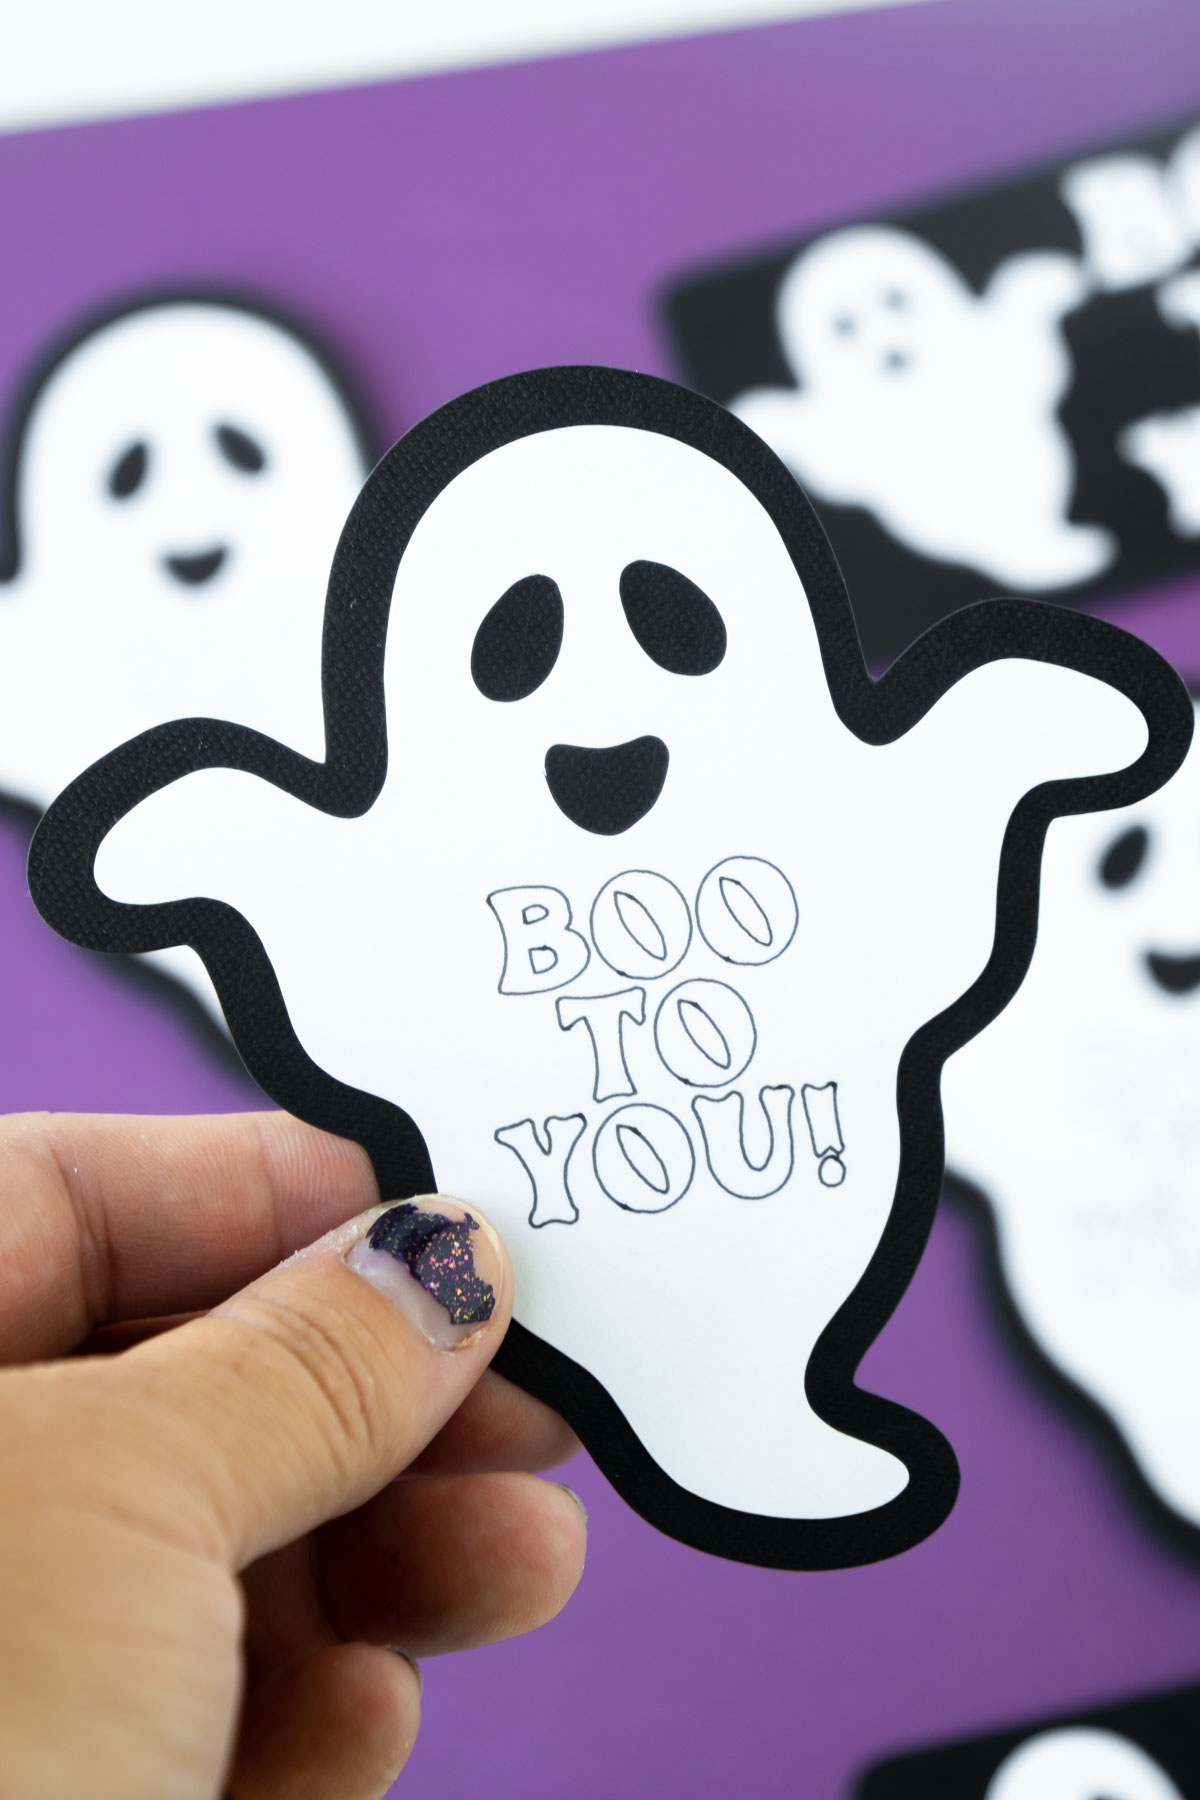
To create the ghost tags, I opened Cricut Design Space and selected new project. I knew I wanted to create a ghost so I selected images, searched ghost, and found the image I wanted to use. I filtered my search down to only find images that were single layer and that worked for paper crafts but that’s not always essential – just look at the image carefully before you cut! Once I found the ghost I wanted to use, I added it to my project and sized it to the size I wanted to make my tags. Once my ghost was the right size, I clicked the text option in the sidebar, found a fun ghost font, and added Boo to You! text on my ghosts. I wanted the text to be hand drawn on rather than printed, so I chose the draw option (change cut to draw) under operation. I also wanted to make sure the text was drawn on top of my ghosts so I placed the text in the middle of my ghost’s belly then selected both the ghost and the text then clicked the “attach” option in the right toolbar. Attaching these together tells Cricut Design Space that these go together and shouldn’t be separated or moved around when you send the file to cut. If I didn’t attach the two, the text would go off on its own on another sheet of paper entirely, not on my ghost. Once my ghost design was complete, I clicked on the image and selected the offset tool. I offset my ghost about .20 inches. And that’s it! That’s all I did for the first ghost shaped tag. For the other tags, I just created a shape (using the pre-created shape tools) then added a ghost and text right on top to make sure they fit correctly.
2 – Cut the Ghost Tags
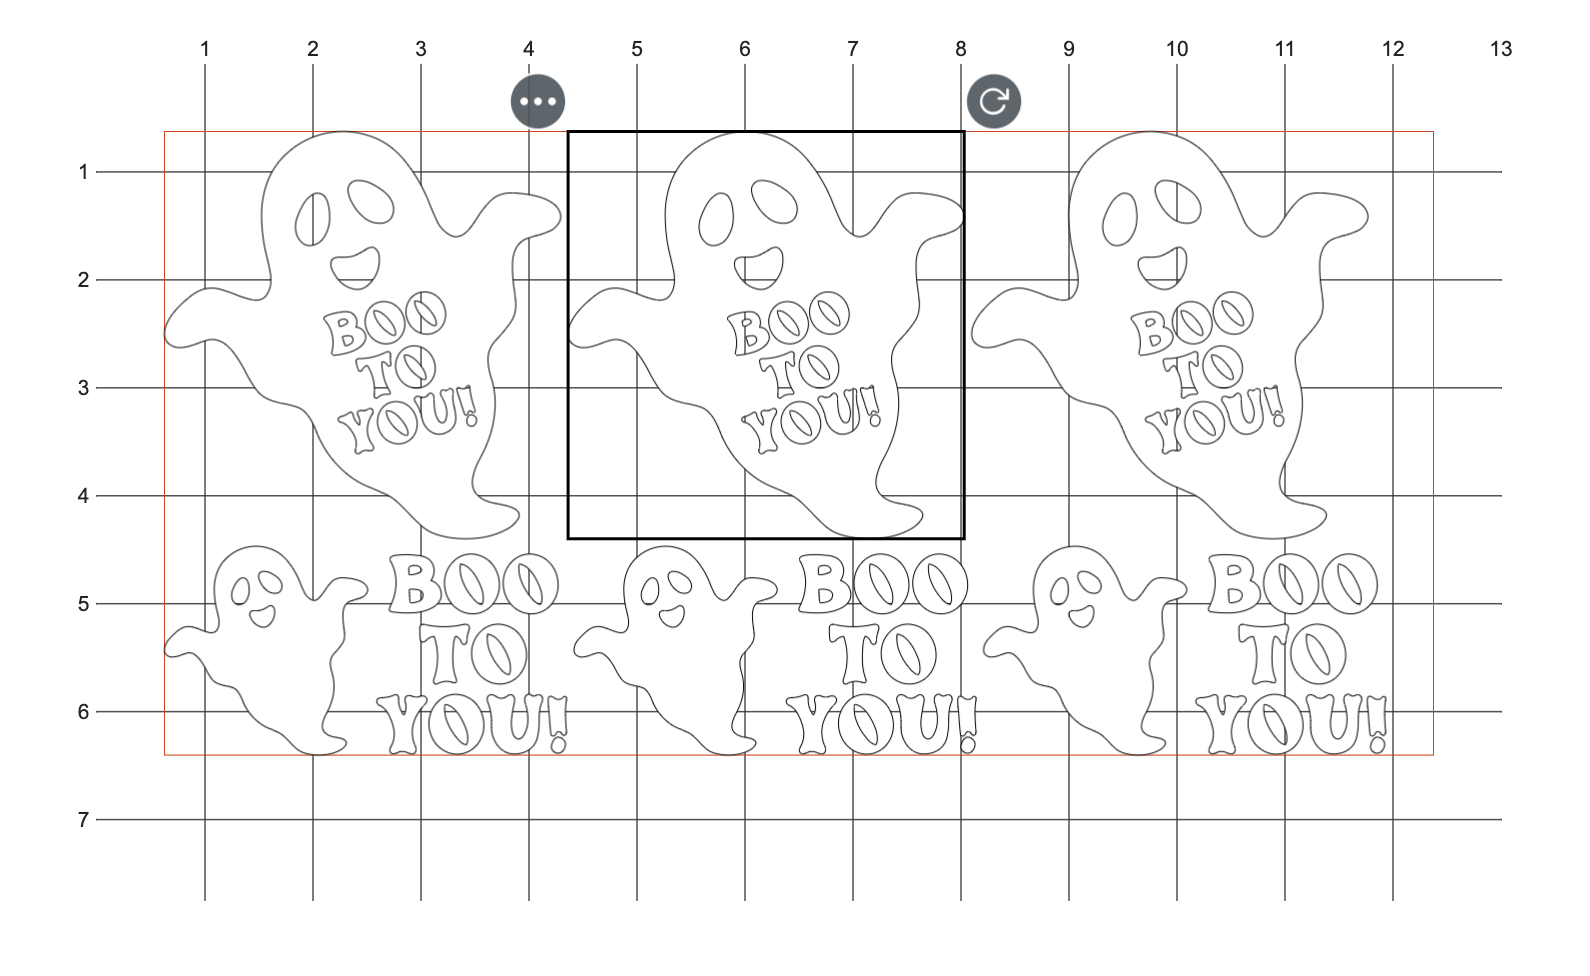
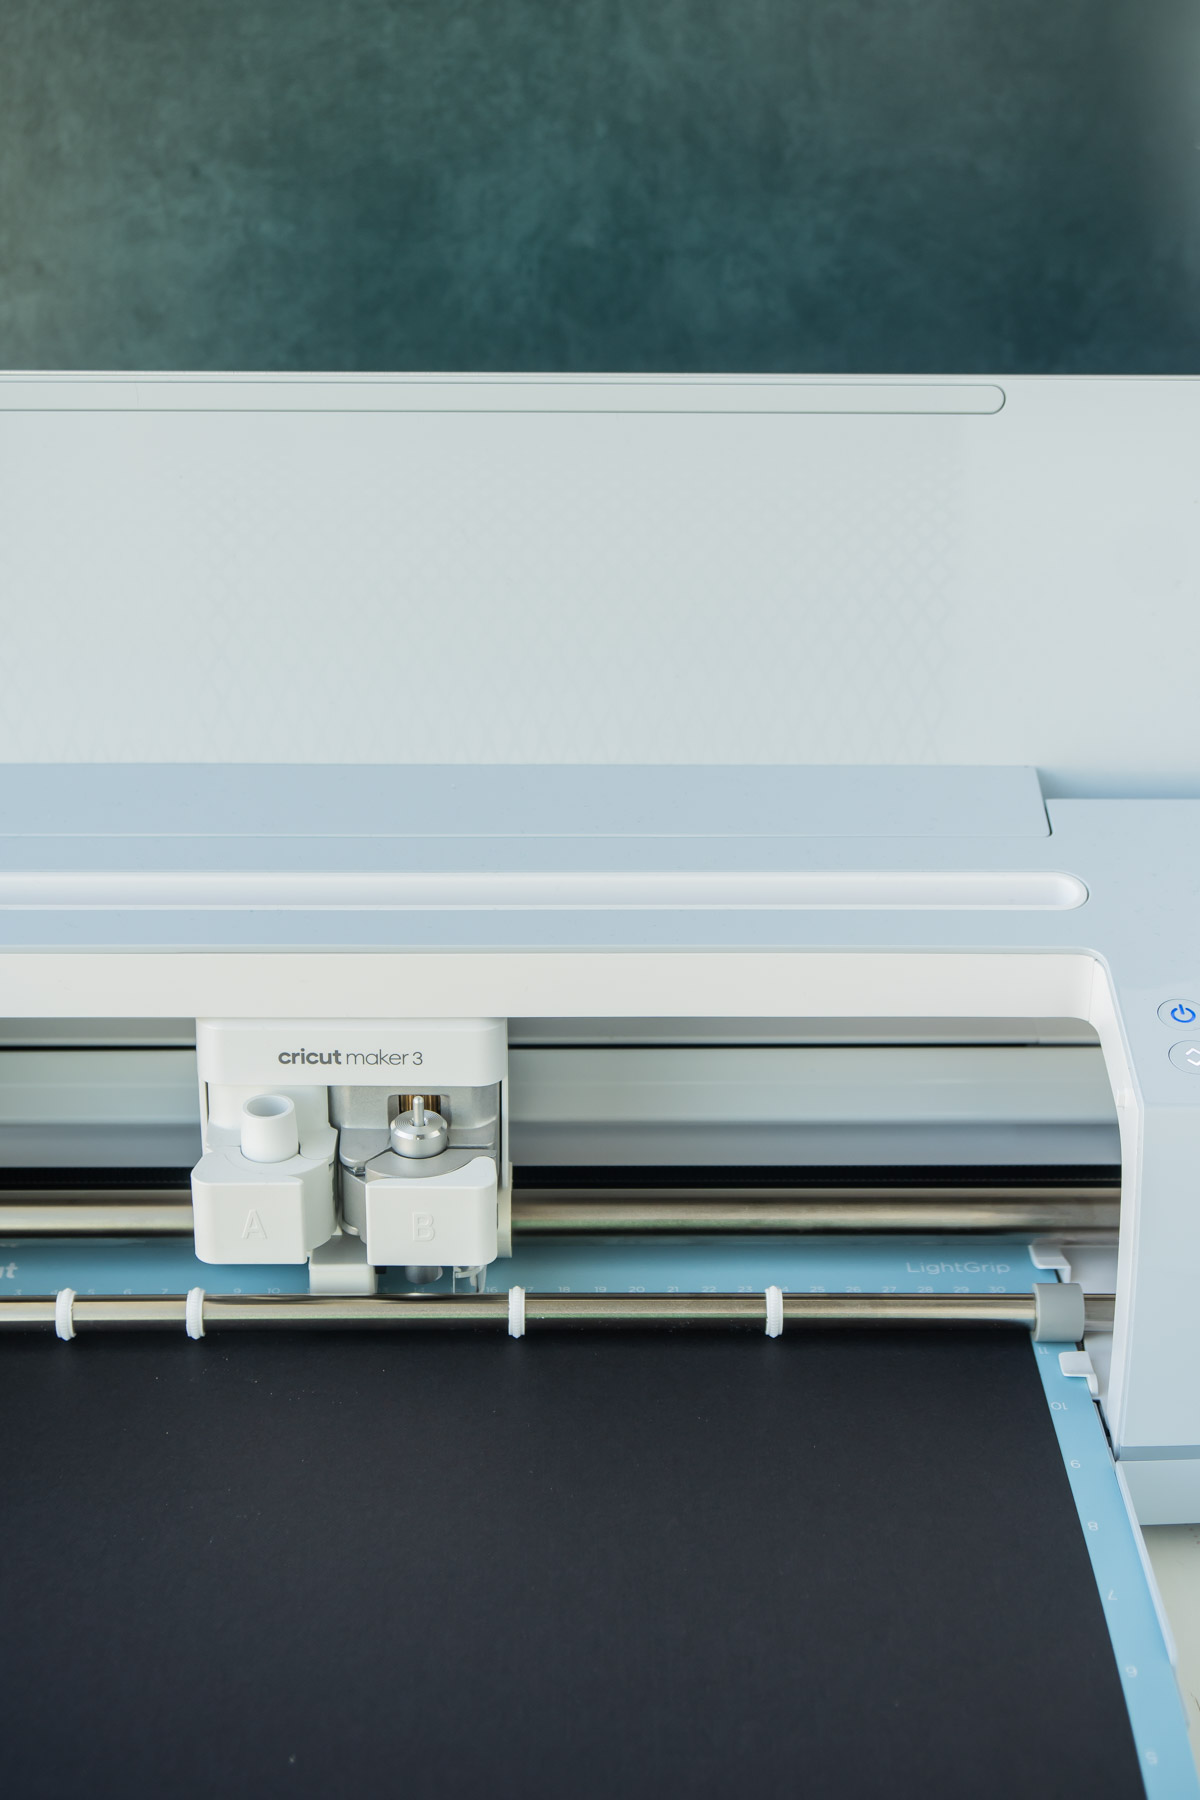
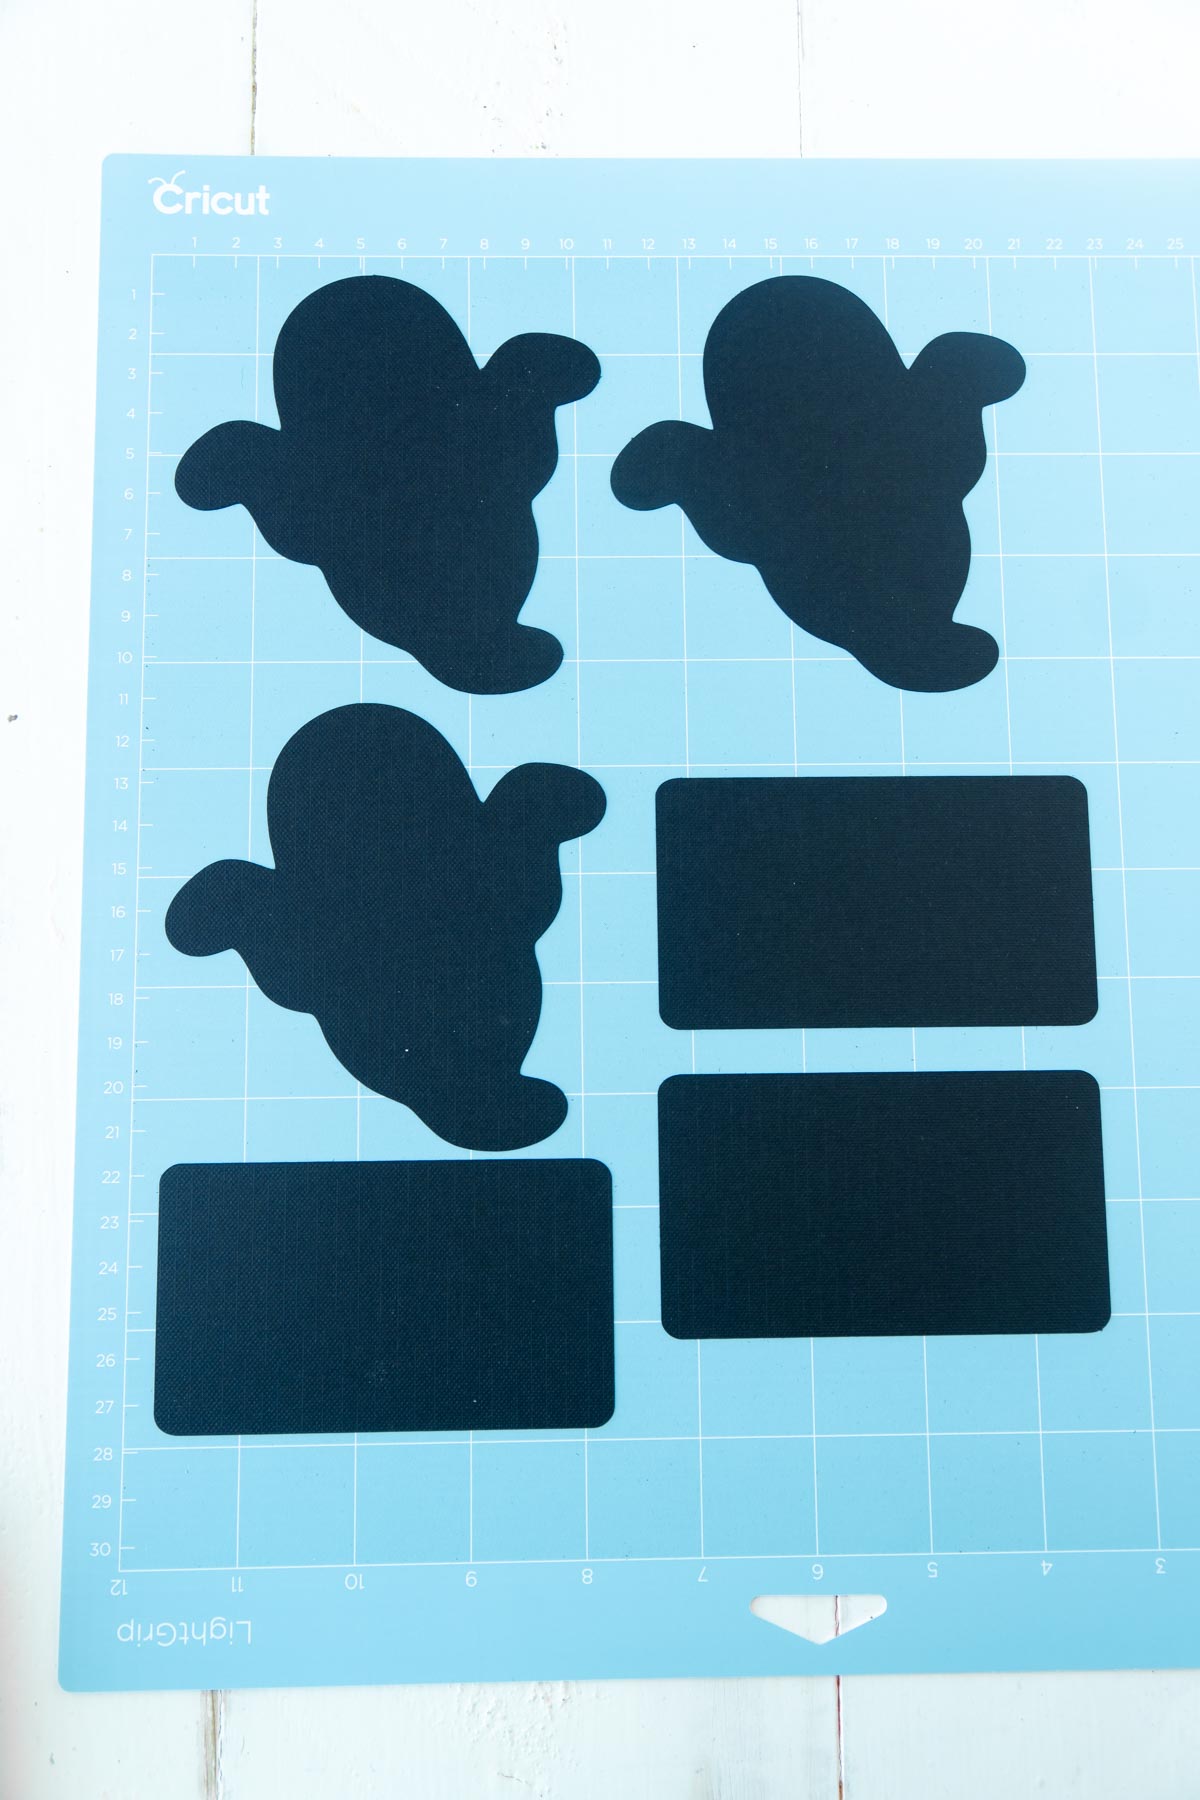
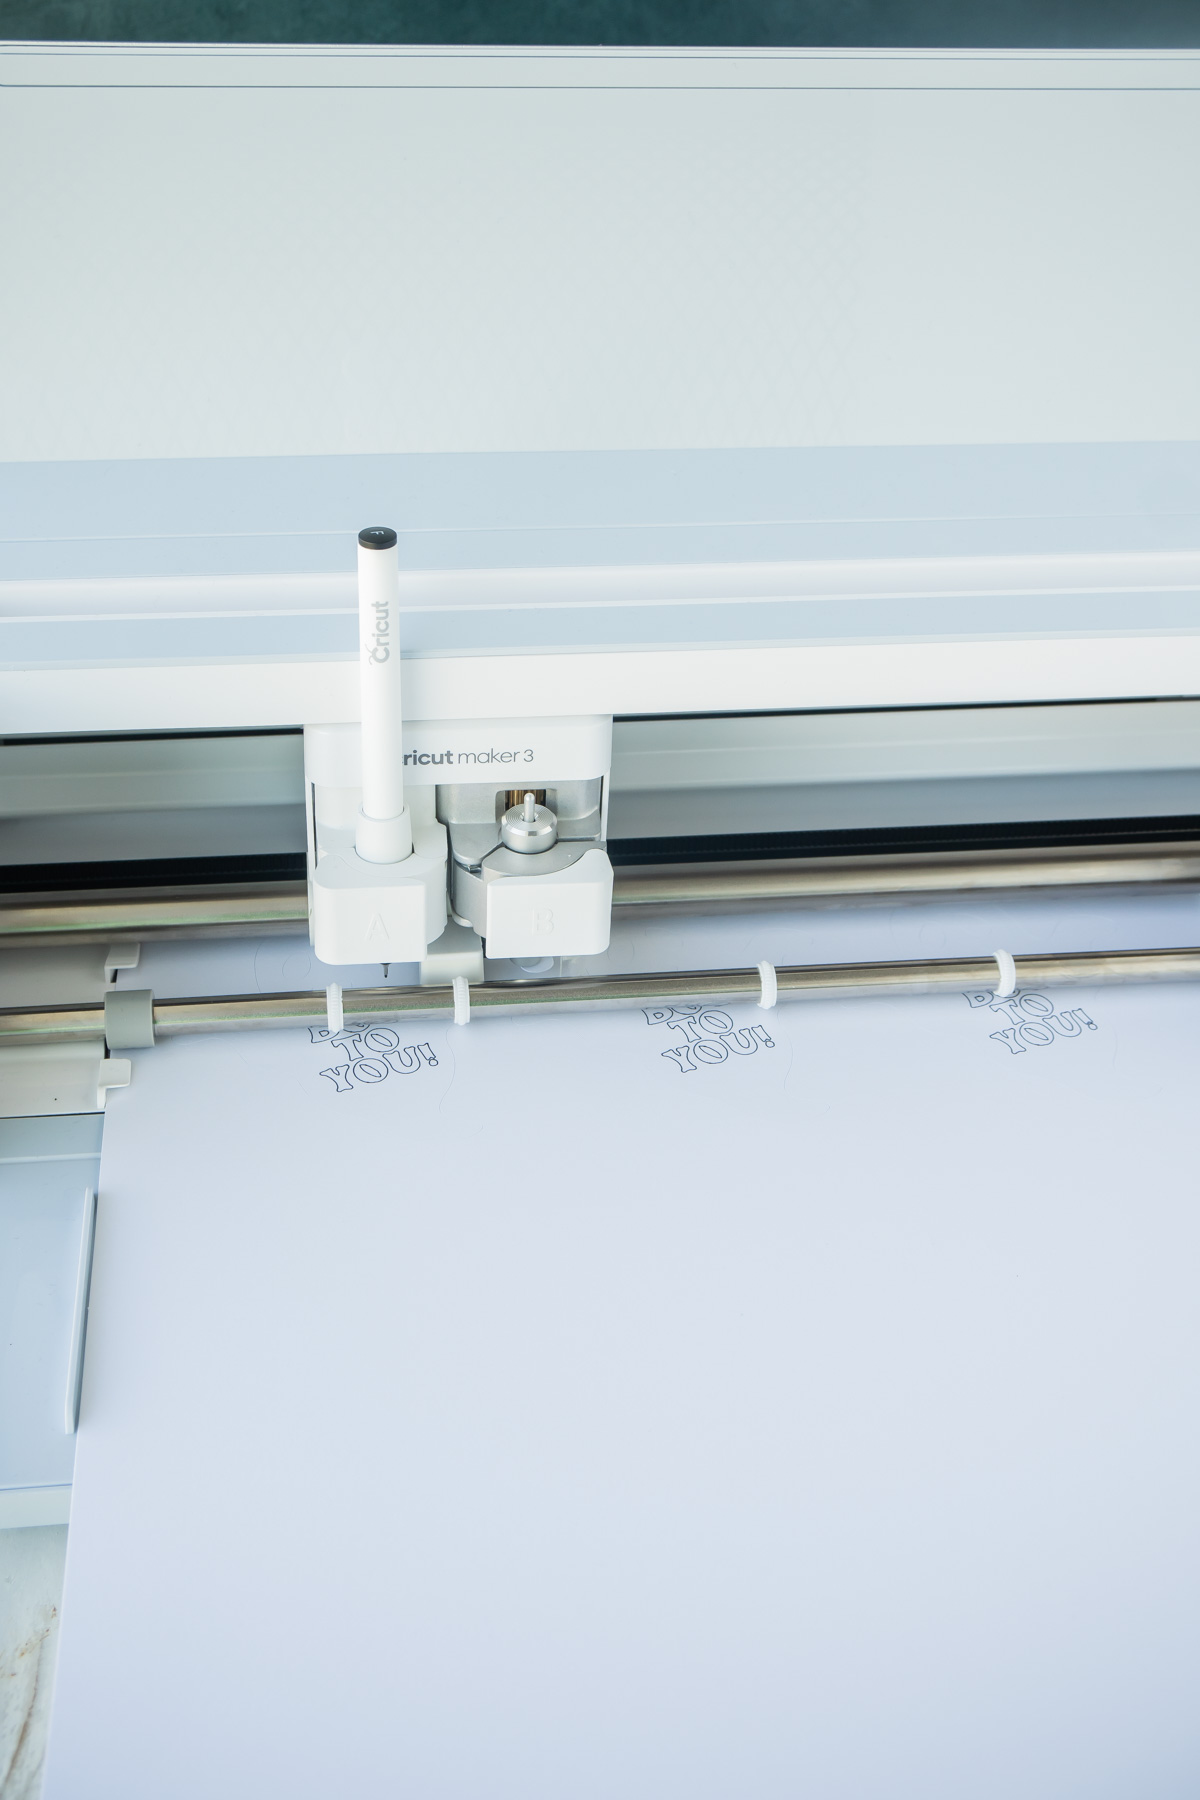
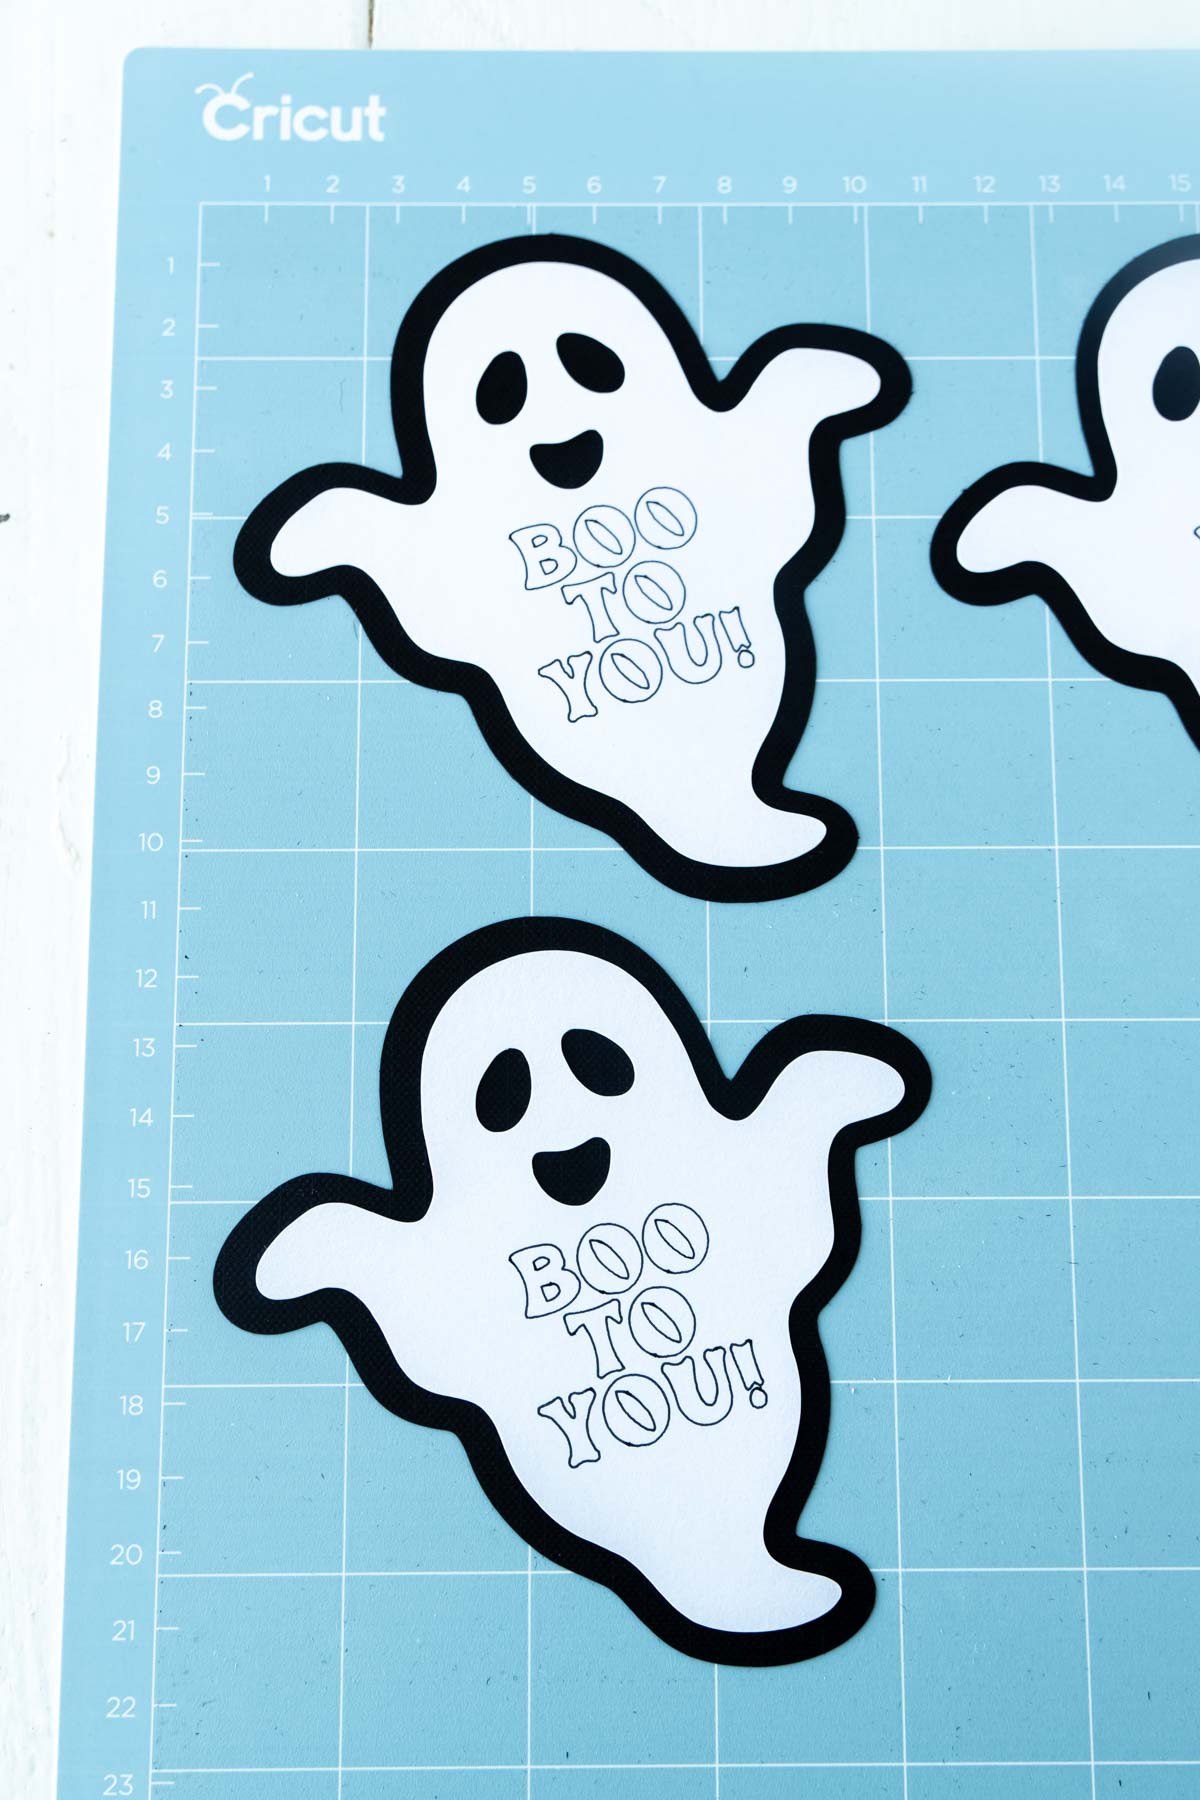
Once your designs are complete, it’s time to get cutting! With Cricut paper crafts, it’s way easier than if you’re using heat transfer vinyl because you don’t have to mirror your images. They cut just like they are supposed to look! And no need to use transfer tape – hooray! Just make sure that once you click Make It that you check your images carefully to make sure they’re showing up on the correct mats, that everything is attached like you want it, and often times I will move things slightly so the cuts aren’t quite so close together. I’m sure the Cricut would cut it just fine, I more worry about me accidentally ripping things because I go too fast! Start by placing the black cardstock (or whatever color cardstock you want to use) on the LightGrip mat then loading it into your machine. Choose the cardstock option in Cricut Design Space and cut the black rectangles and black ghost outlines. Then just leave them on the mat (unless you only have one and need to put the white on the LightGrip because you’re not using the Smart Sticker Paper…). The mat is actually a great place to hold them down while you’re adding the other pieces to the tags! Once your tag outlines are cut, load a black .4 fine tip Cricut pen into your Cricut machine and load either white cardstock on a LightGrip mat or do like I did and just load the White Smart Paper Sticker Cardstock directly into the machine. It’s so cool, seriously. The machine is smart enough that it’ll write out the words first then cut the ghosts immediately after! Cut out your ghosts and carefully pull them out, making sure to be careful with the faces and little pieces of the eyes. If using the Sticker Cardstock, gently pull the ghosts up without ripping the backing (happens sometimes with tiny designs if you go too fast). Then immediately place the ghosts onto the black outlines, being careful to line them up the best possible. Do the same with the mini ghosts and Boo to You Letters to finish off your ghost tags! Carefully pull them up from the LightGrip mat – I typically like to start with one corner or one area and go from there – and your tags are all ready to go! And that’s really it. You should now have some super cute ghost tags you can add to Halloween favors, boo bags, or even just neighbor cards for Halloween. Honestly, these might be one of my favorite you’ve been booed ideas I’ve seen this year! I added a tag to each of my boys’ boo buckets this year, and I know they’re going to love them! And if they don’t, well I do and that’s what really matters right?
More Cricut Paper Projects
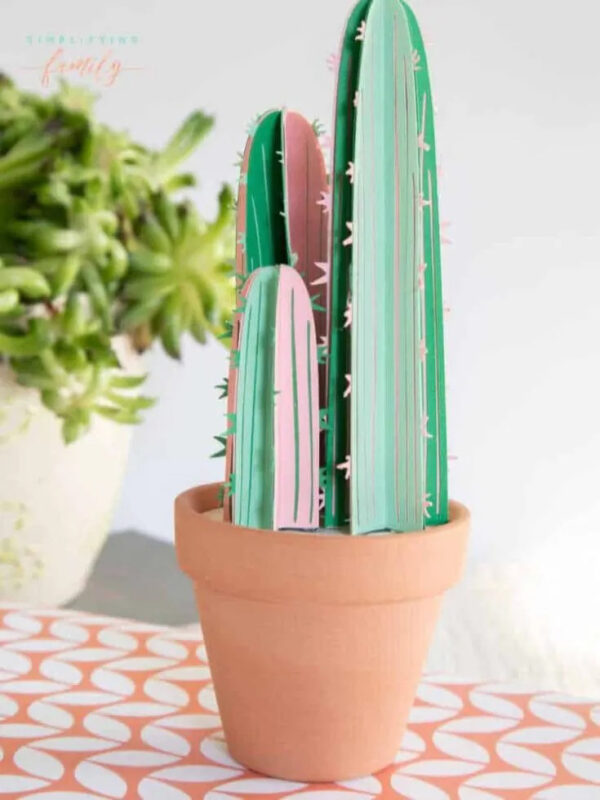
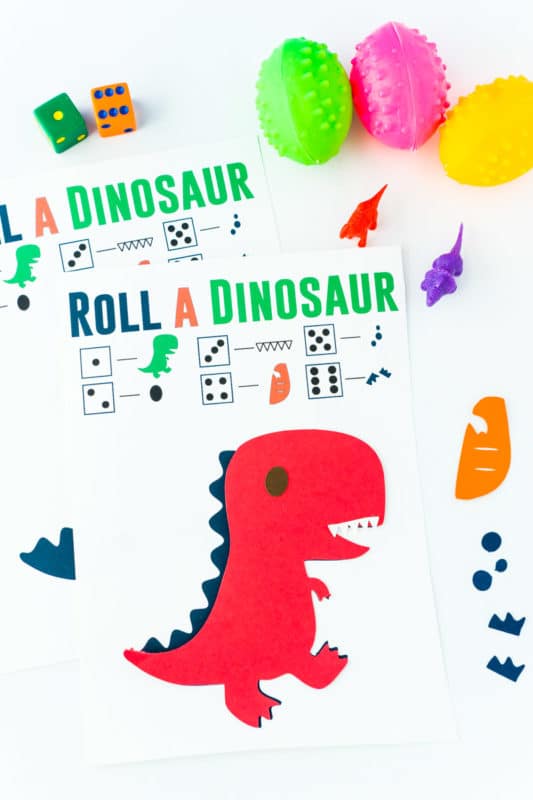
Are you ready to see even more paper projects you can make with your Cricut? I asked my favorite crafty friends for their best ideas and my mind was blown with their creativity! There are seriously so many different Cricut paper crafts you can make, hopefully these will give you some ideas to get your start!
More Beginner Cricut Projects
If you need some more Cricut project ideas, make sure to check out some of our favorite things we’ve made!
Personalized gifts for kids – tons of gift ideas you can make with a Cricut, perfect for the upcoming holiday season! Felt pizza – if you want to try some different materials, felt is the best way to transition to a little more complicated projects! This fun felt pizza is great for kids! DIY Board labels – see how easy it is to use the Cricut Maker machine and the Cricut knife blade to make customized charcuterie board labels! These also make great gifts! DIY labels – this is one of the smaller projects I’ve done but one that I use on a daily basis! They also make great gift ideas and it comes with free cut files! DIY superhero costumes – a bunch of different types of superhero costumes you can make with your Cricut including everything from leather bracelets (and leather earrings) to DIY capes and more! Plus, the post includes free templates for last minute creating!