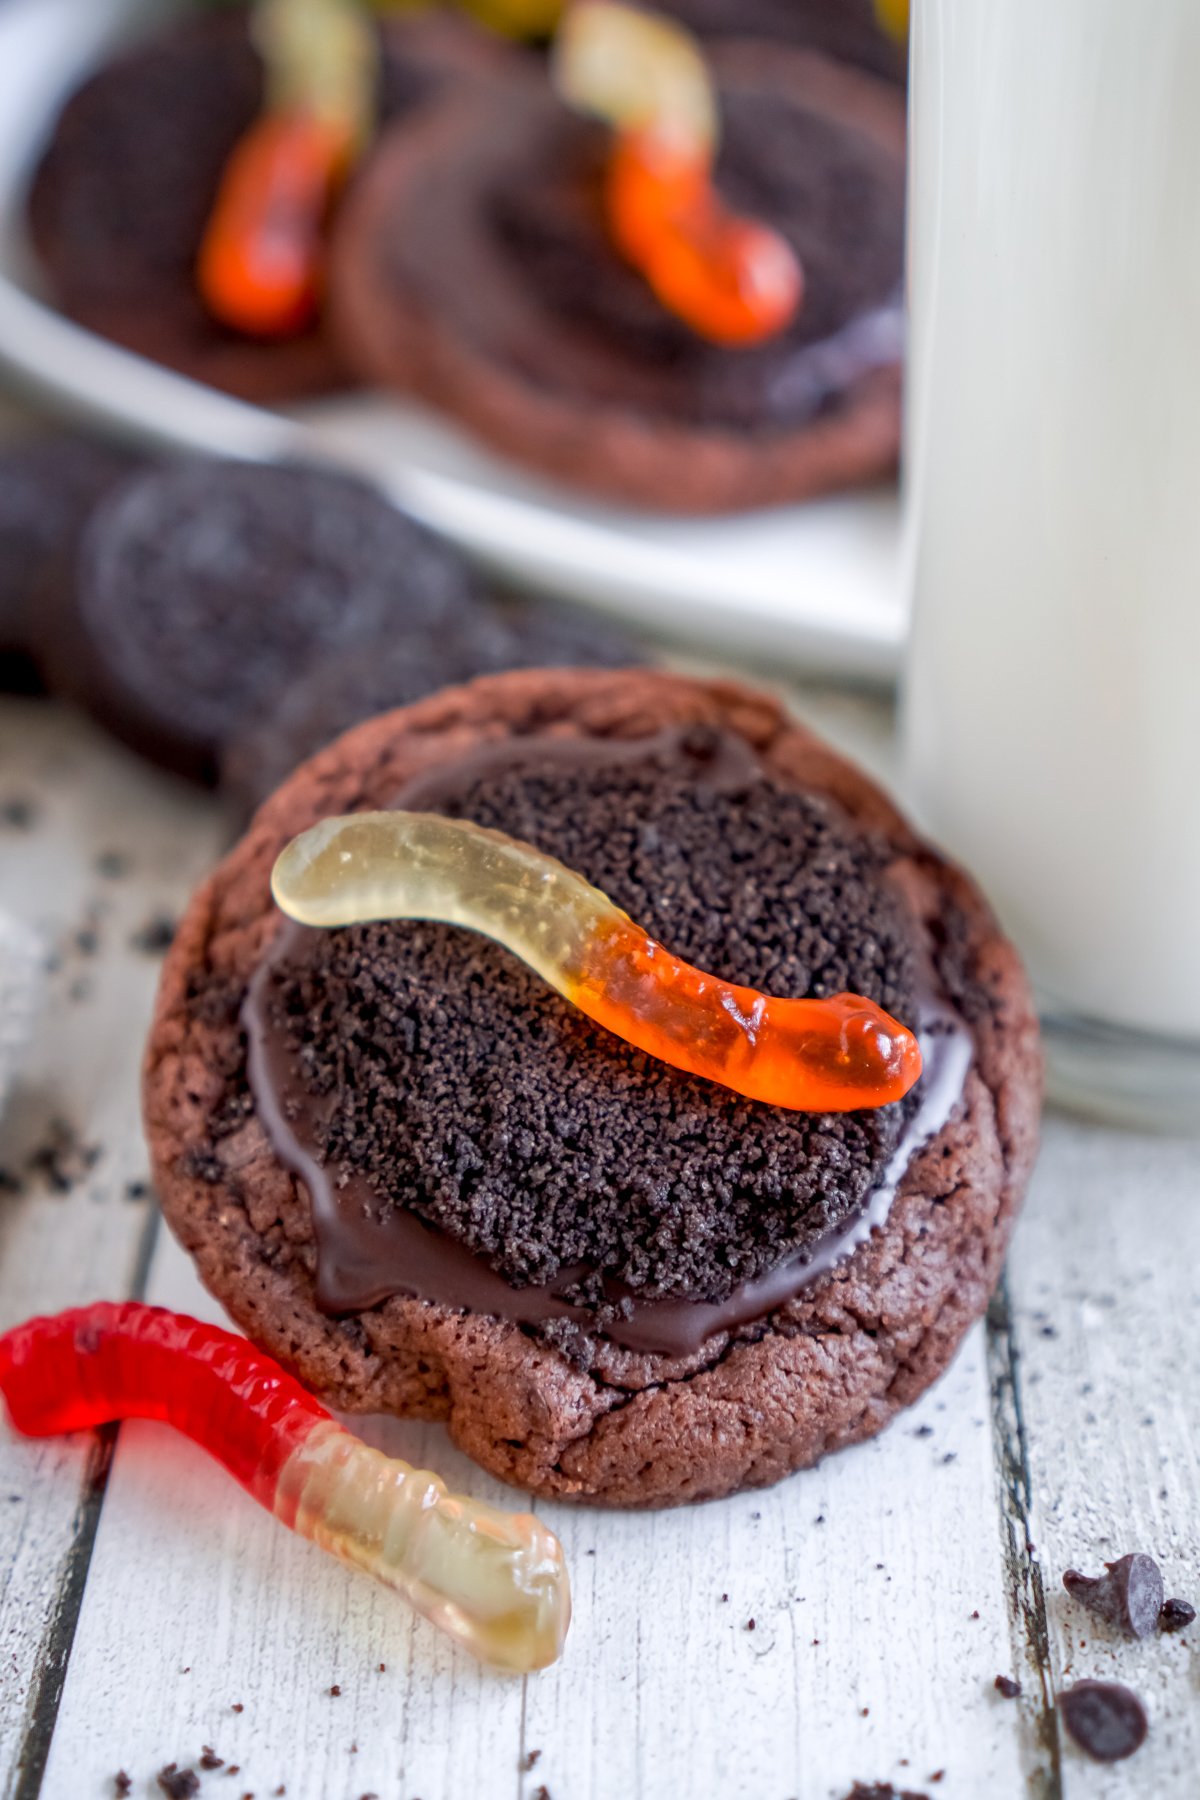
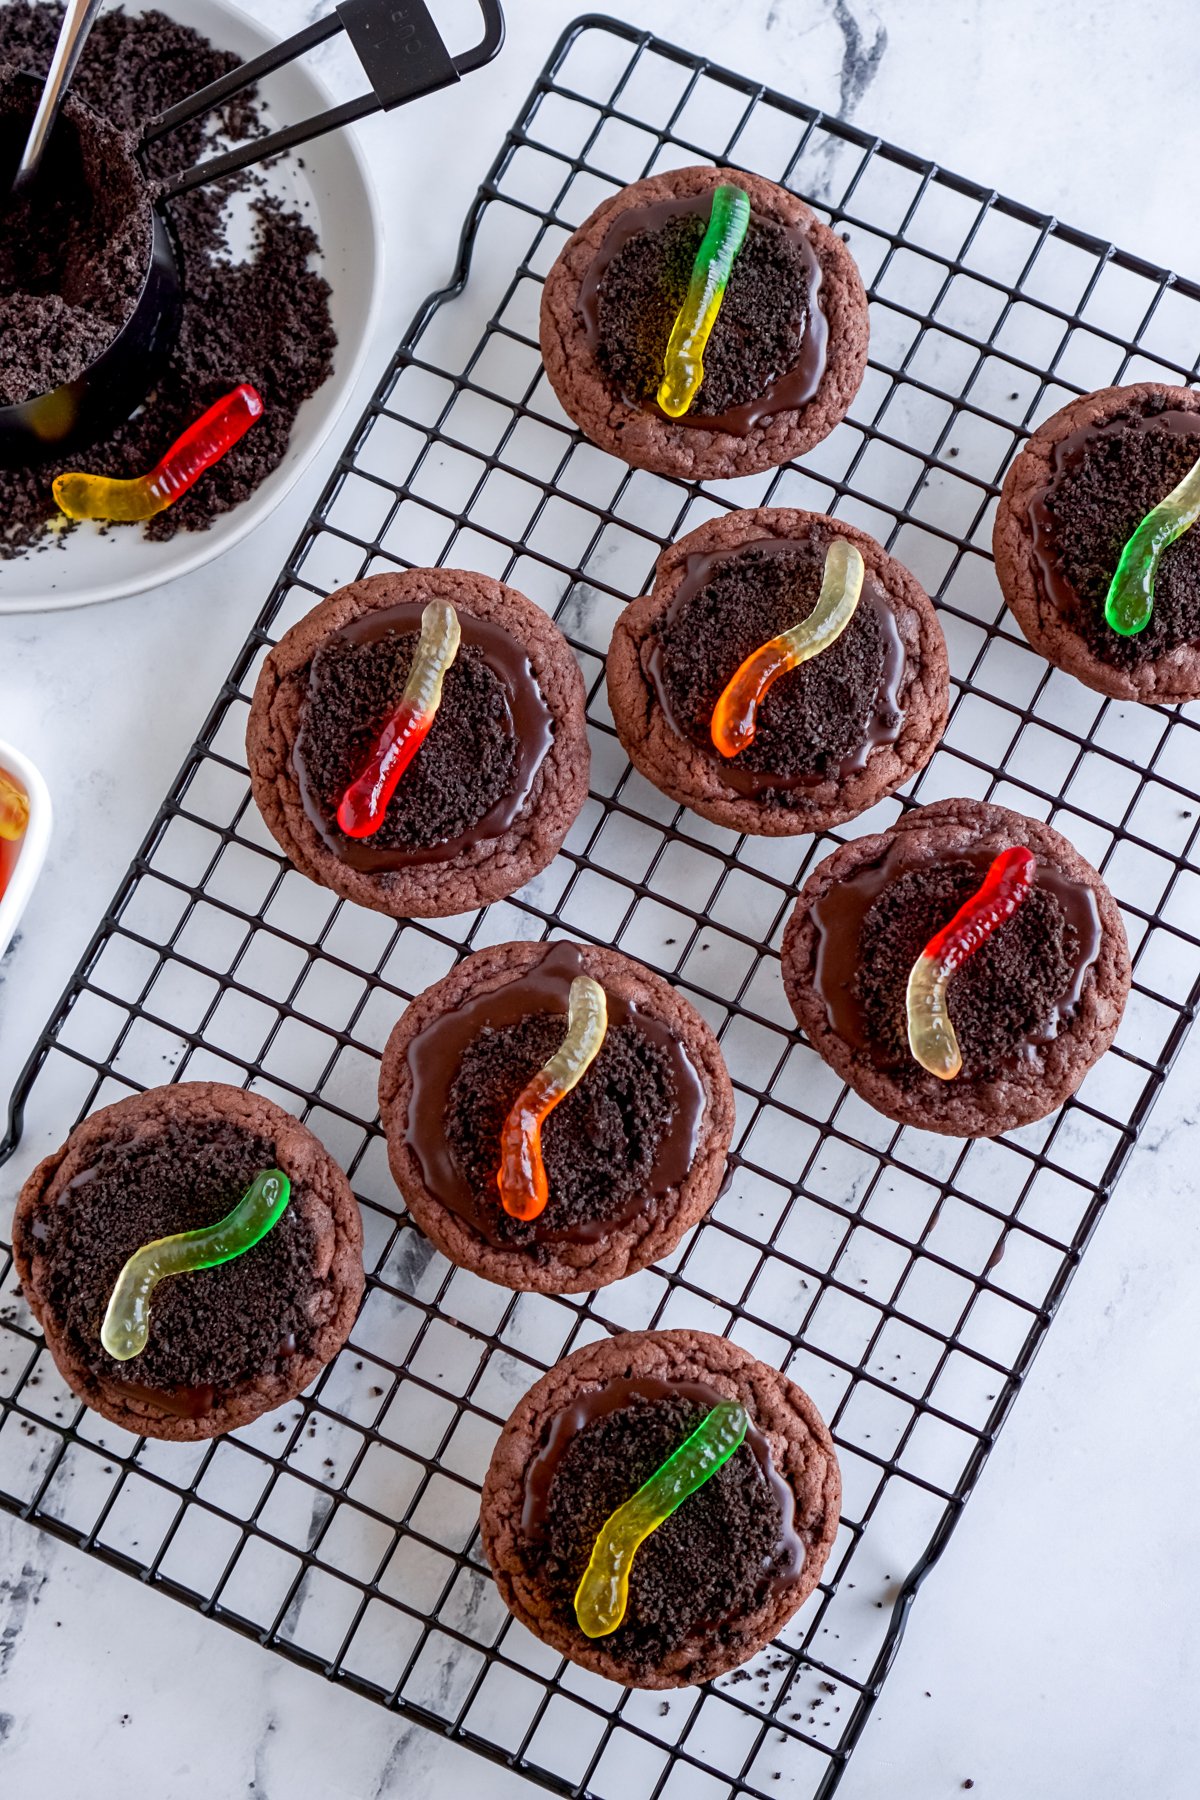
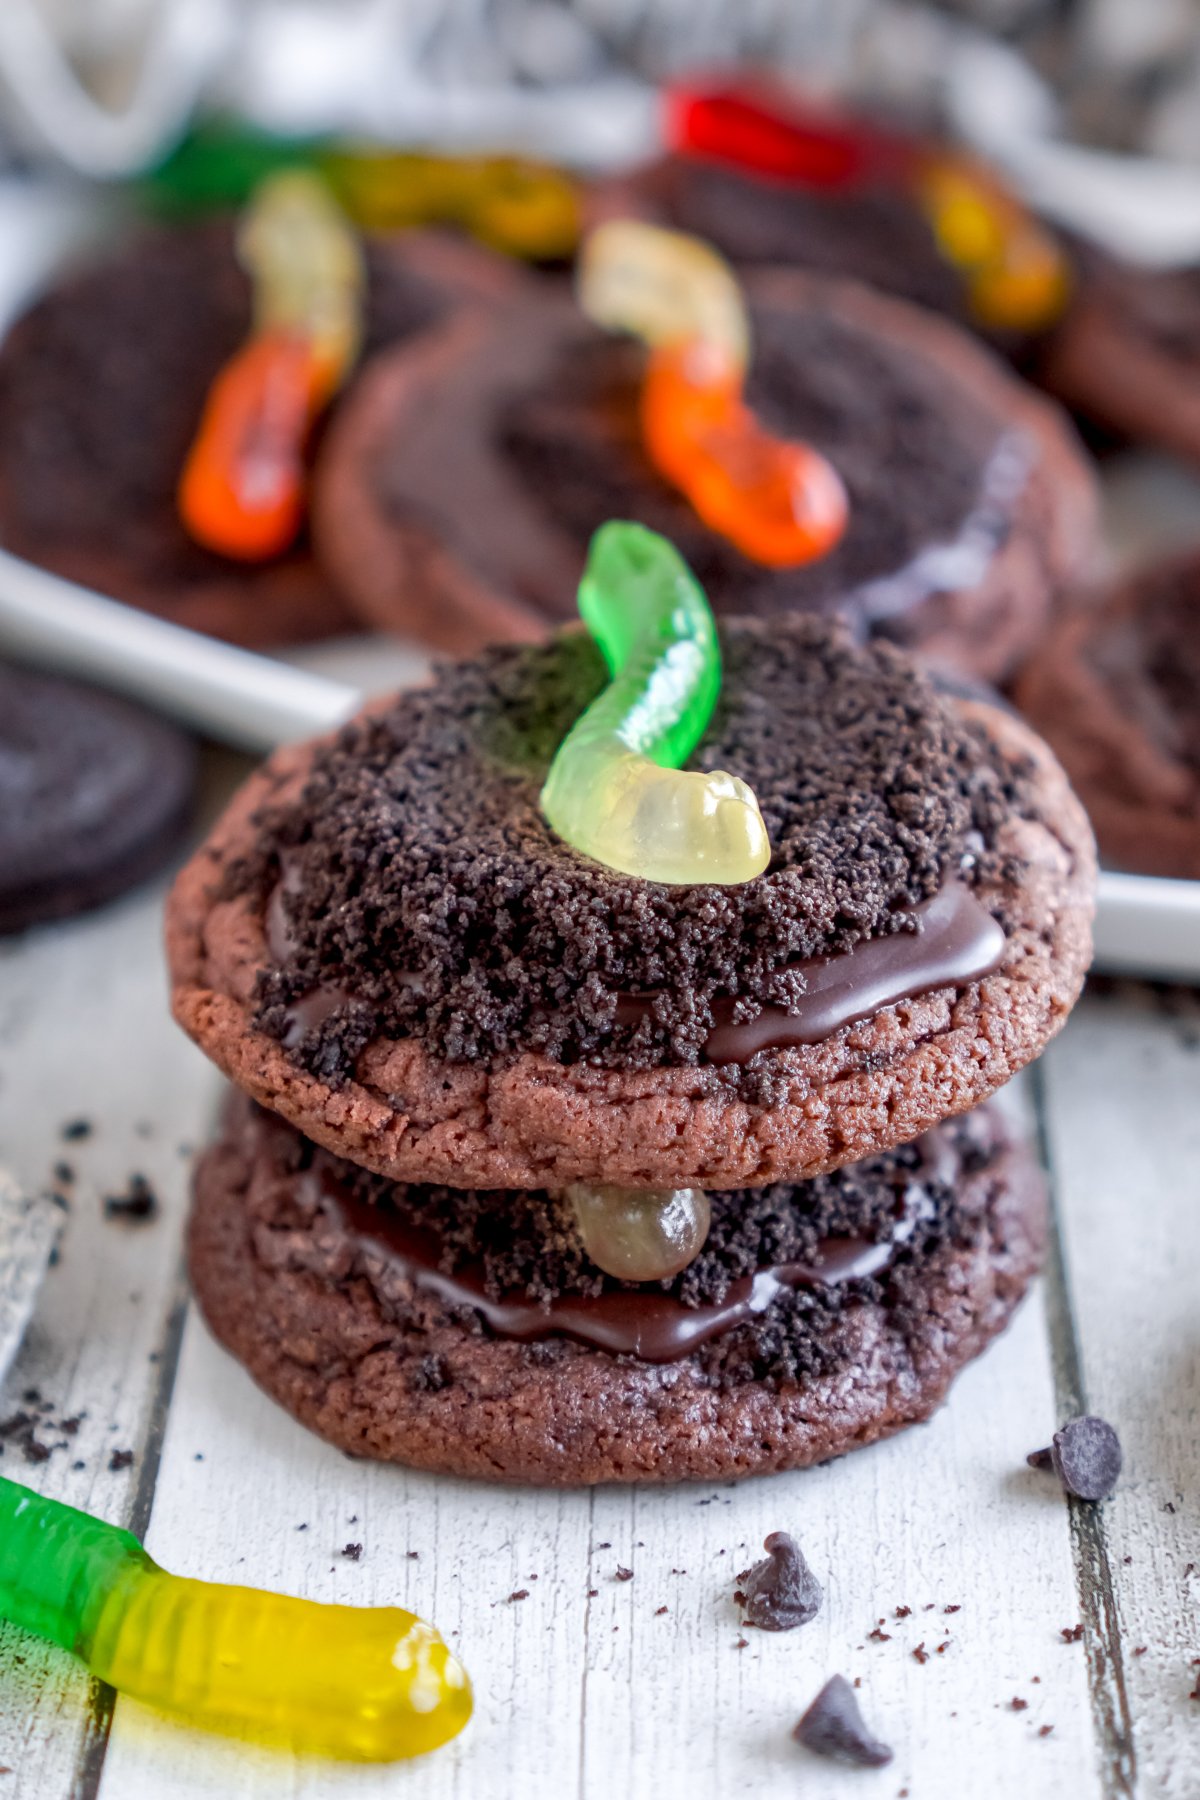
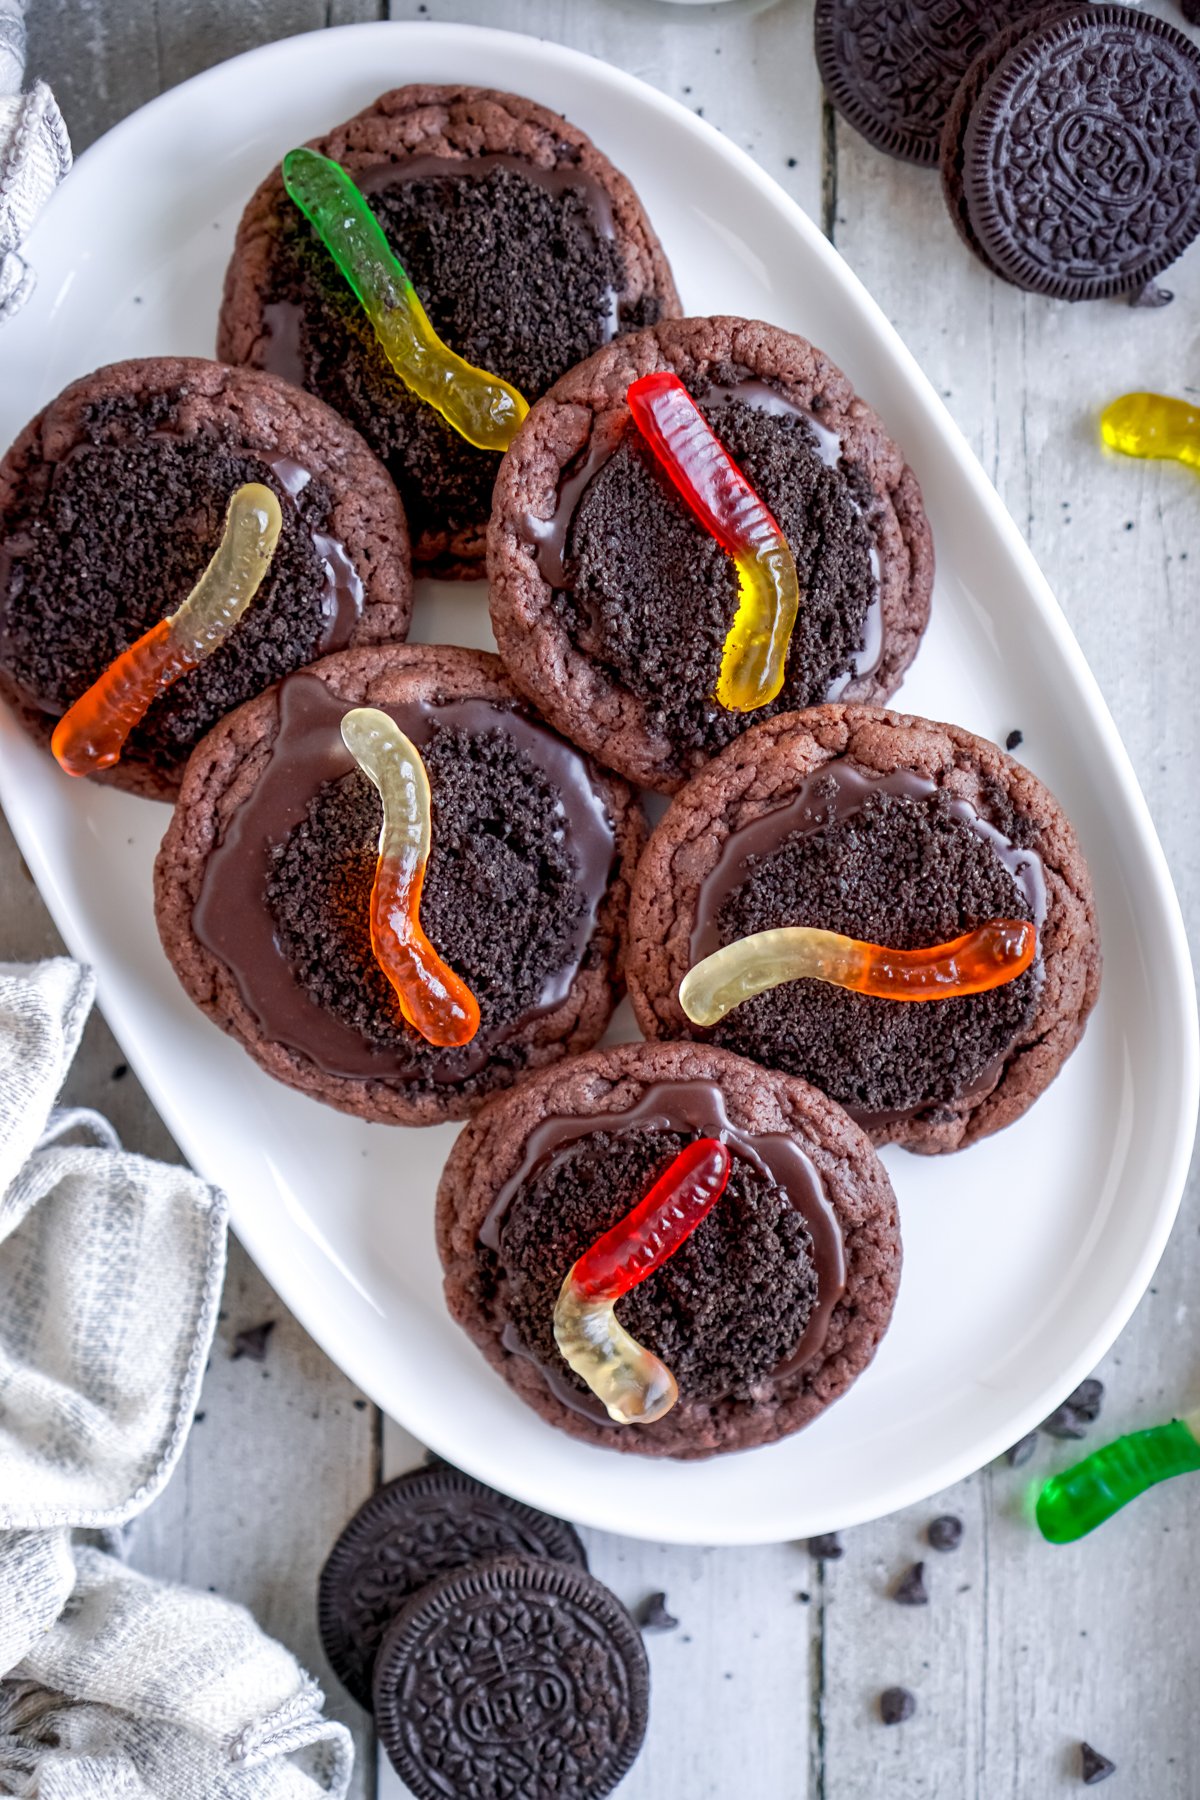
When we first moved into our house in Kansas, our neighbors invited us over at the end of the school year and we had a little dirt and worms dessert party. And by that I mean we pulled out some Snack Packs (like I use in my Dunkaroo dip), added some Oreo cookies, and some gummy worms. This year I thought it would be fun to try something different. I thought about making my super popular dirt and worms dessert but didn’t think that’d be quite as easy to eat individually. So I decided to make these individual chocolate dirt cookies instead. Dirt and worms but in cookie form. And you guys, these are amazing. So good that even my son who doesn’t like chocolate likes them – okay maybe he only likes the dirt and worms on top, but he still ate part of one. And that’s a win in my book! Really who doesn’t love getting something with a gummy worm – there’s just something so nostalgic and fun about it. Plus, this recipe works really well if you want to make half a batch into dirt cookies and the other half just into chocolate glazed chocolate pudding cookies. The cookies are good with or without the dirt and worms on top!
Why You’ll Love This Recipe
Fun – these cookies really are just fun to look at and even more fun to eat – I mean it’s dirt and worms but a cookie!No chill dough – the cookies are super quick to make and there’s no chilling involved so you can have these ready to enjoy in under 30 minutes! Soft – the base chocolate pudding cookie in these is soft, gooey, and delicious. You could even just make those on their own!
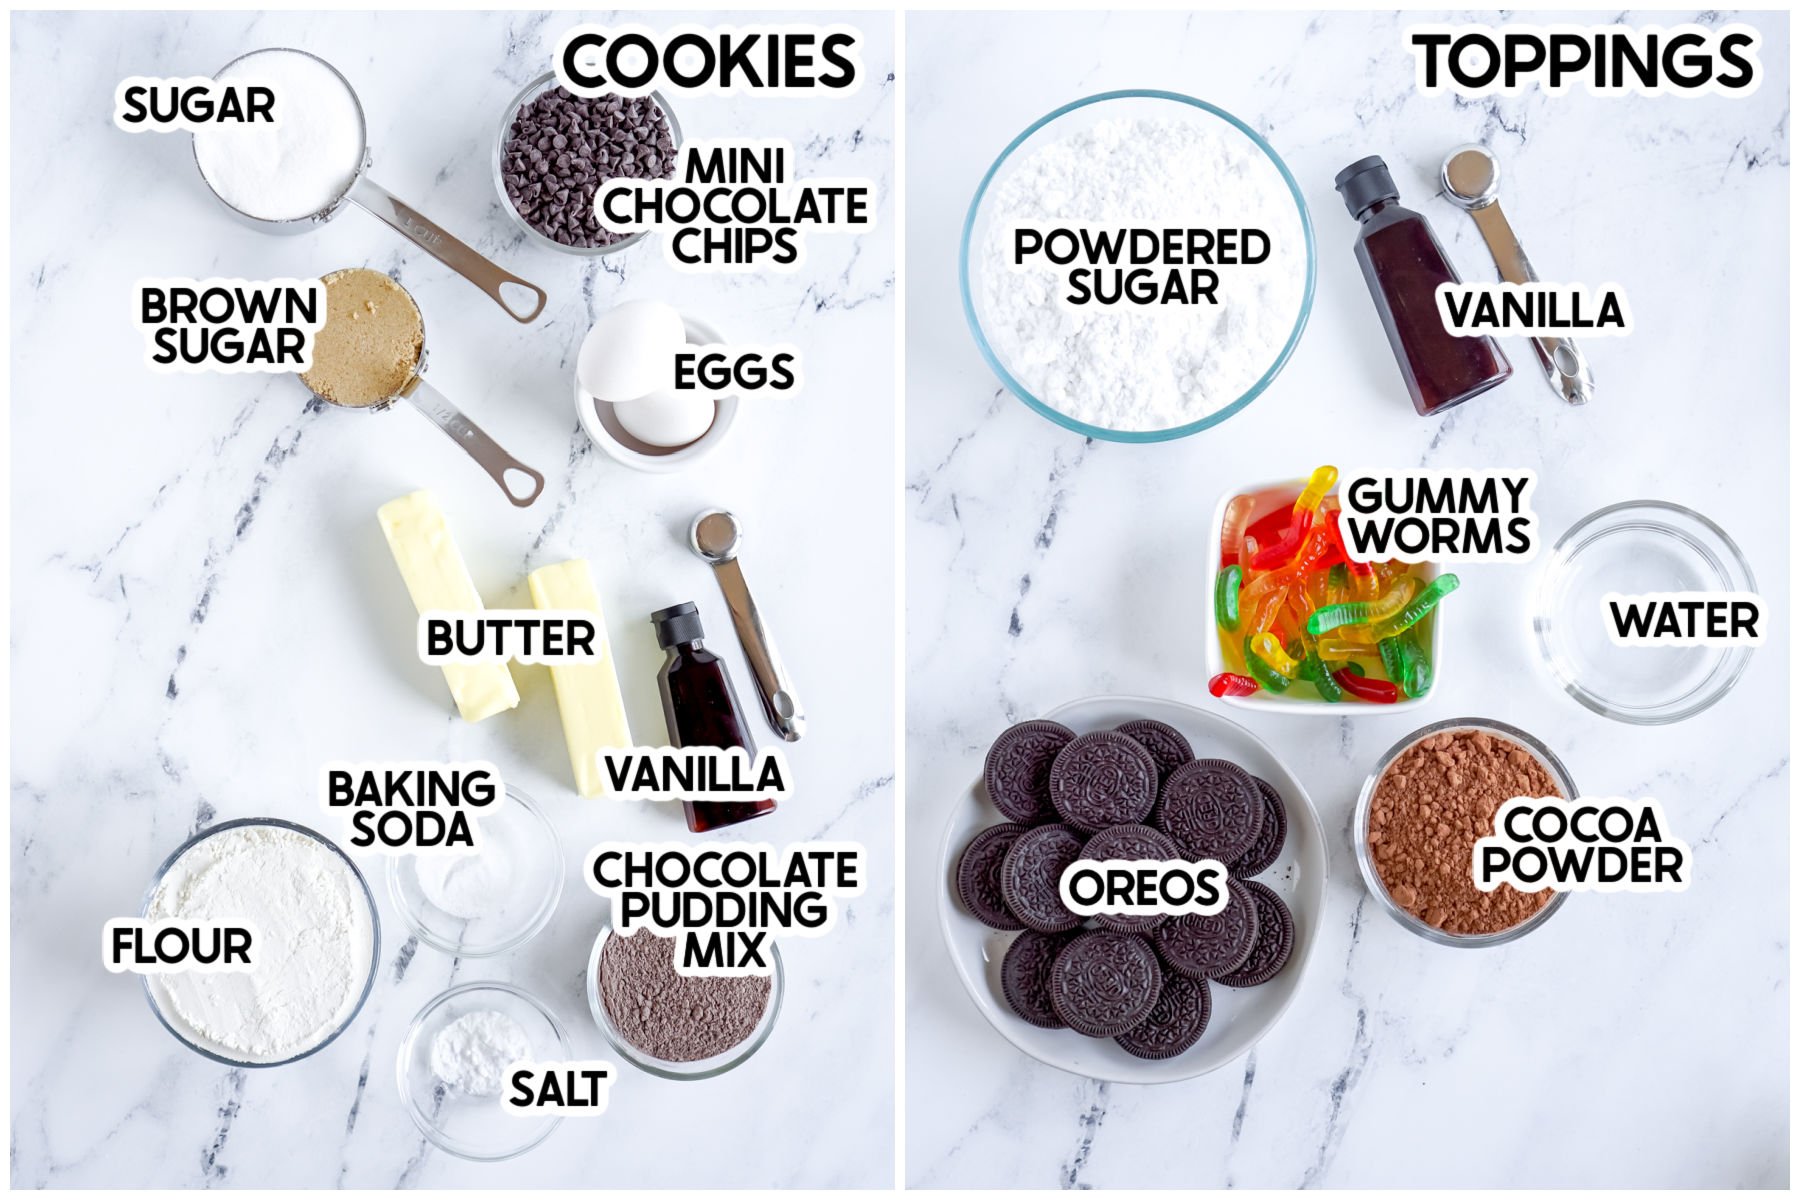
Ingredients
Ingredient Notes
Butter – you’ll need unsalted butter that’s softened for this recipe. If you only have salted, decrease the salt in the recipe to 3/4 tsp instead of 1 tsp. Chocolate chips – I recommend mini chocolate chips for these because they melt into the cookies better than full-size chocolate chips and you really want them more to add chocolatey flavor, not to show up as chocolate chips. Chocolate pudding mix – you want to use instant chocolate pudding mix – just the mix, not turned into pudding. Oreos – you can either use Oreos you’ve crushed in the food processor (like I did for these Oreo Easter eggs) or you can buy actual Oreo crumbs. Gummy worms – I recommend using mini gummy worms but full-size ones work as well. I did full-size gummy worms for these pictures but did a couple of mini gummy worms on each cookie for my TikTok video here.
How to Make Chocolate Dirt Cookies
Making these cookies is almost as fun as eating them! Almost. And they’re both pretty simple so that’s a win!
1 – Make the Chocolate Cookies
Preheat your oven to 350°F and line a cookie sheet with parchment paper. If you have two ovens and can bake multiple batches at once, you can line two cookie sheets with parchment paper.
Combine the softened butter, granulated sugar and brown sugar in a medium sized mixing bowl and cream together. You can do this by hand with a fork, with a hand mixer, or in a stand mixer.
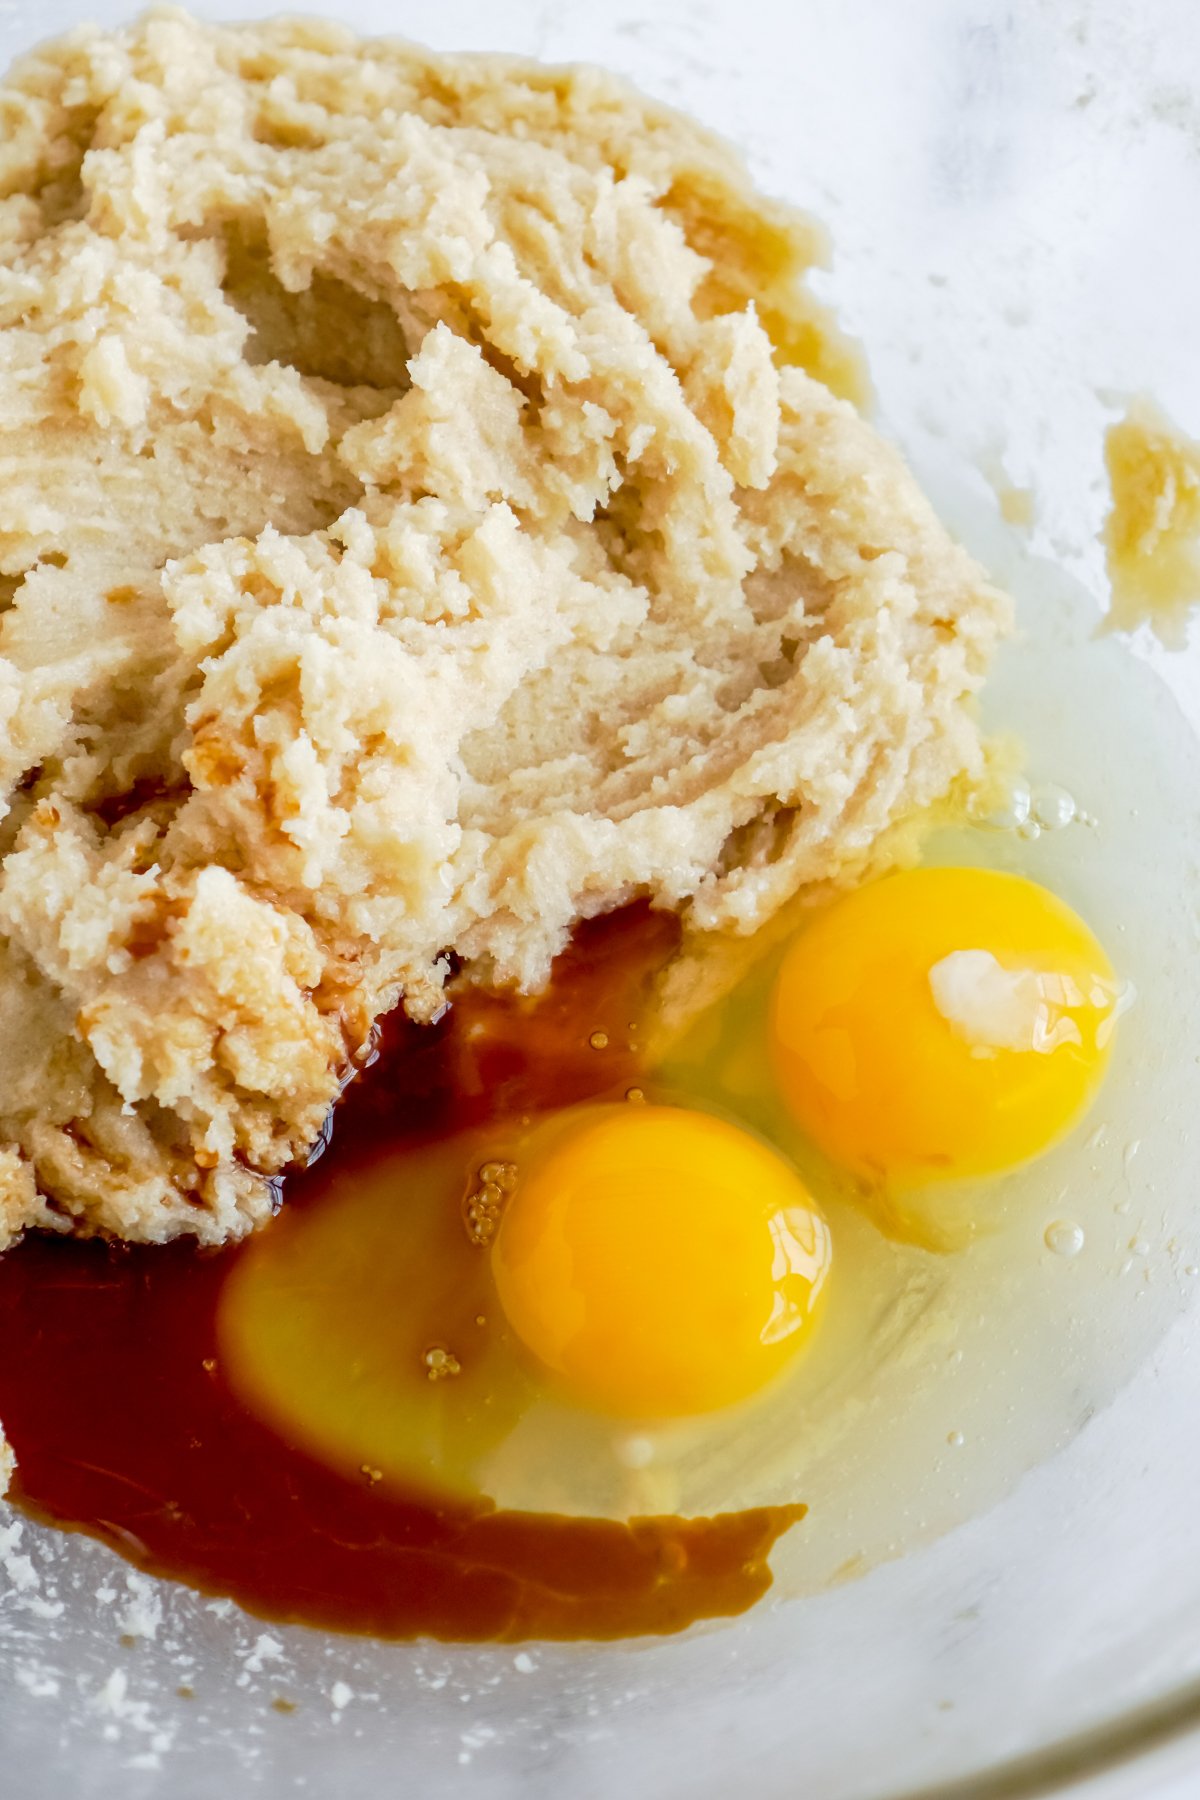
Now add the eggs and vanilla extract to the creamed butter mixture and mix well.
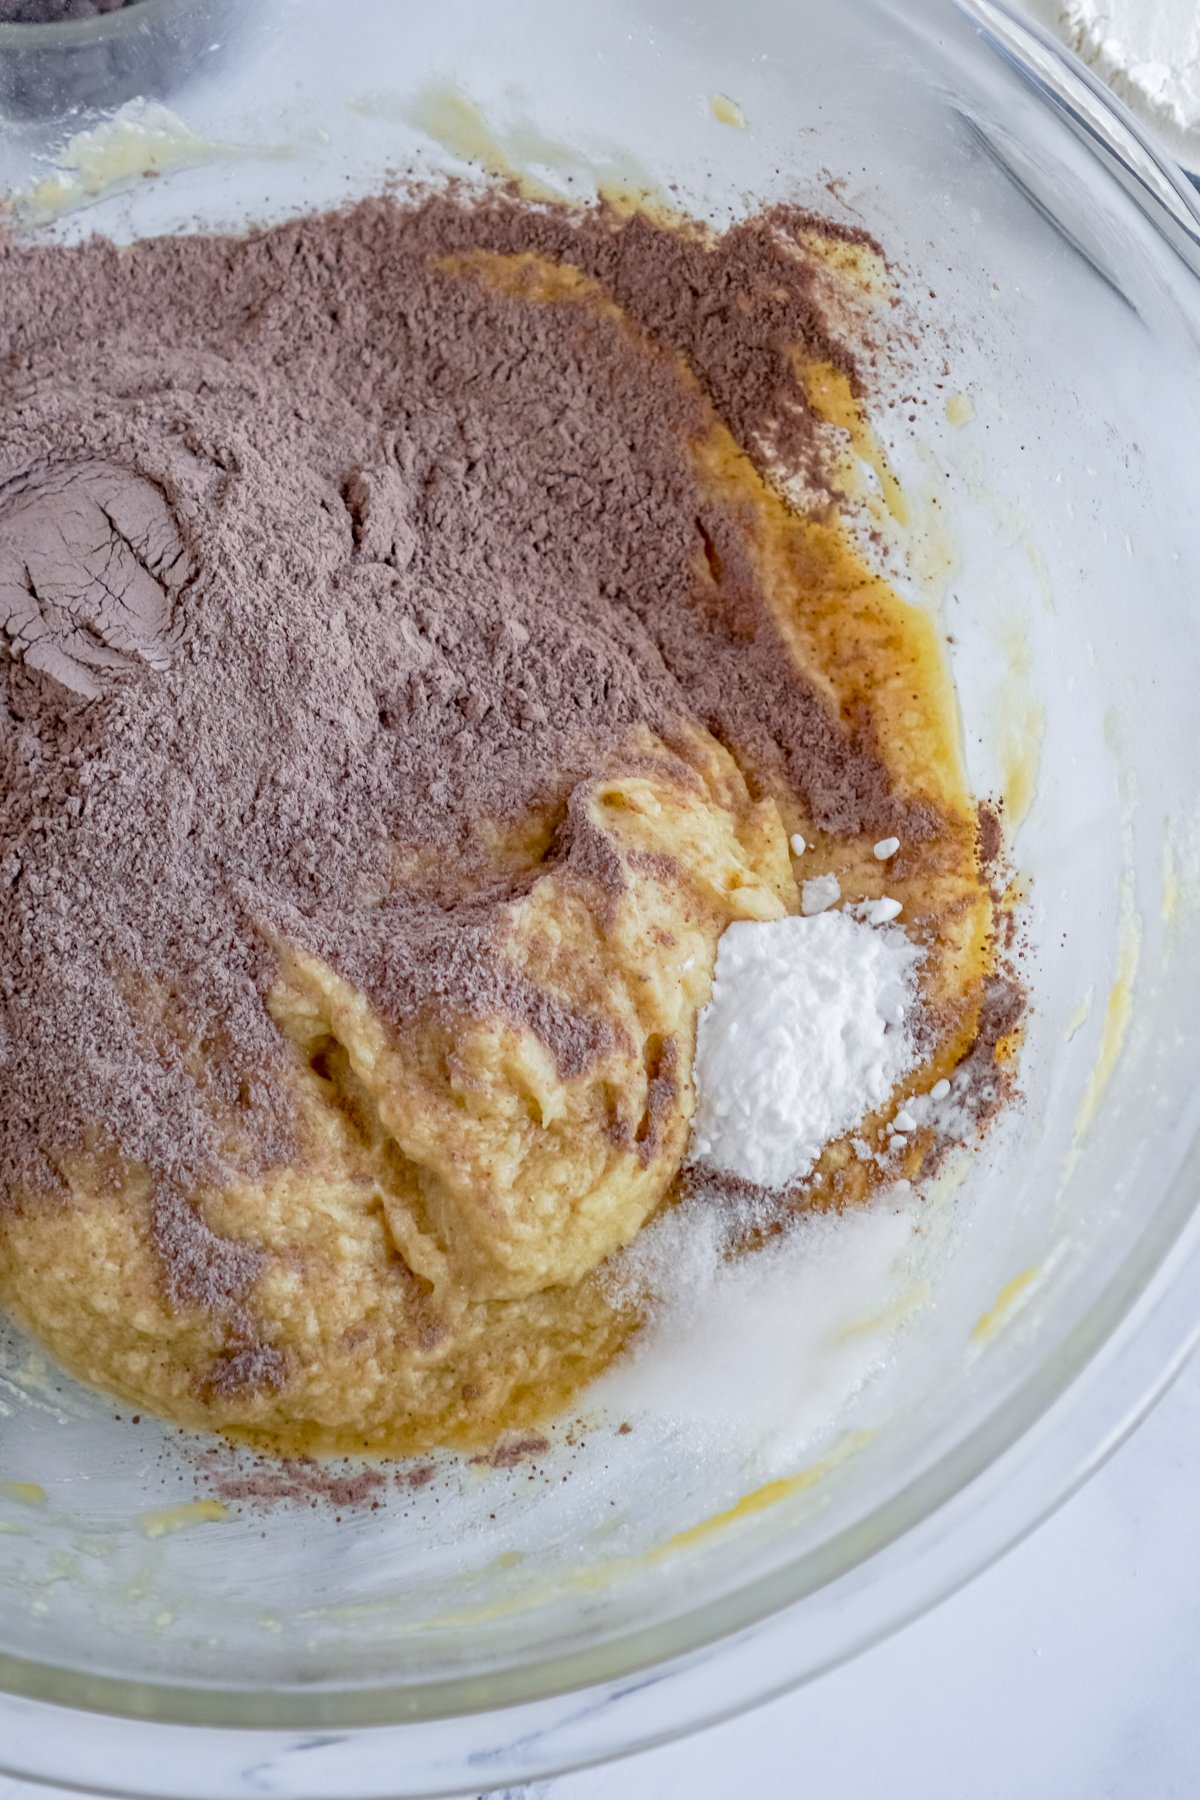
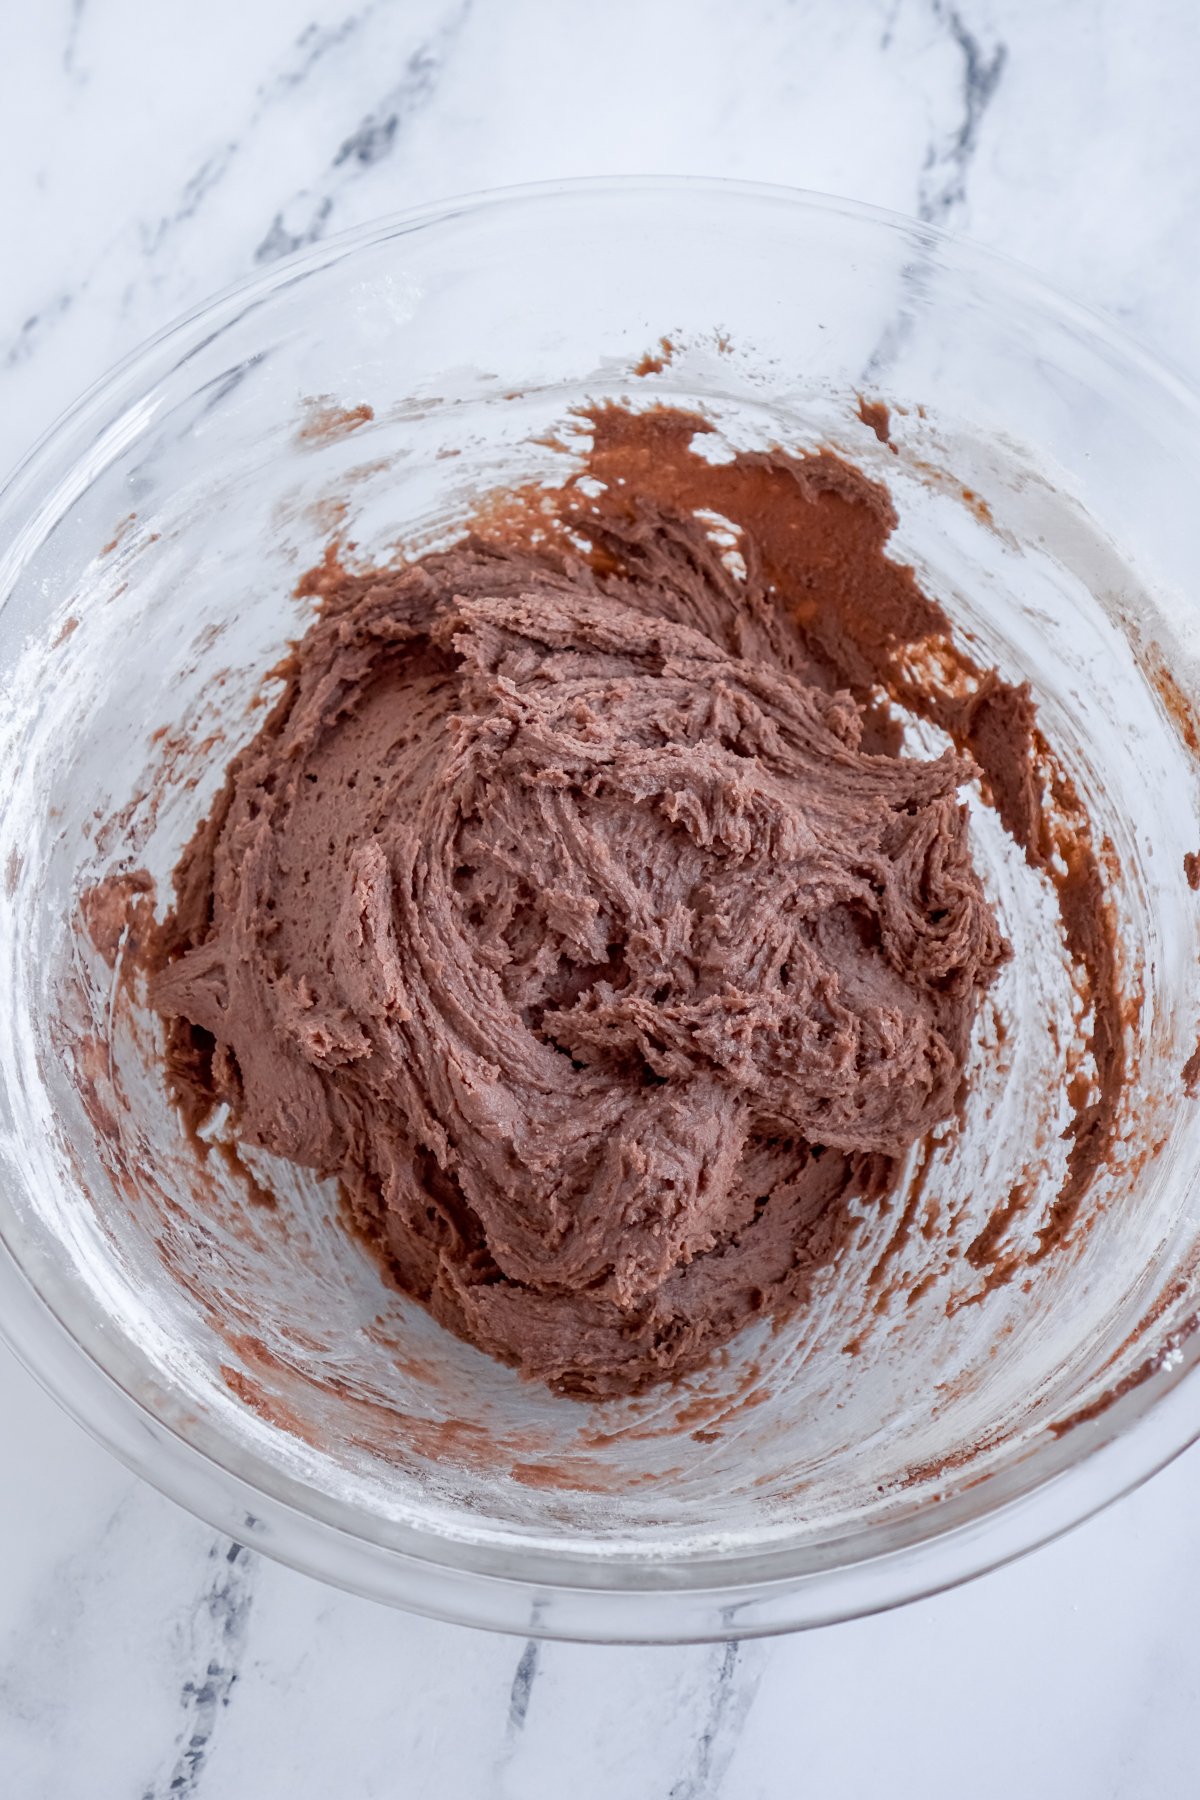
Mix in the pudding mix, baking soda, and salt. Mix this in at low speed until the ingredients are well combined and you have a nice chocolate batter.
Once that’s mixed in, slowly add the flour and mix until fully combined. Again, mix this in slow and just mix until it’s all combined in without any spots of flour left.
And try not to over mix – stop mixing once all of the flour is incorporated into the batter.
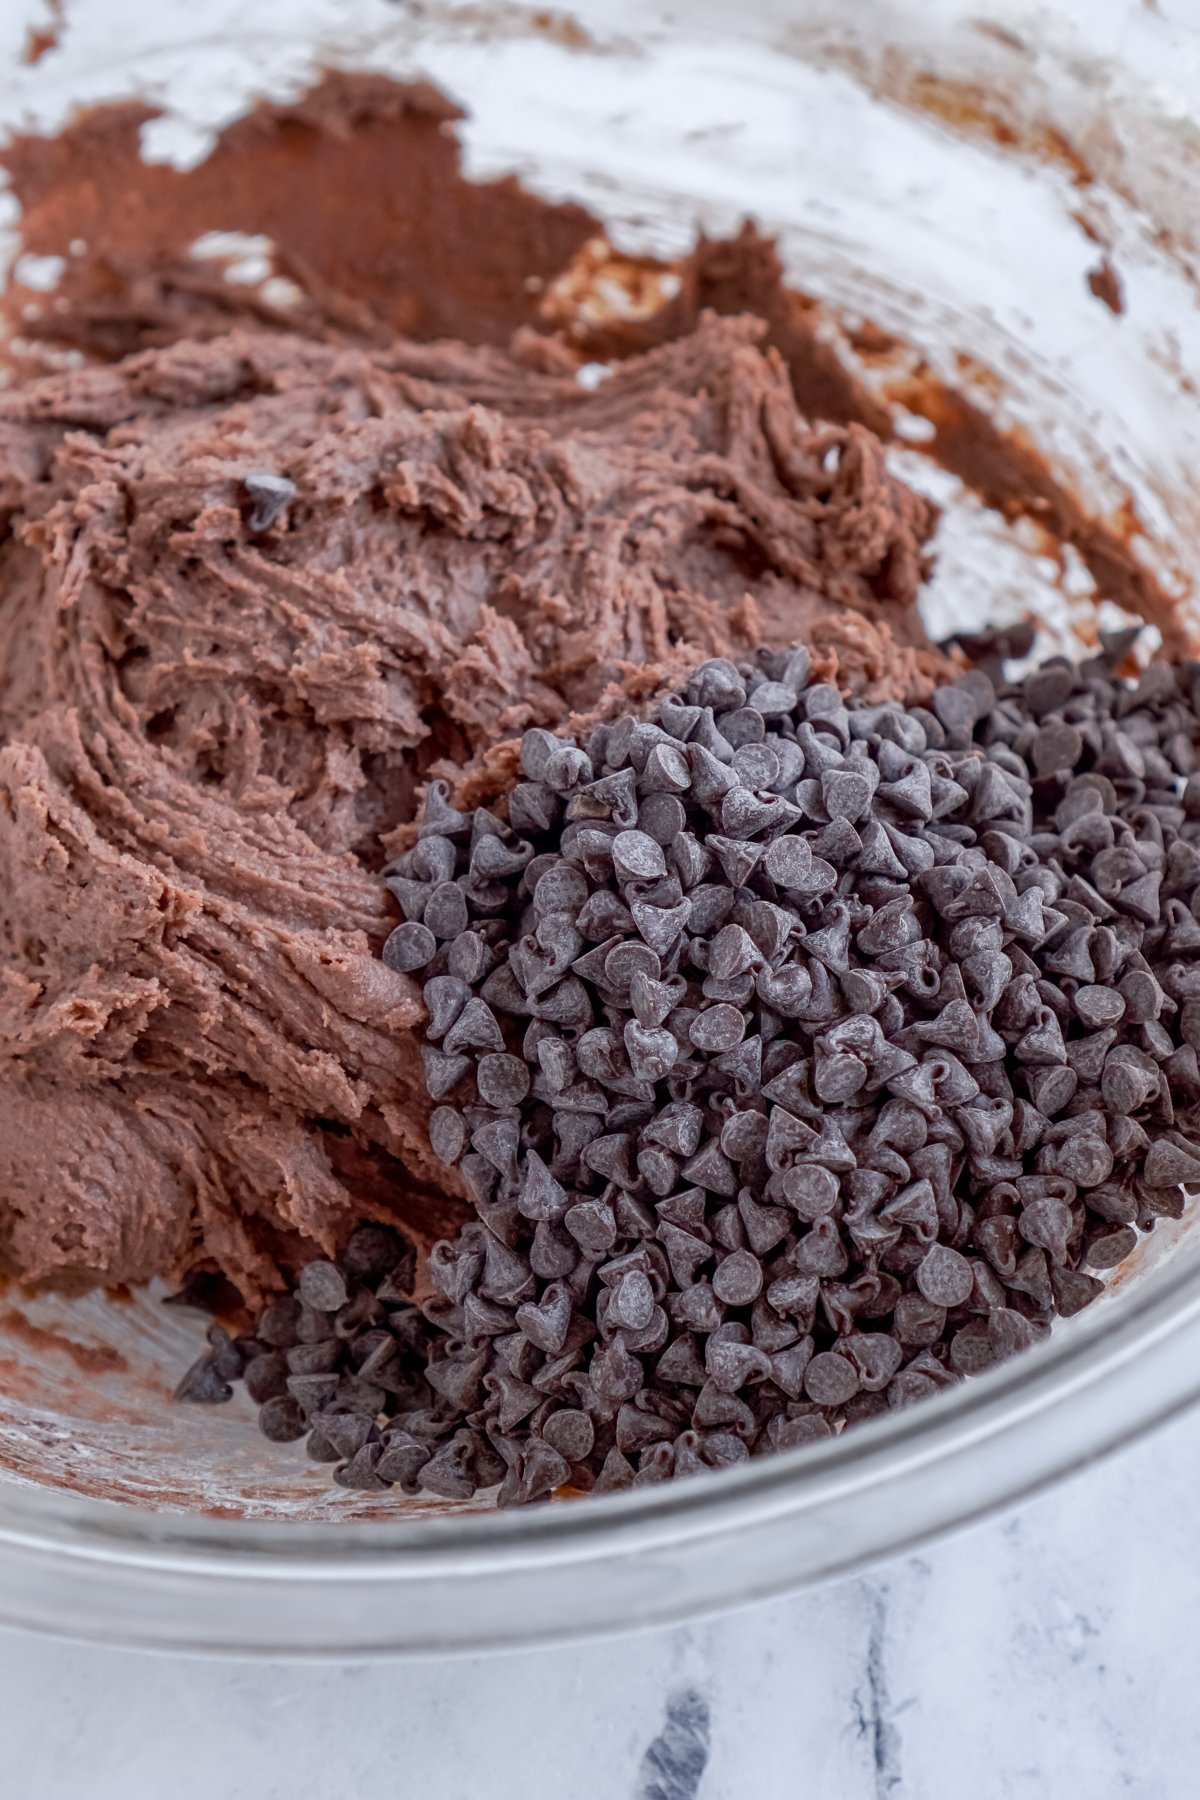
Gently fold in the chocolate chips and mix until chips are evenly distributed throughout the chocolate cookie batter. This should be pretty easy to do using the mini chocolate chips but you really want a little bit of the chips in every scoop of the batter!
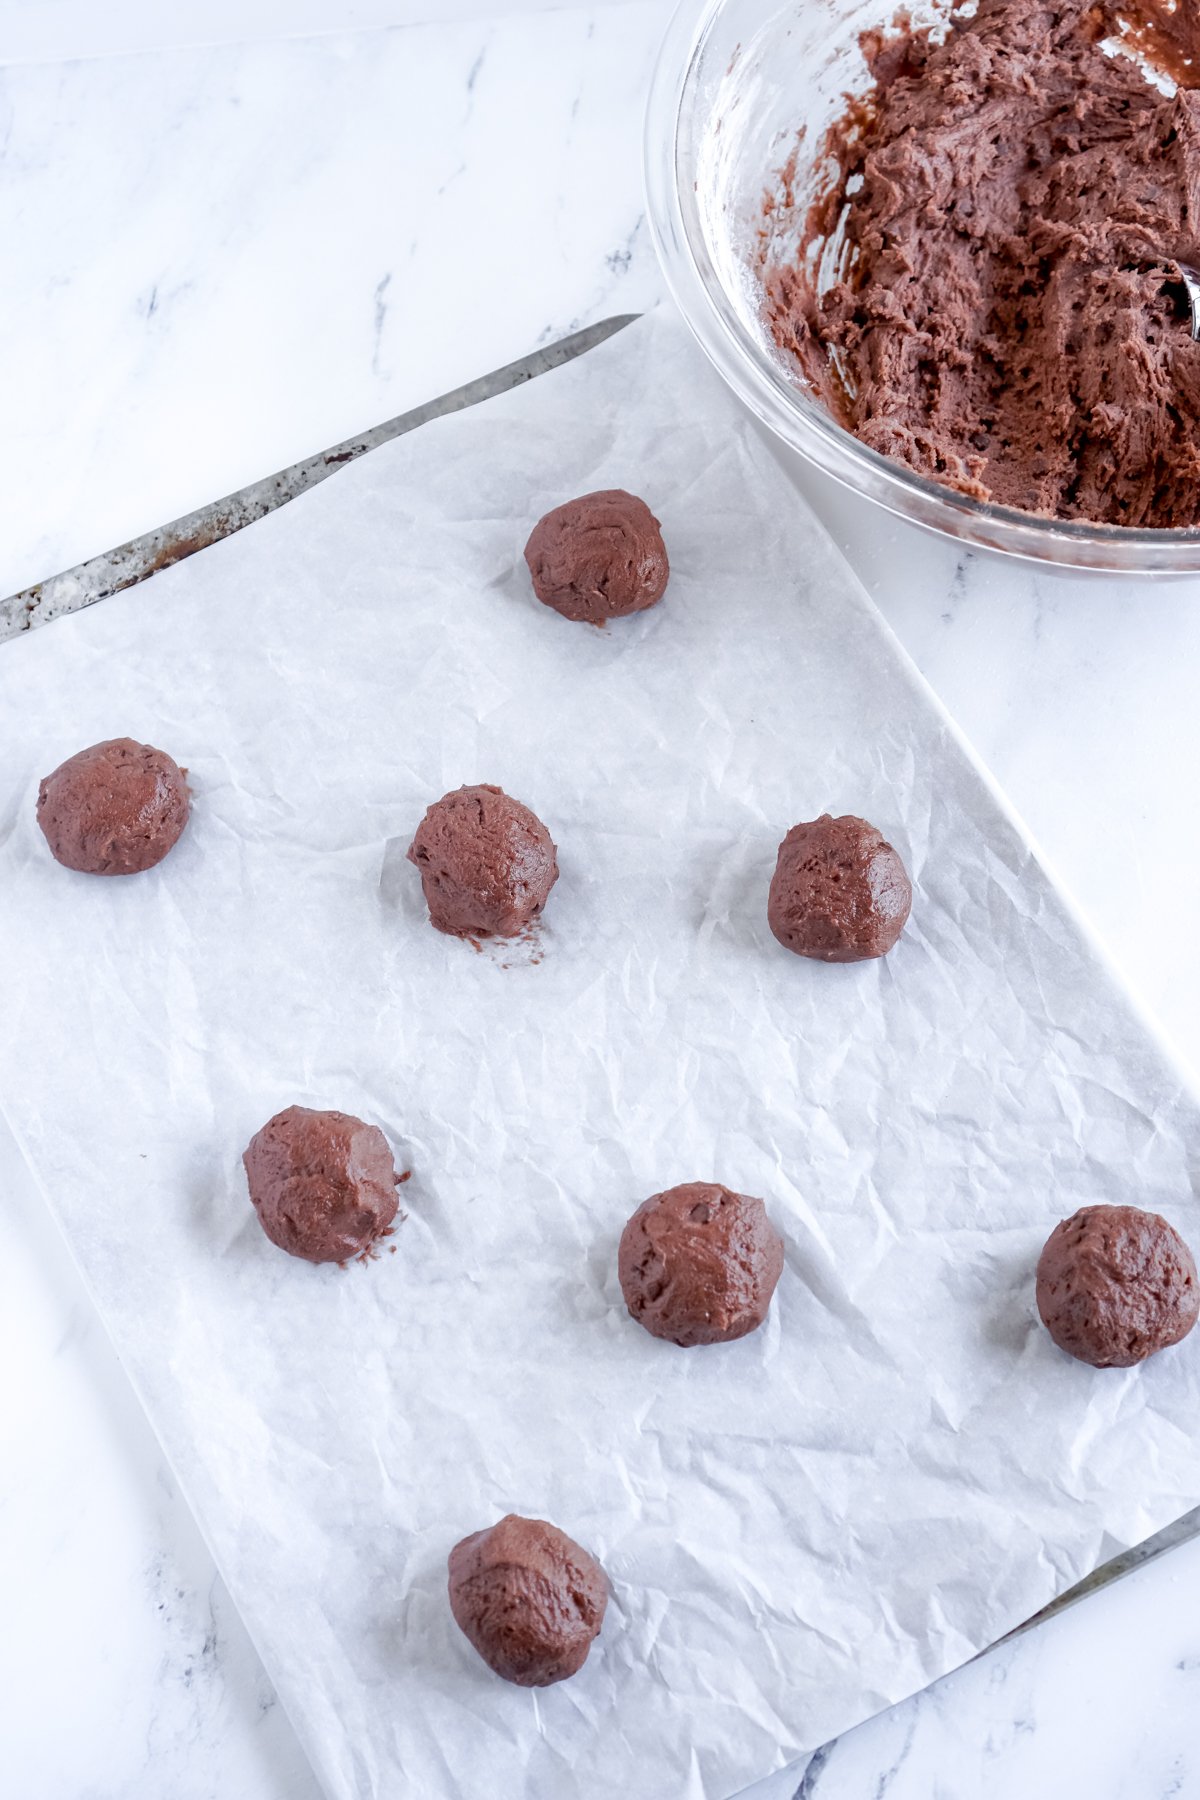
Use a large cookie scoop to scoop out balls of cookie dough. Place the balls two inches apart on the prepared cookie sheets.
Bake in the preheated oven for 10-12 minutes. If they’re a little bigger, they may take up to 15 minutes but most of the time they’re done around 12.
Allow cookies to cool on the cookie sheet for 8 minutes, then transfer to a cooling rack and allow them to continue cooling there until you’re ready to frost.
You’ll want the cookies to cool completely before adding the chocolate frosting so it doesn’t just glide right off.
2 – Make the Chocolate Frosting
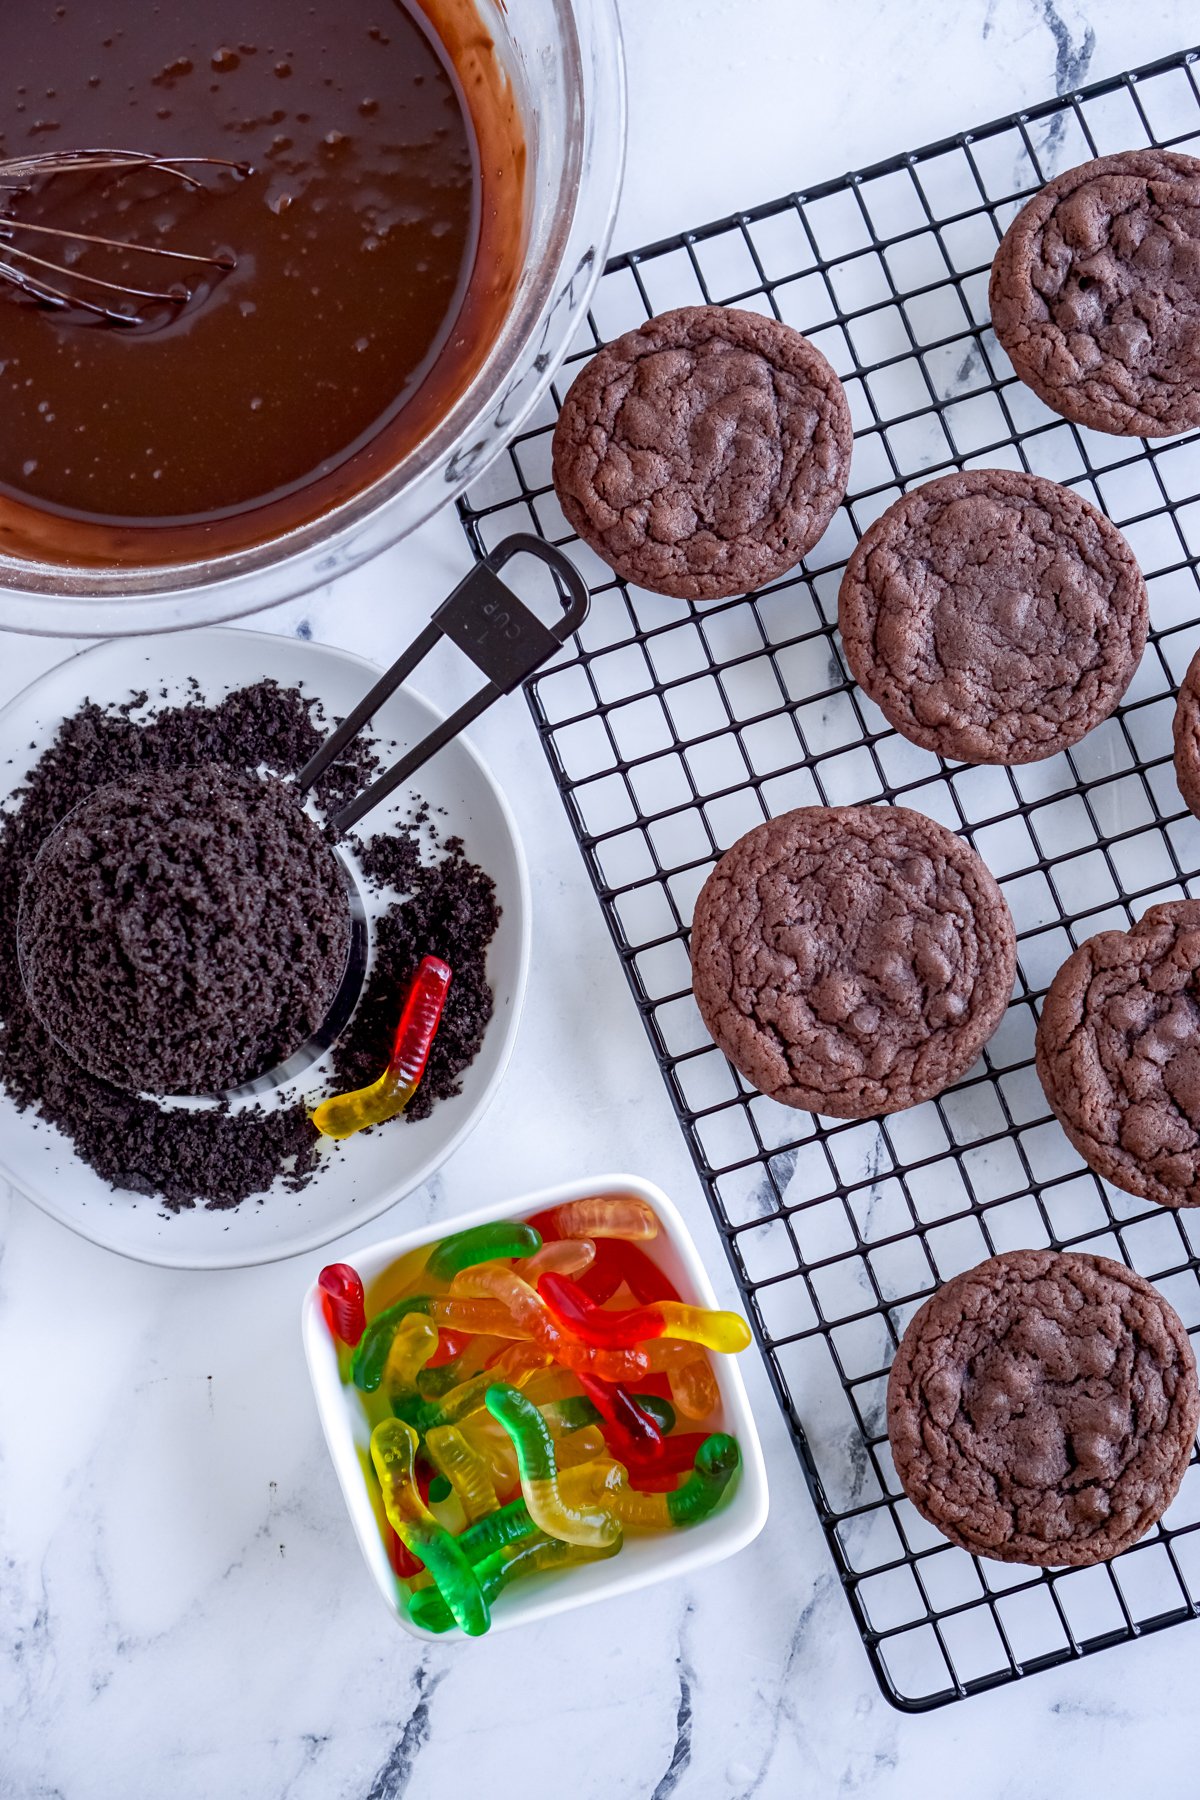
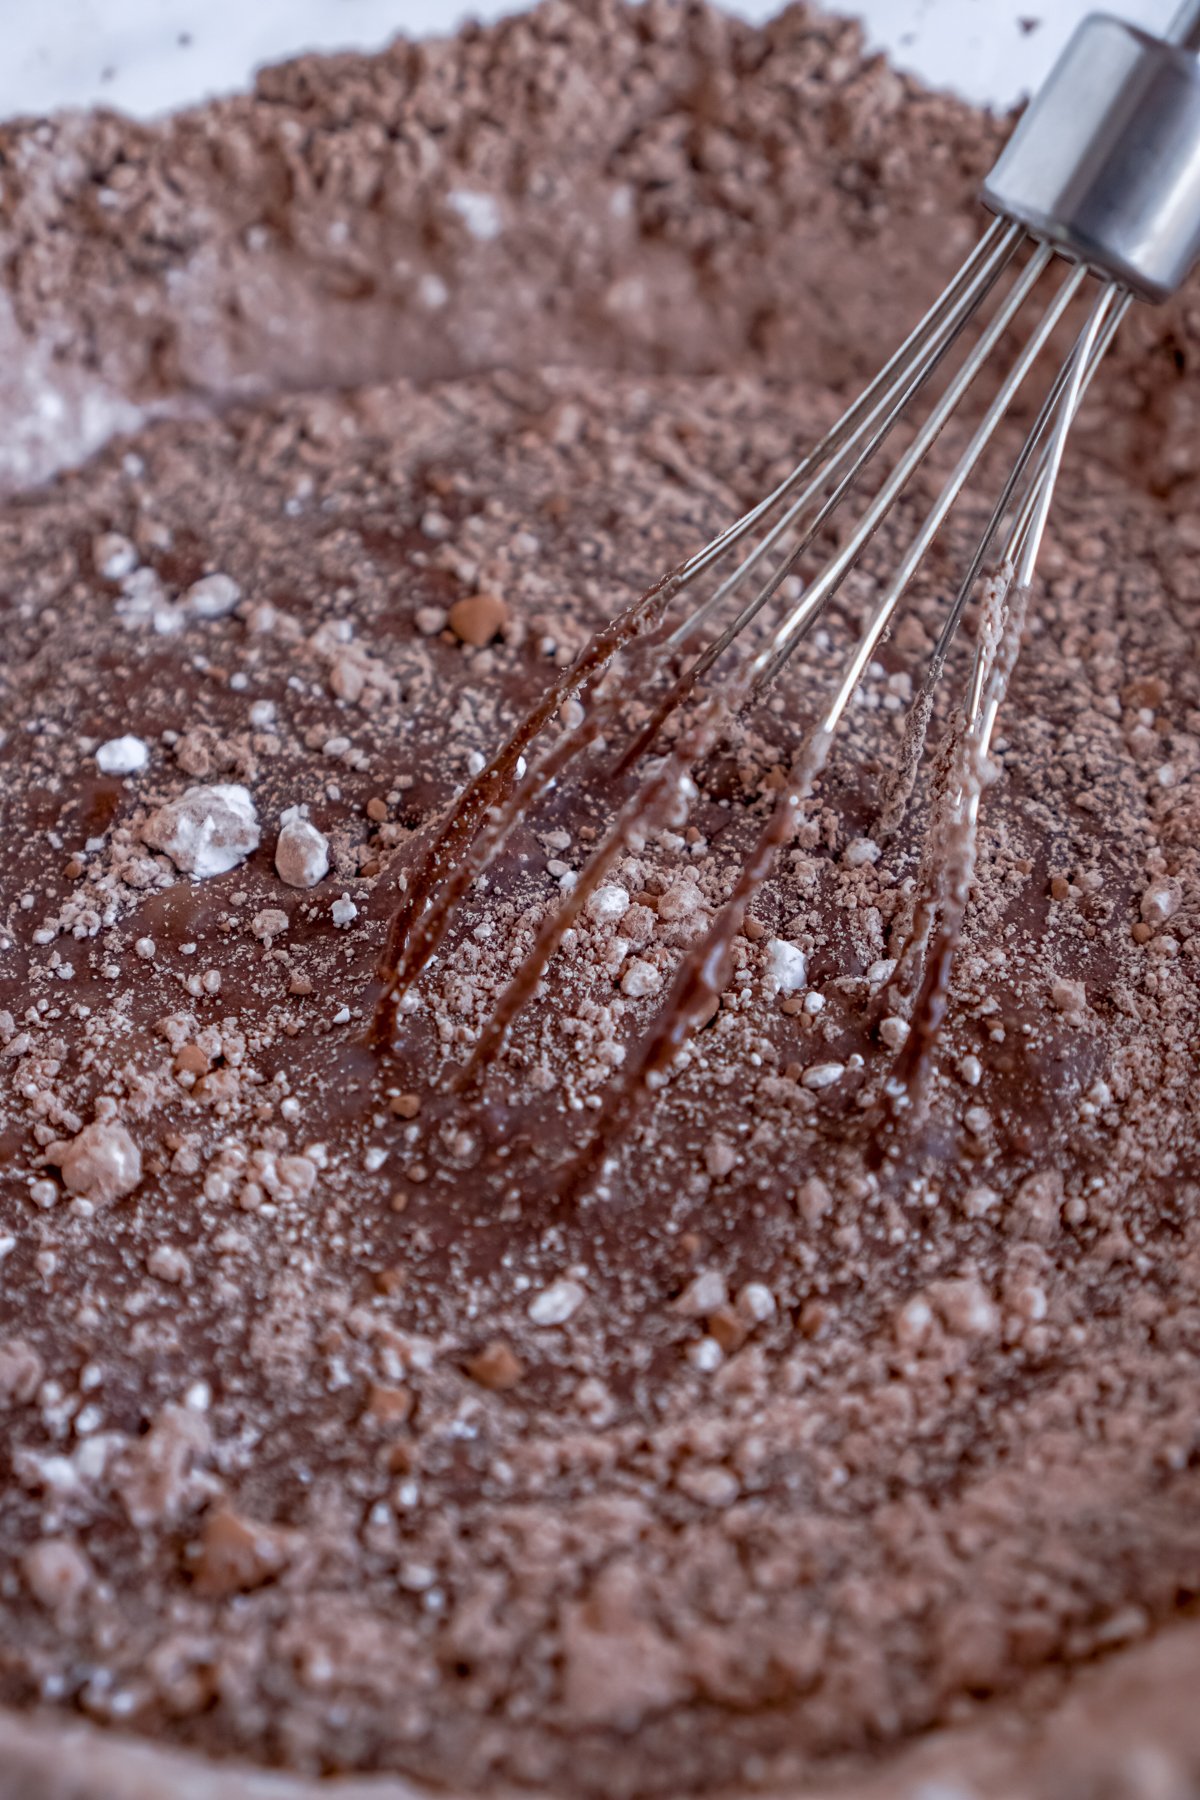
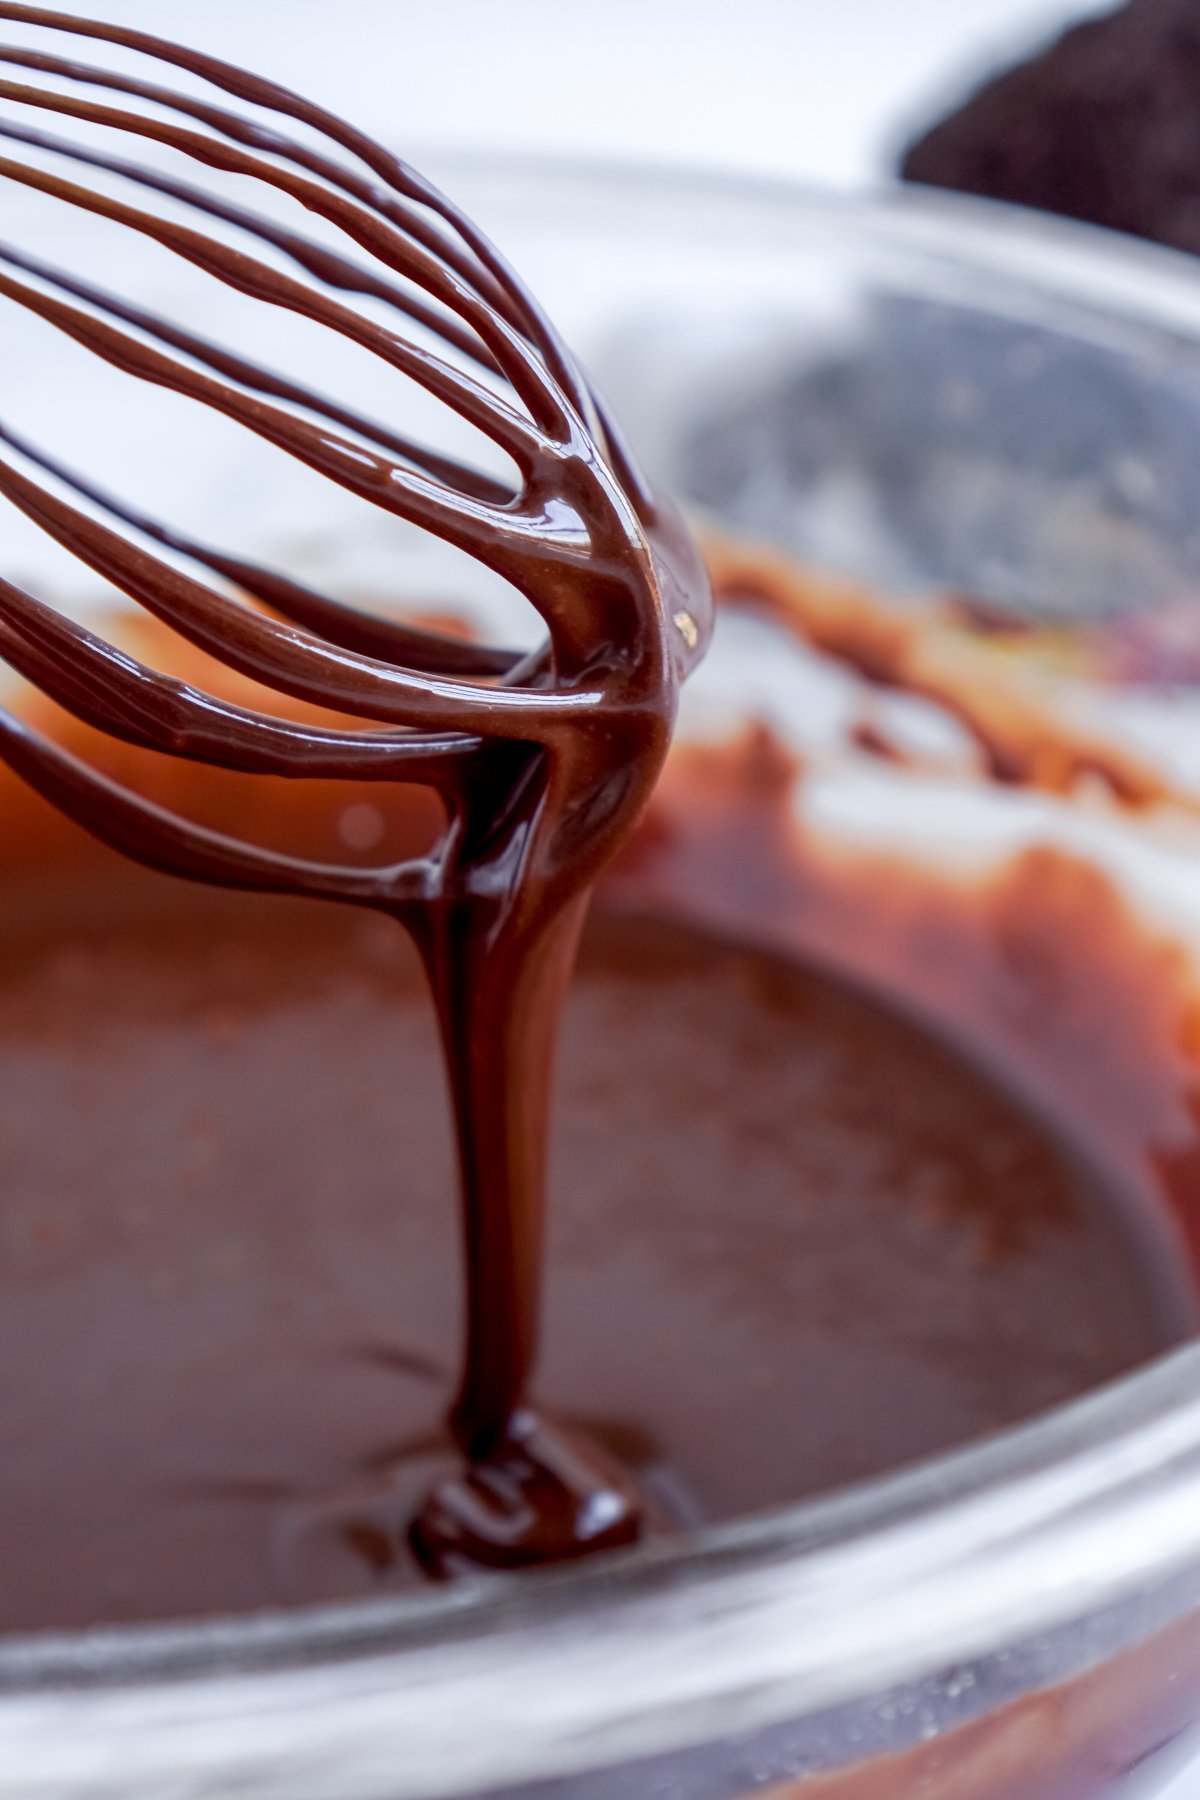
While cookies are cooling, make the glaze by combining the powdered sugar, cocoa powder, vanilla extract, and water in a bowl and mix until it reaches a good consistency. And when I say good consistency, it should coat the back of a spoon or drizzle off of a whisk or beater. You don’t want it to be so thin that it just runs right off the cookies, so I would error on the side of a little thicker if possible.
3 – Decorate the Dirt Cookies
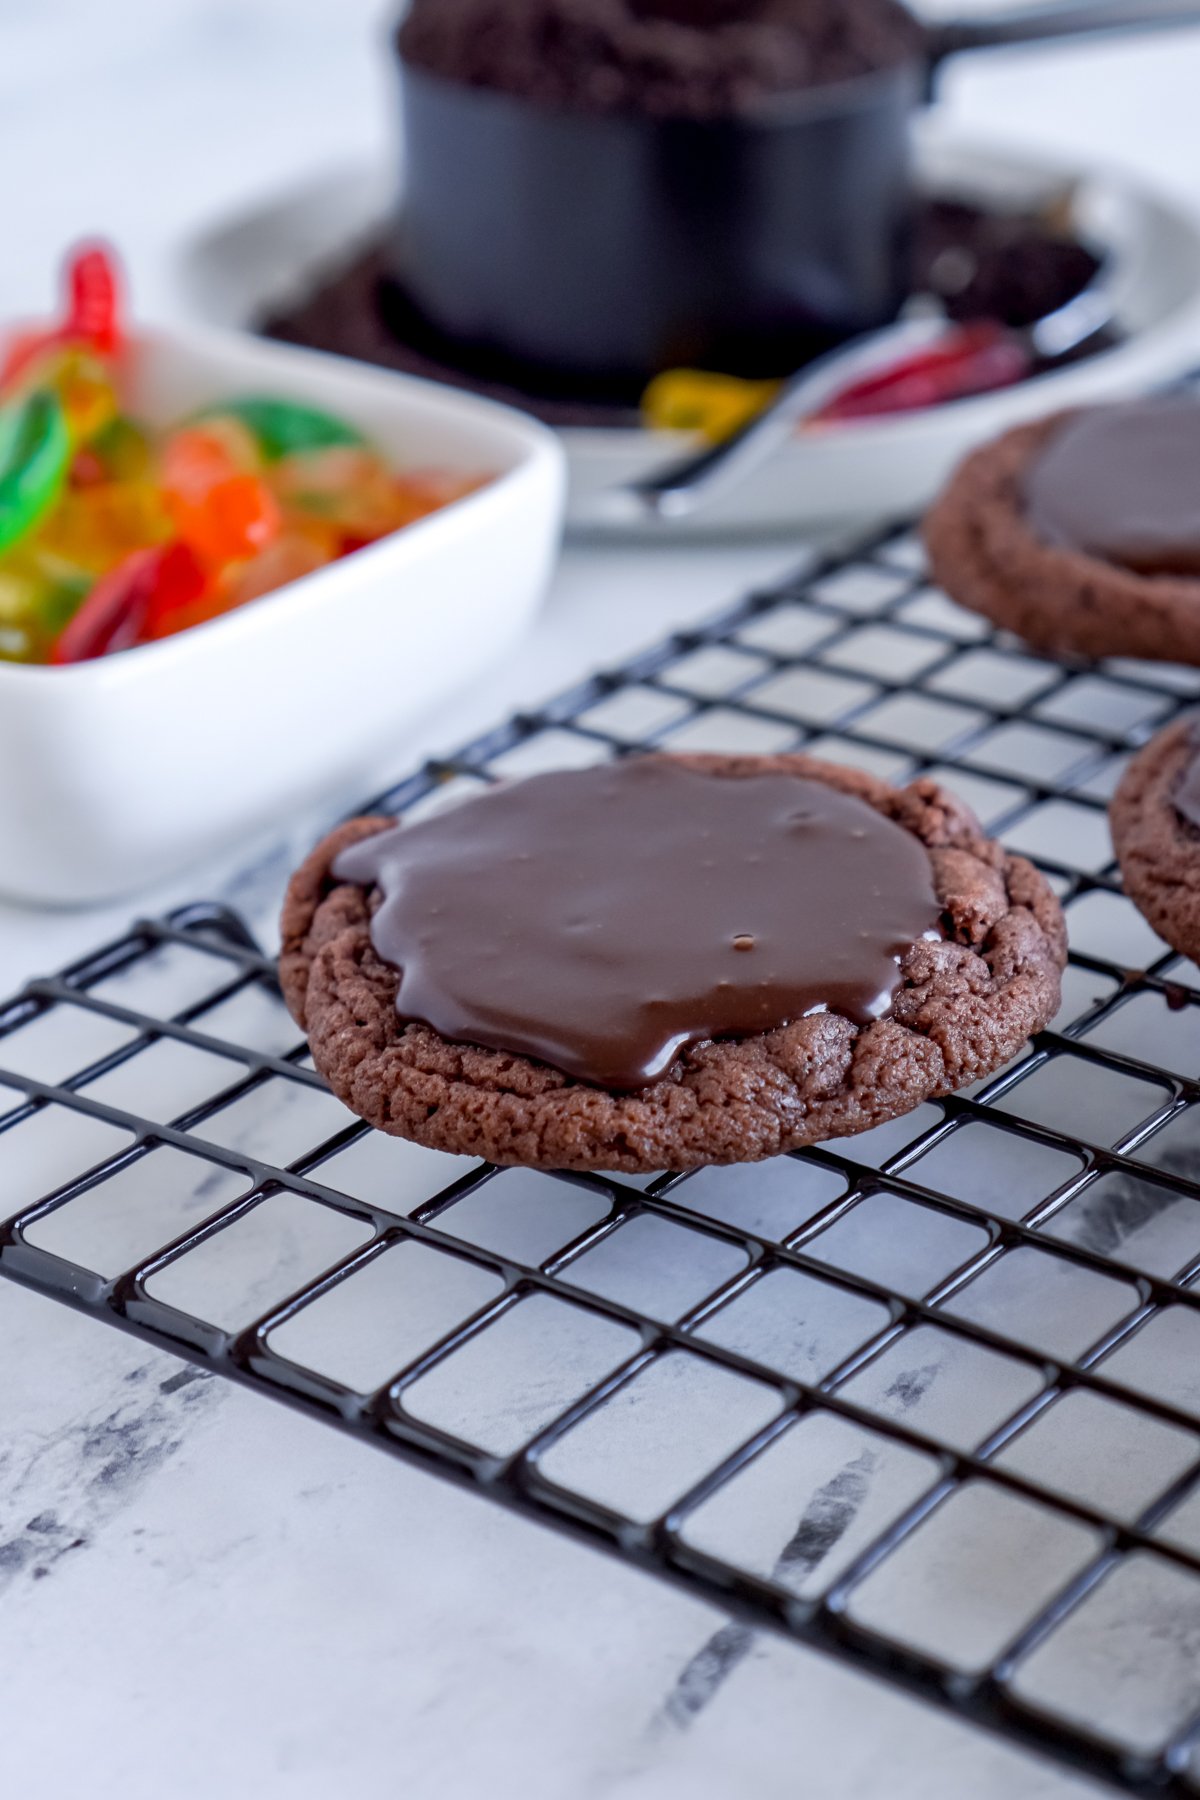
Spoon the glaze onto each cookie, swirling it into the center of the cookie without letting it drizzle over the edges. I recommend doing this either still on the cooling rack with a piece of parchment paper underneath or on a baking sheet with parchment paper for easy cleanup if any does drizzle off the sides.
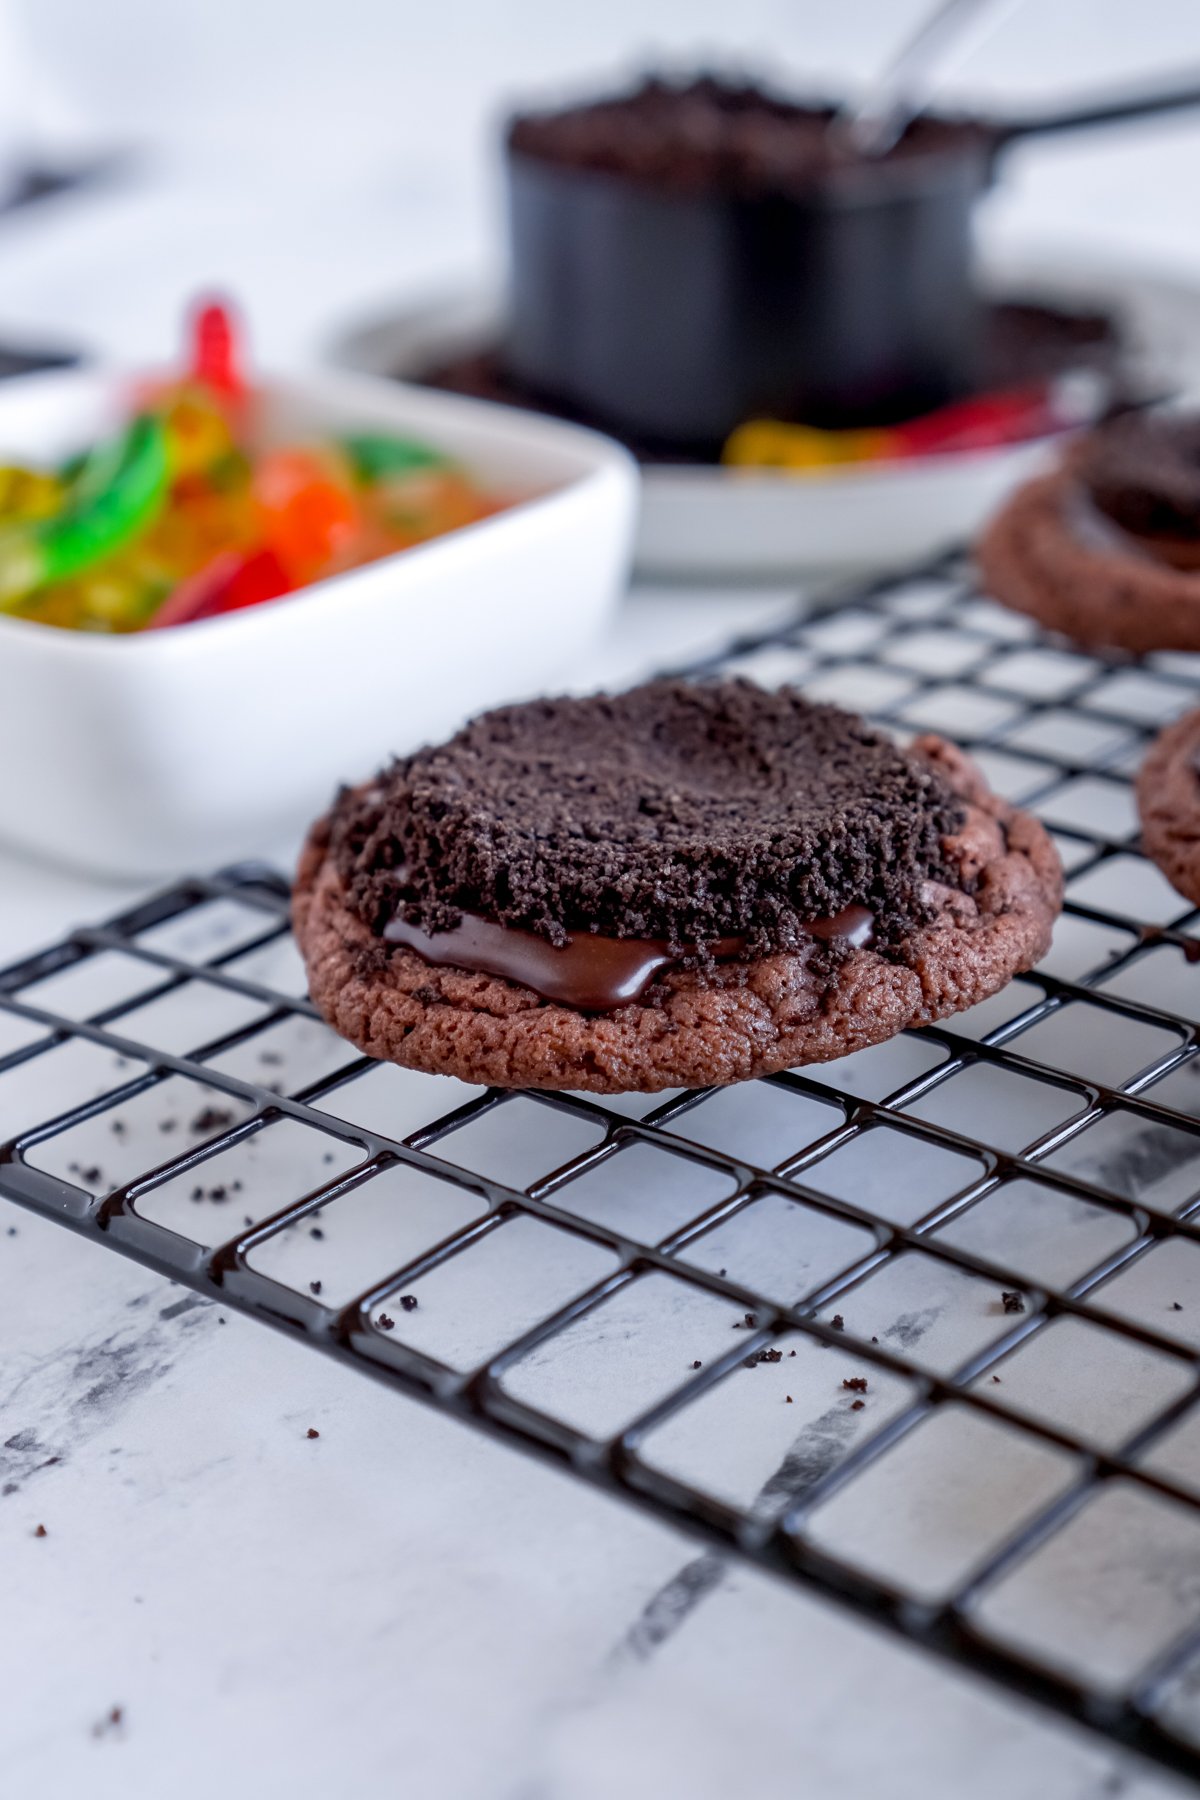
While the frosting is still wet, sprinkle Oreo crumbs over the center of the cookie, using a round cookie cutter to help keep it in the center and in a perfect circle of crumbs, if you want.
Or you can just freehand sprinkle them on top and try your best to coat the chocolate glaze!
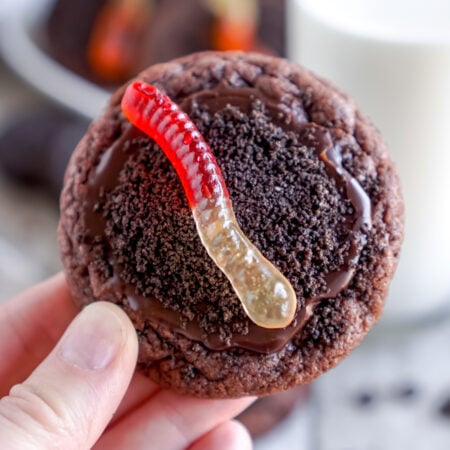
Finish the cookies by adding a gummy worm or two (if using mini ones) to the top of the cookies, pressing them in gently so that they stick into the frosting.
Let the cookies set for a bit so that the frosting hardens enough for the gummy worms to stick.
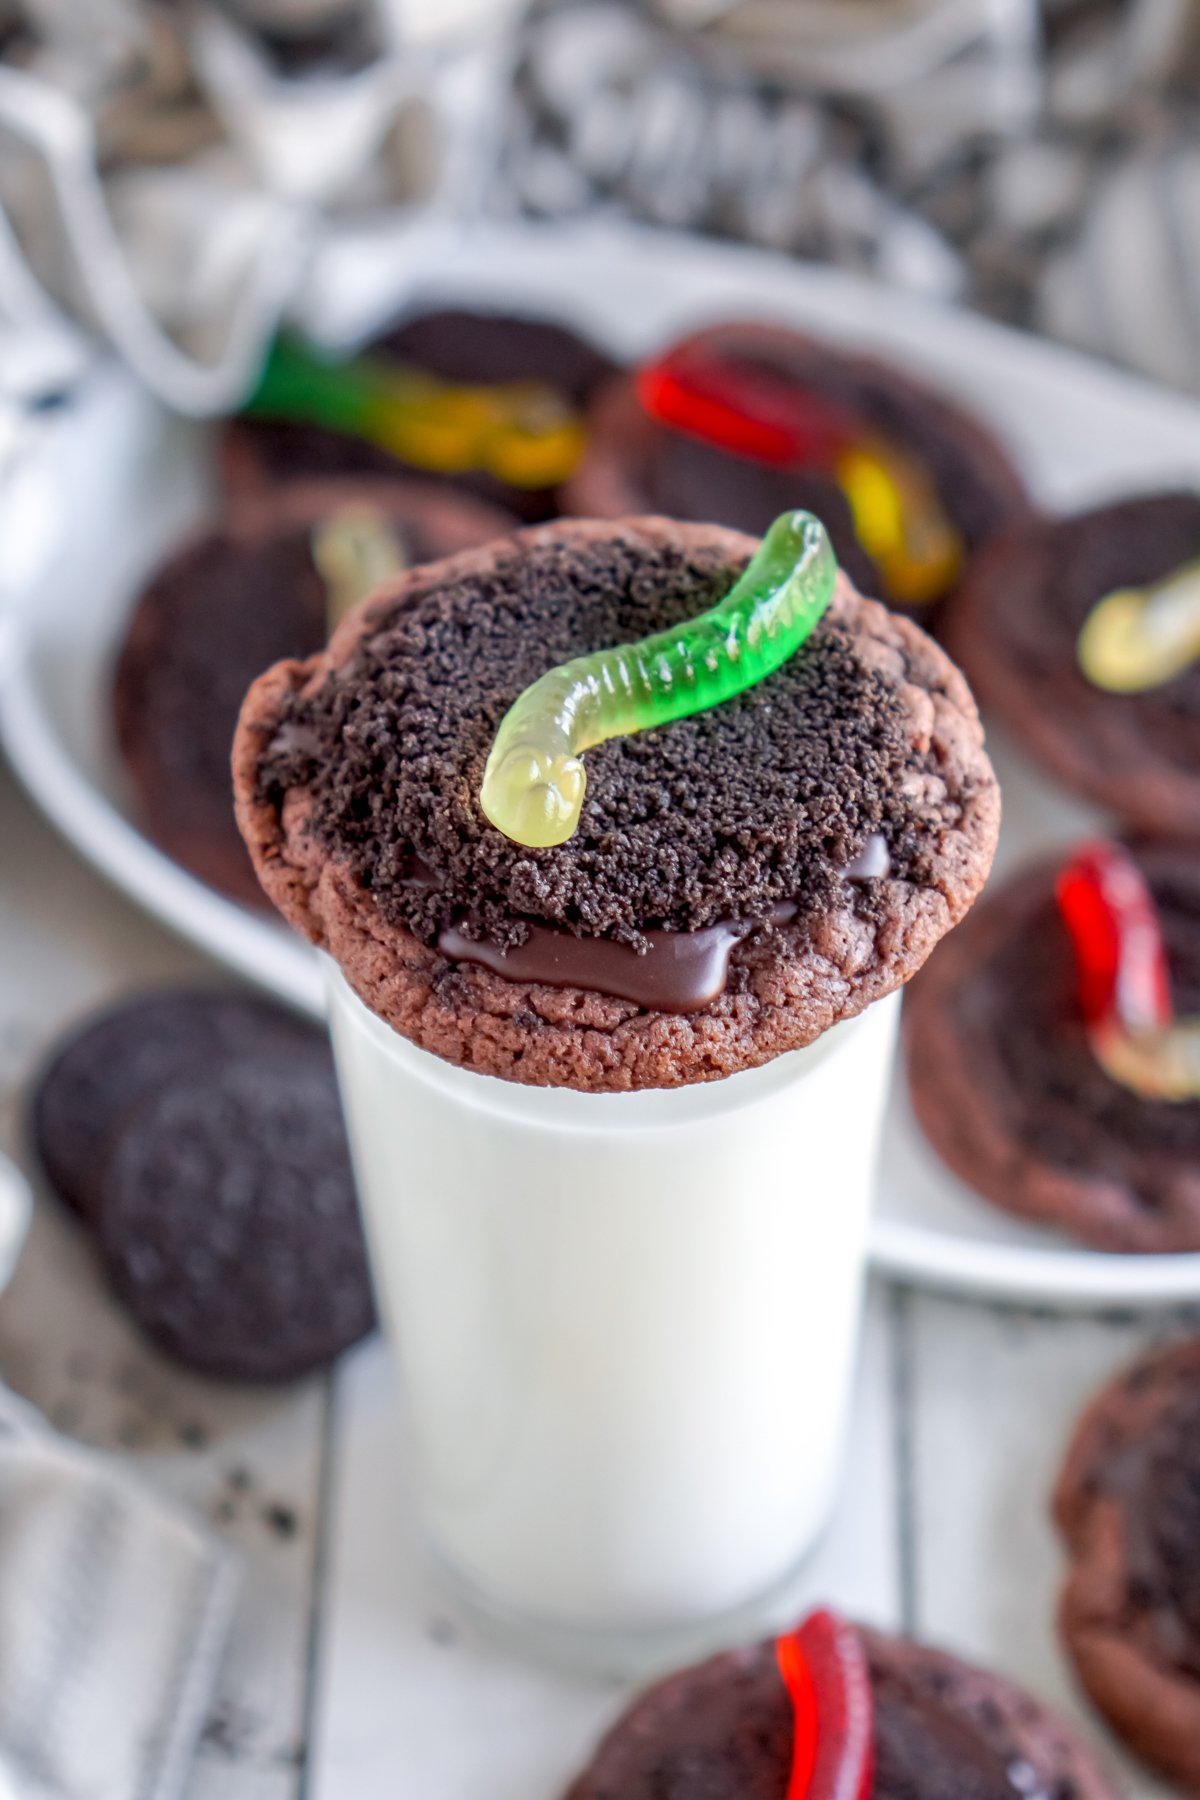
Serve on their own or with glasses of milk! These would be really fun served on top of glasses of milk at a party with cute little straws!
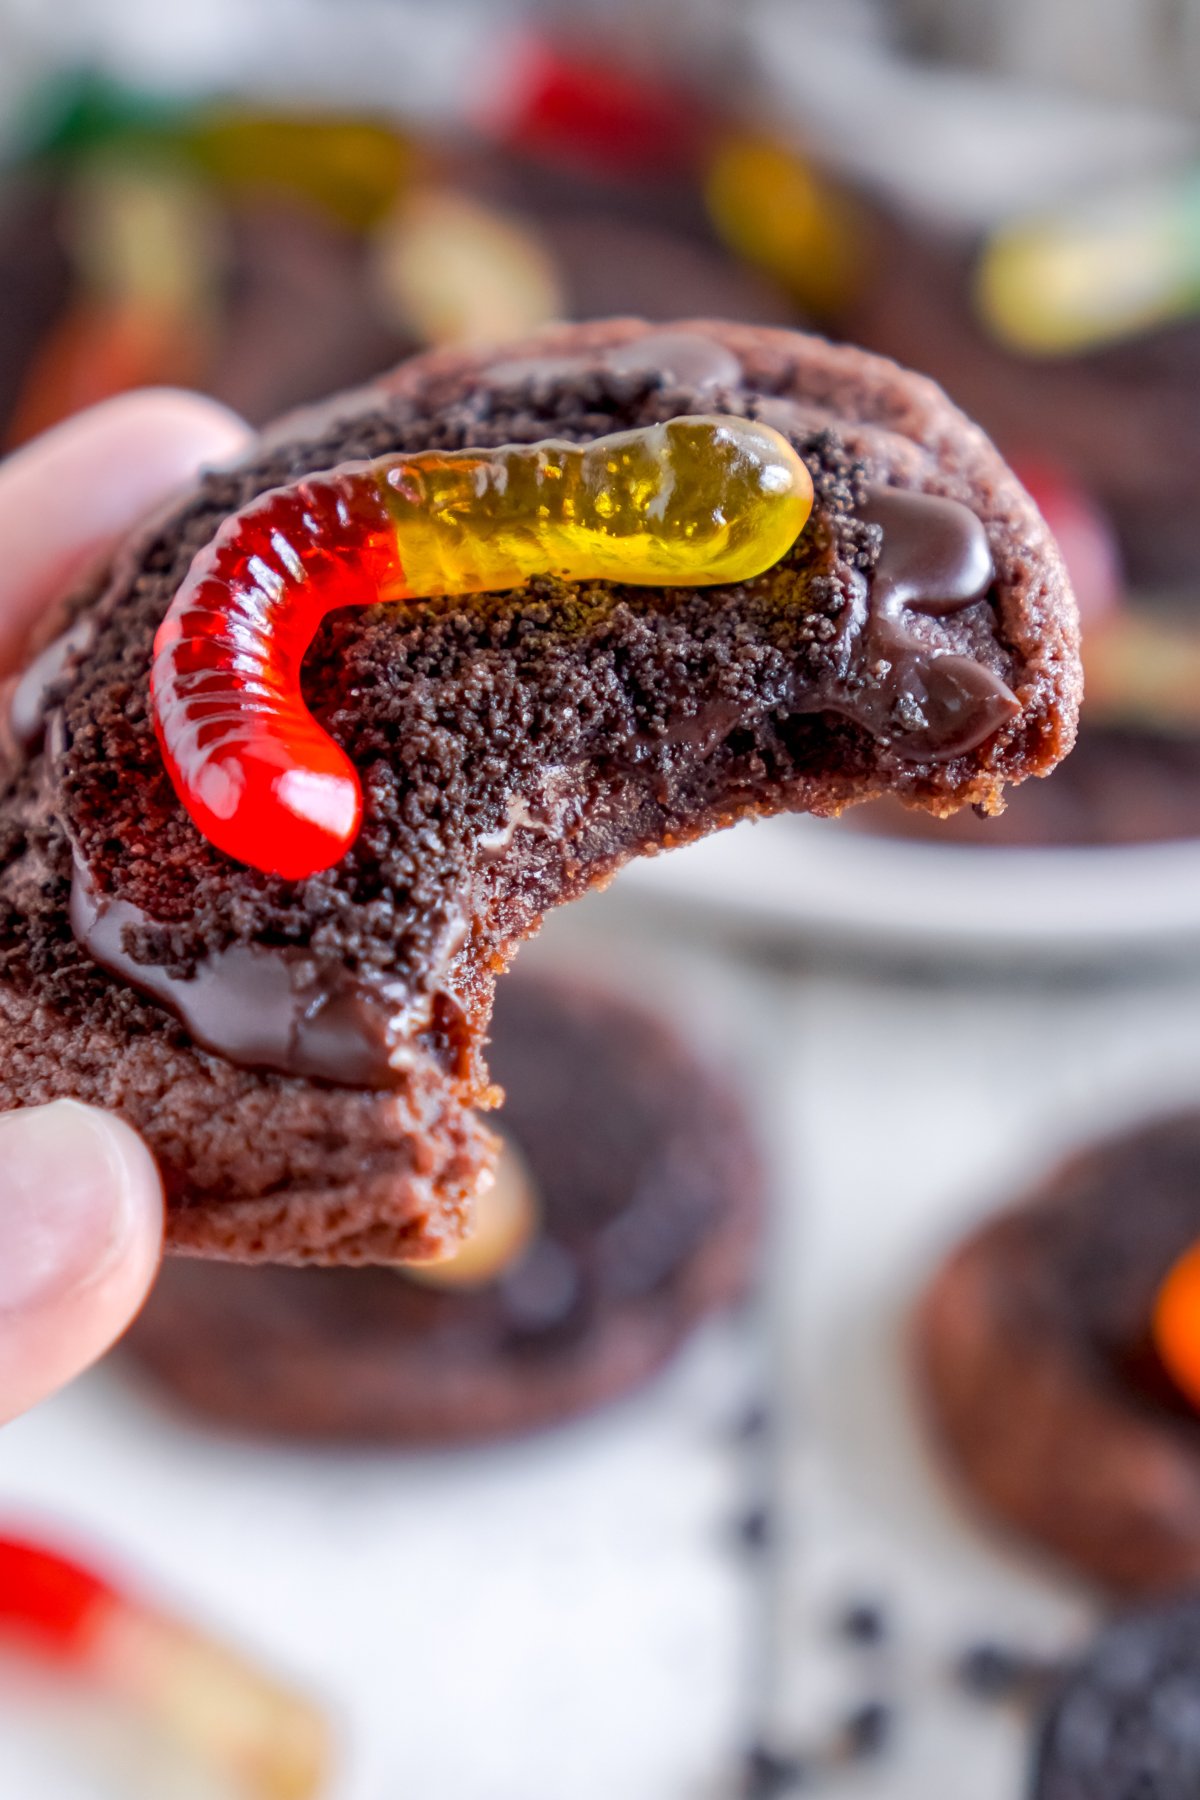
I knew that these dirt cookies would turn out cute, but I’l be honest – I wasn’t sure these would taste as good as they do! They’re similar to these chocolate pudding cookies with a really velvety chocolatey taste, they’re moist, and the frosting just adds a touch of sweetness without being too much.
I can’t wait to make these again for a spring bug themed day with my boys. We’ll make these tissue paper butterflies, eat dirt and worms cookies, and go on a nature scavenger hunt looking for real bugs!
Expert Tips
Make sure your Oreo crumbs are fine enough that you can just sprinkle them on the cookies for an Oreo cookie coating. You don’t want any big chunks or they won’t look like the dirt cookies you’re going for. Store cookies in an airtight container for up to five days before throwing in the trash (or eating them all!). Freeze the chocolate chip pudding cookies before they’re glazed and topped with dirt. Place them in a freezer safe airtight bag or container and freeze for up to three months. When you’re ready to eat, just remove from the freezer and allow to thaw to room temperature. Mix up some glaze and glaze + top them when you’re ready to eat!
More Easy Cookie Recipes
Caramel toffee cookies – these soft caramel based cookies are made even more delicious with toffee bits! 4-ingredient pumpkin cookies – easy cake mix pumpkin cookies that are fluffy and delicious! Sugar cookie fudge – not actually cookies, but this fudge recipe tastes just like sugar cookies! Snicker cookies – peanut butter cookies stuffed jam pack full with Snickers in the middle! Orange sugar cookies – mini sugar cookies with a nice light citrus flavor!
And by the way, I’ve had a number of people ask me about ways they can support my blog, so I’m really excited to share that I’m one of Google’s paid early testers for their Thank with Google pilot program! Thank with Google is an experimental feature that allows people to show creators that they appreciate their work by sending paid virtual stickers with personal messages to us! The virtual stickers turn into actual revenue that in turn supports me and my site and there are a number of options to choose from! If you’re interested in trying it out, the Thank with Google feature is a button available at the top and bottom of all my blog posts! Thanks as always for your support of everything we do here at Play Party Plan!
