When we started talking about finishing our basement, we knew that there was one main thing we wanted to put down there – a climbing area for the kids. My toddler is a climber, to put it lightly. We wanted a place that was designed for him to climb. We also wanted to make sure that it was both a place where the kids could run and play but also relax. So in addition to putting in these awesome basement dry bar ideas, we also put in some really fun modern playroom ideas too! And I’m going to walk you through how we did it along with some of the fun personalized DIY touches I added to finish off the space – with the help of my Cricut Joy!
Modern Playroom Climbing Area
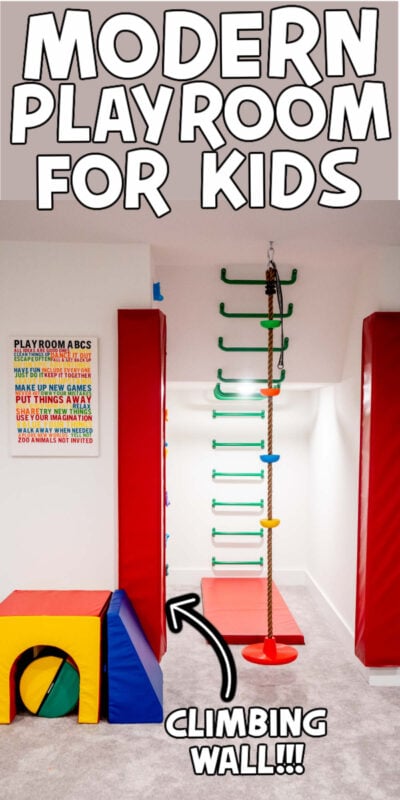
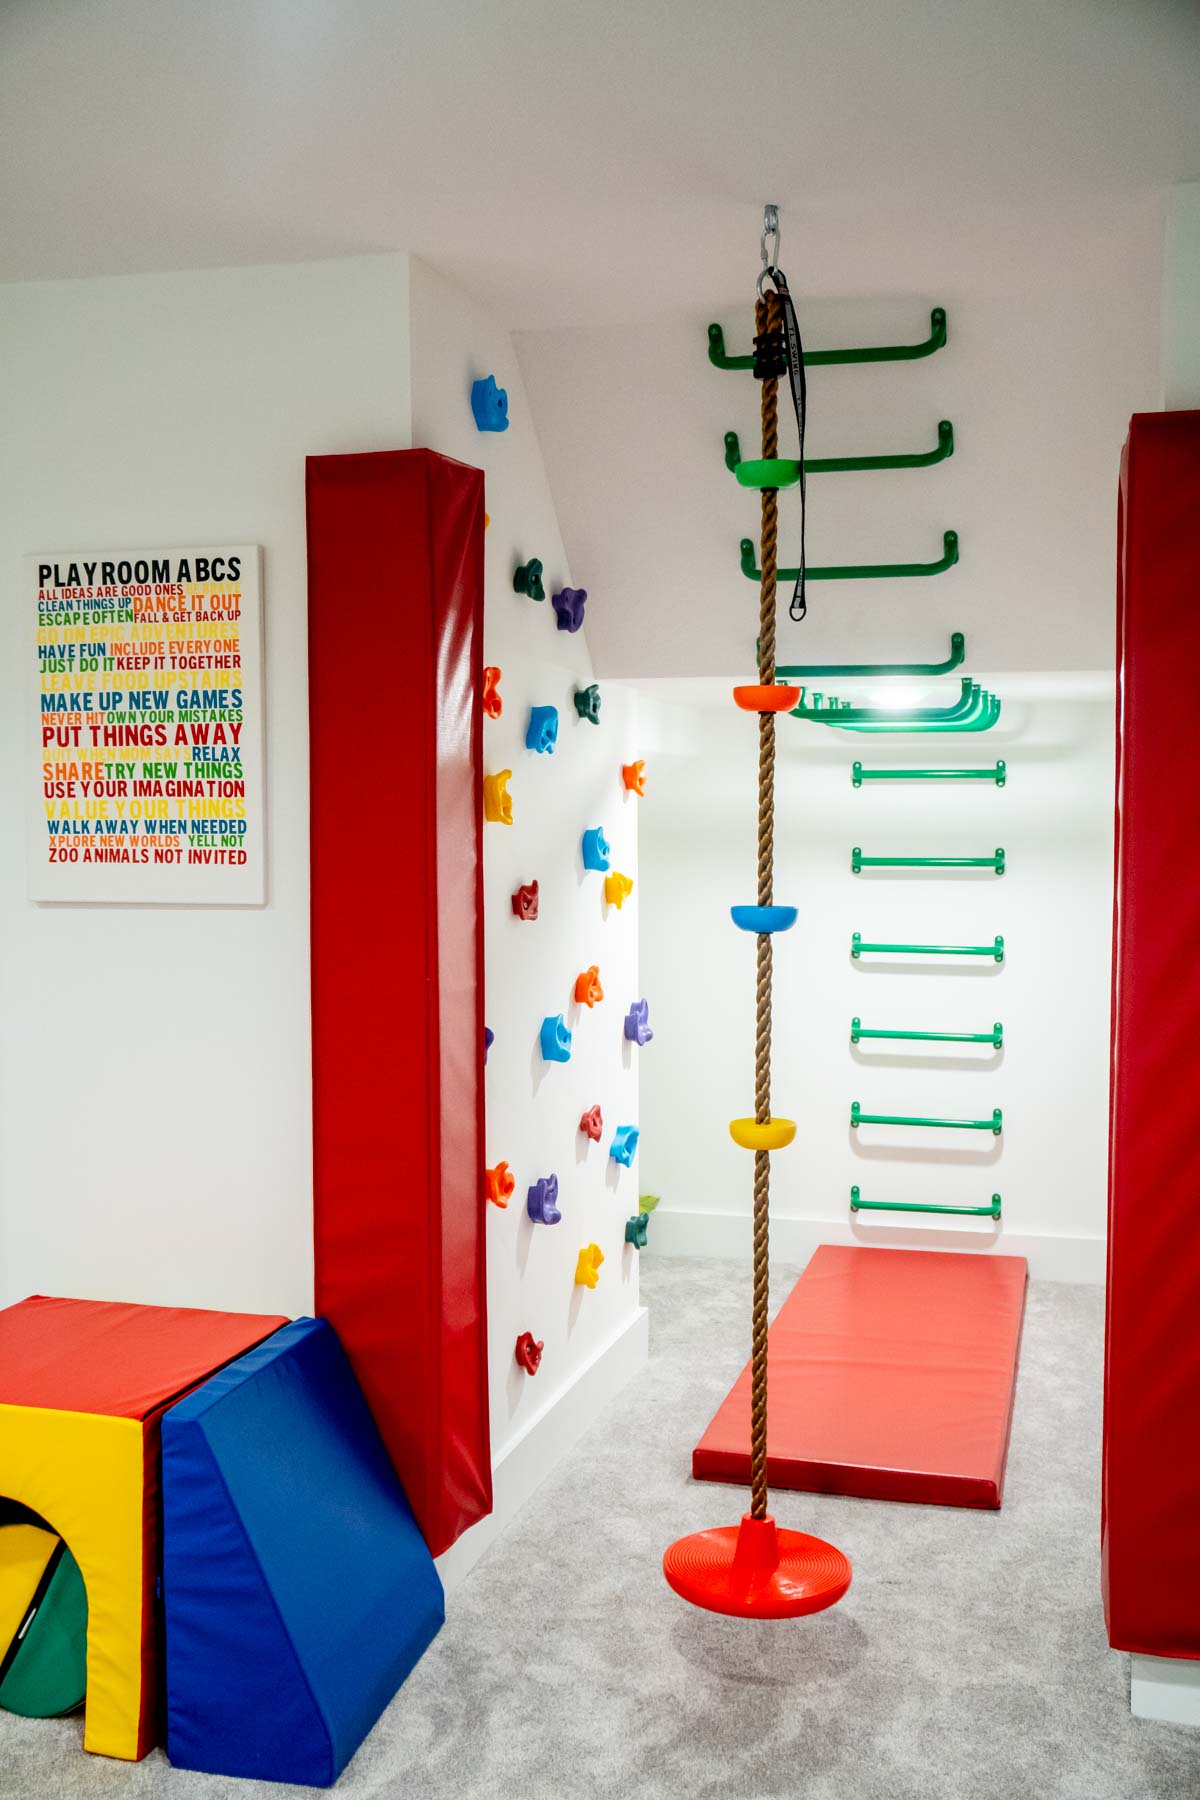
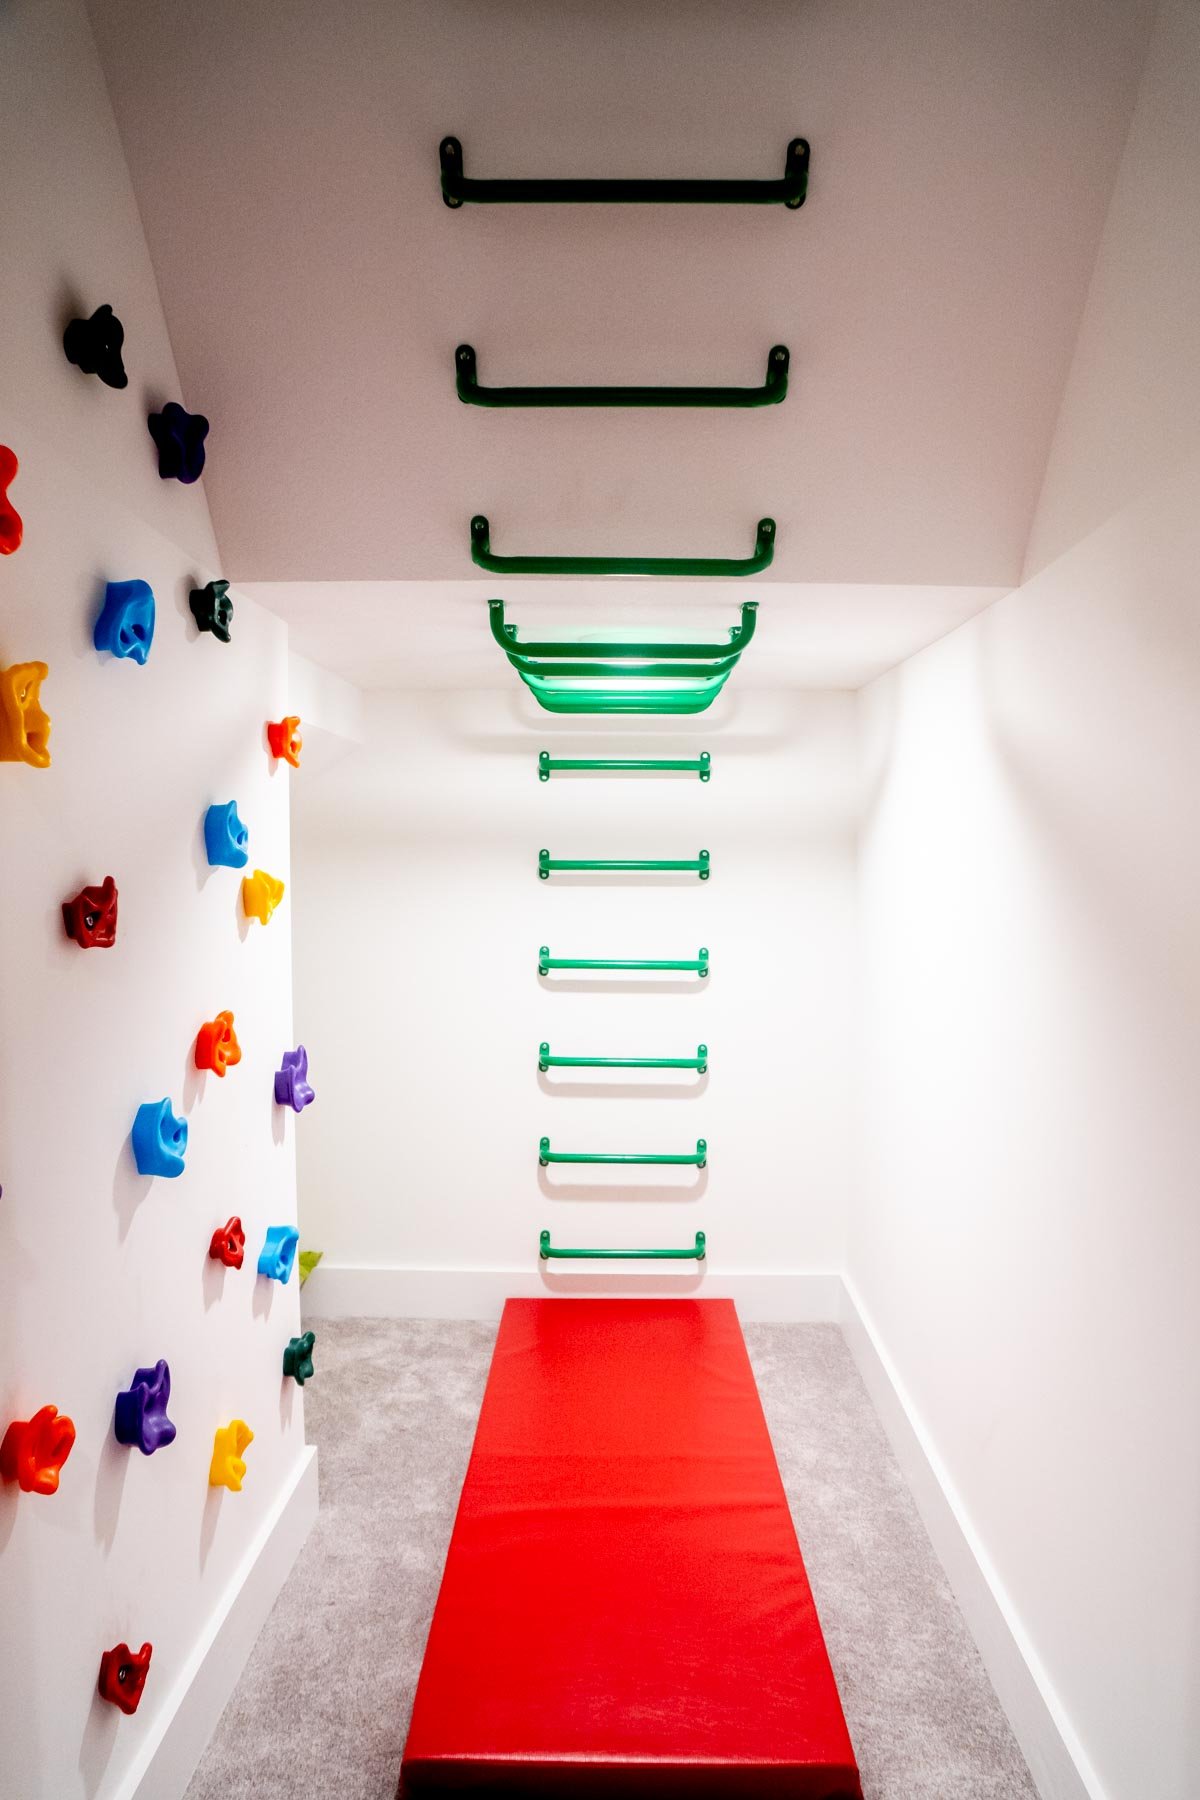
Okay so let’s start here because it’s obviously the star of the basement – our under the stairs playroom climbing space. We talked about putting in a little playhouse but decided the under the stair area was the better place for climbing (and put the playhouse elsewhere).
Climbing Wall and Monkey Bars
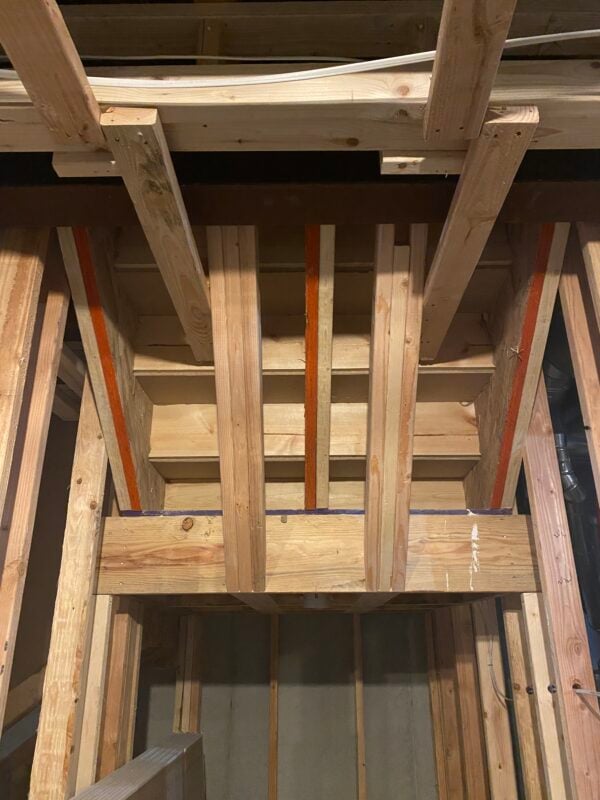
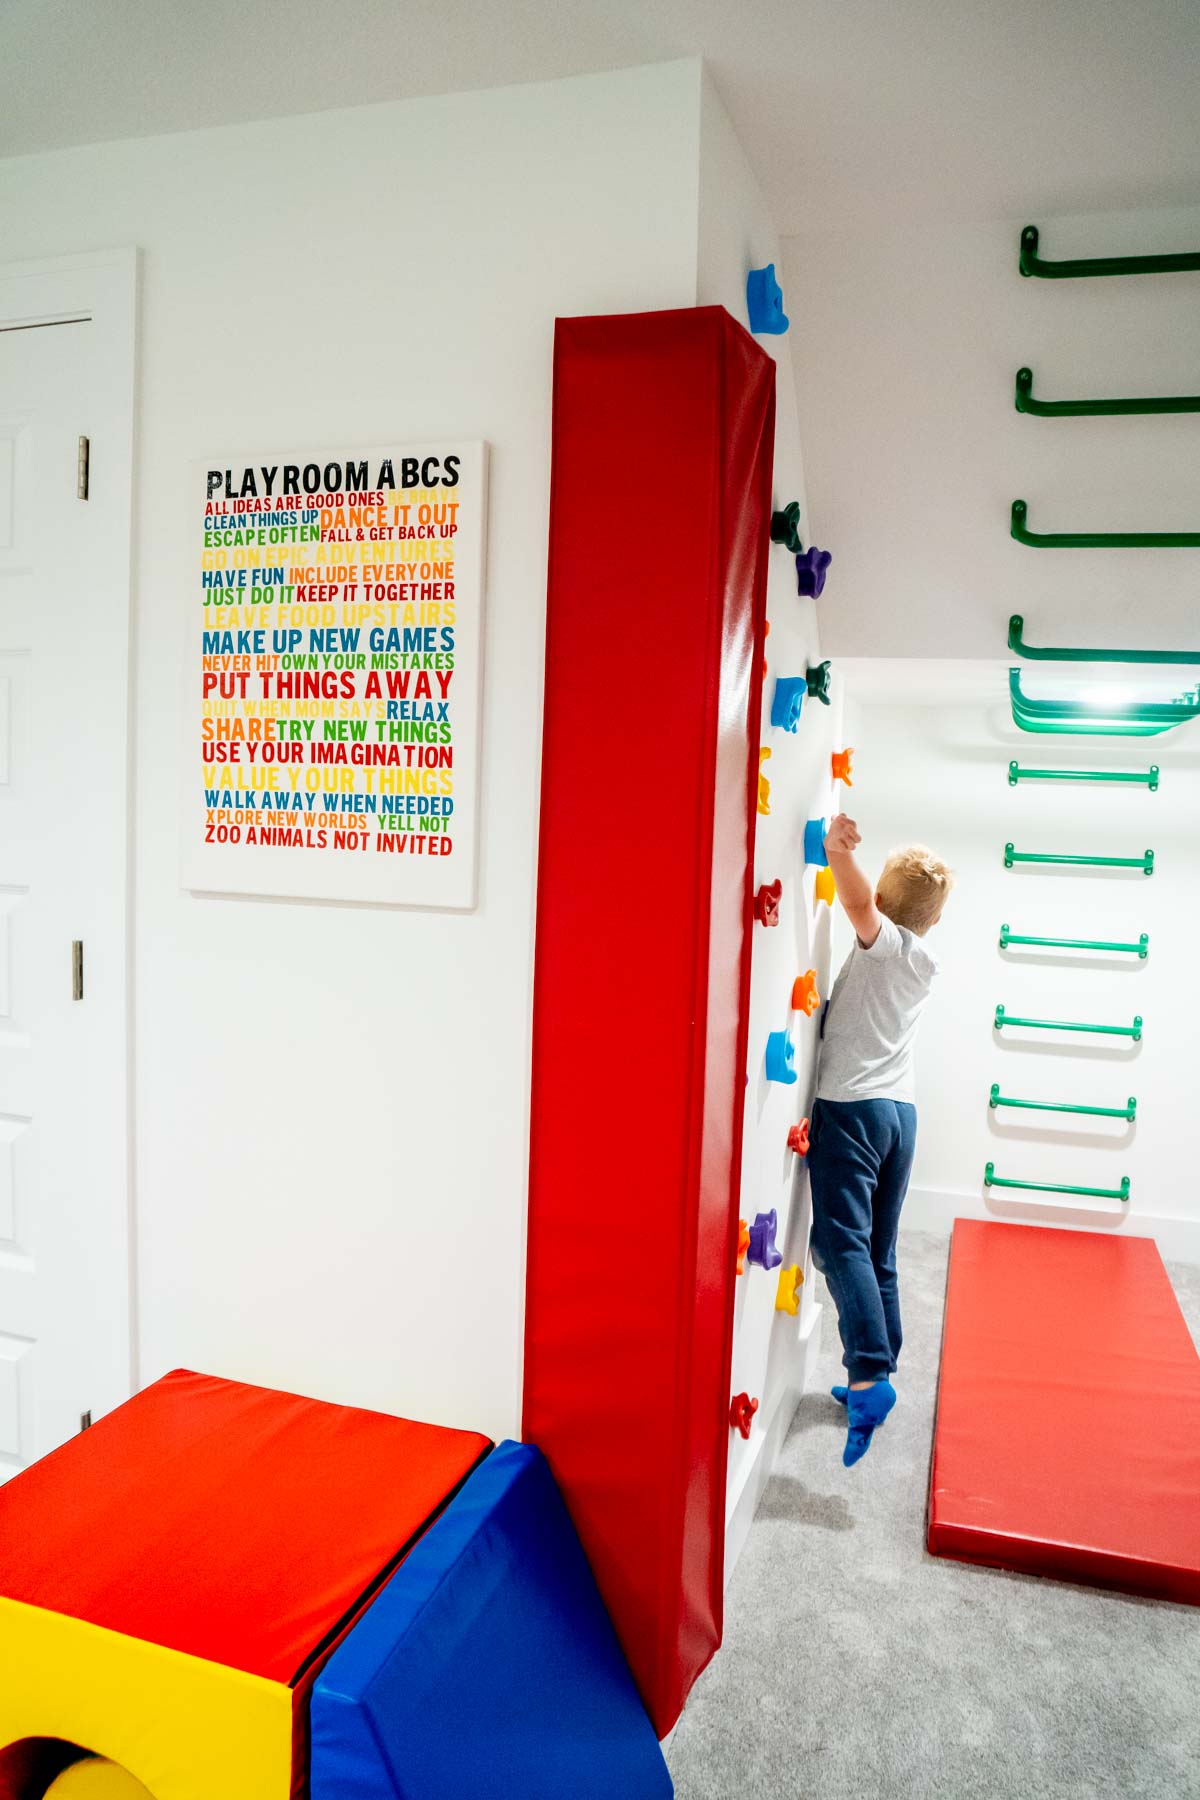
I’m going to be very transparent – we did not do this ourselves. We picked everything out and designed it but the construction team finishing our basement actually put everything together for us. The most important thing they did was add tons of additional support beams before the drywall both on the climbing wall AND up the back and top walls where the monkey bars are hanging. They also added a support element so we could hang the swing (or anything else). You can see part of the support structure for the monkey bars below – we specifically wanted it built so that adults could also hang on them! We looked at various types of climbing walls, monkey bars, etc. and decided based on cost and reviews to go with these:
Monkey bars – these are technically called playground handles, but they work great as monkey bars!Rope swing – I recommend putting this in a space that’s wide enough so it doesn’t hit the walls or make sure to get mats for your walls, the disc is pretty solid! Climbing wall holds – we really like the bright colored nature of these and just tried to vary the colors so they looked nice on the wall! Foam climbing blocks – we also wanted to get some smaller size foam climbing blocks for the kiddos, and I’ve been amazed how much they play on these!
We are also planning to get a full-size mat for the space but so many were out of stock during the last year (apparently lots of people were building climbing gyms downstairs), so that hasn’t happened quite yet!
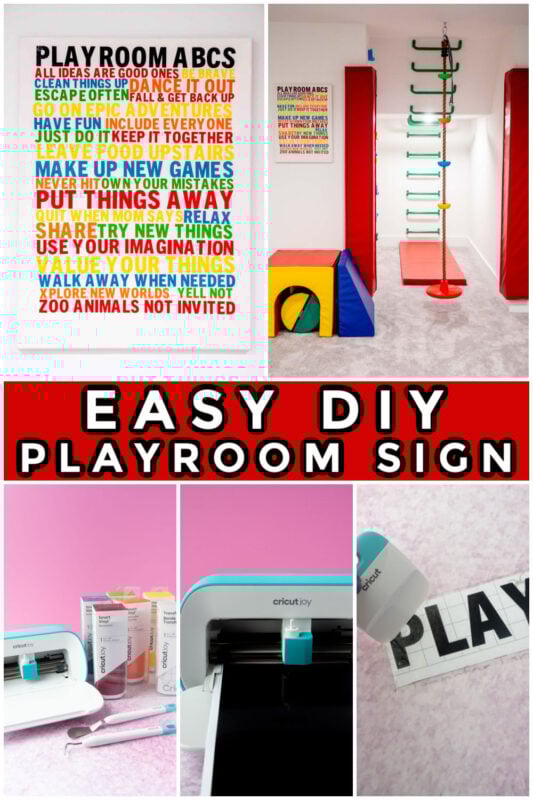
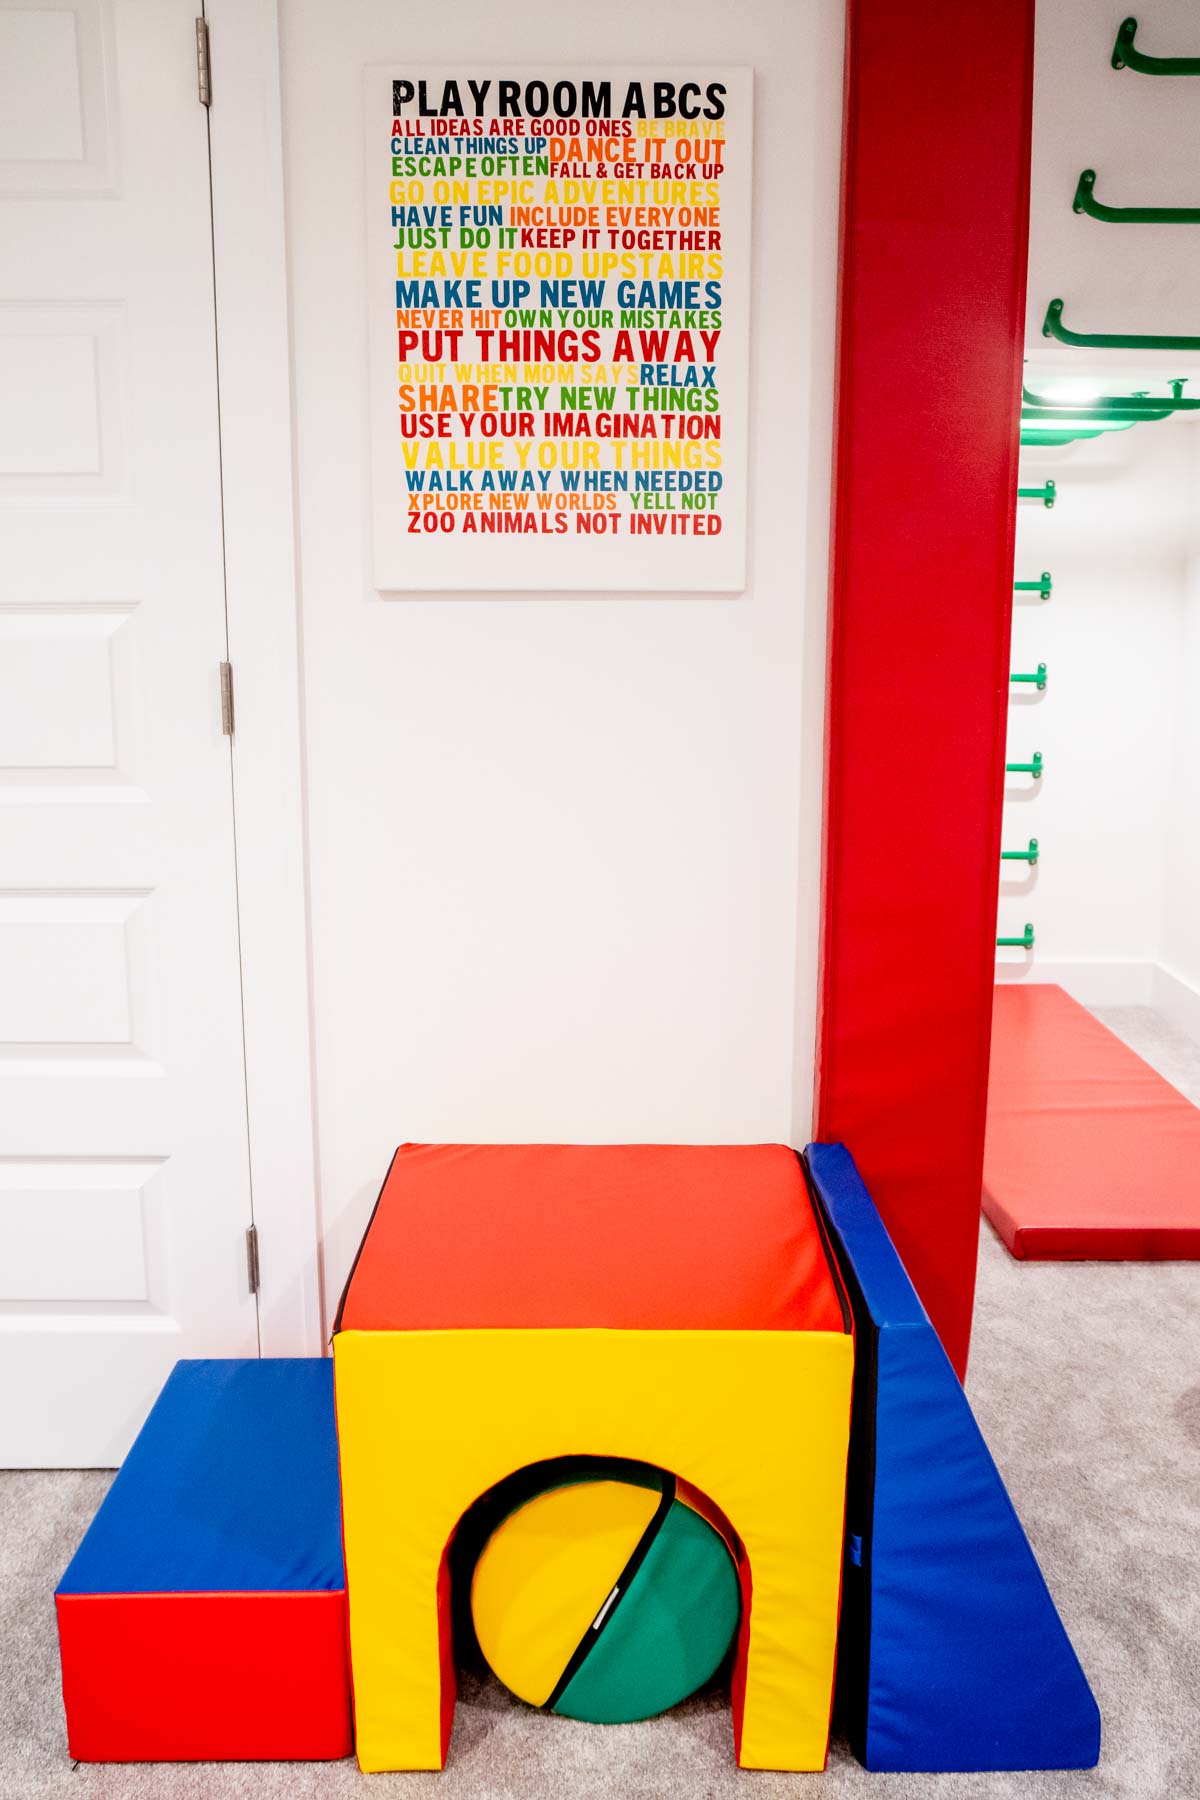
DIY Modern Basement Sign
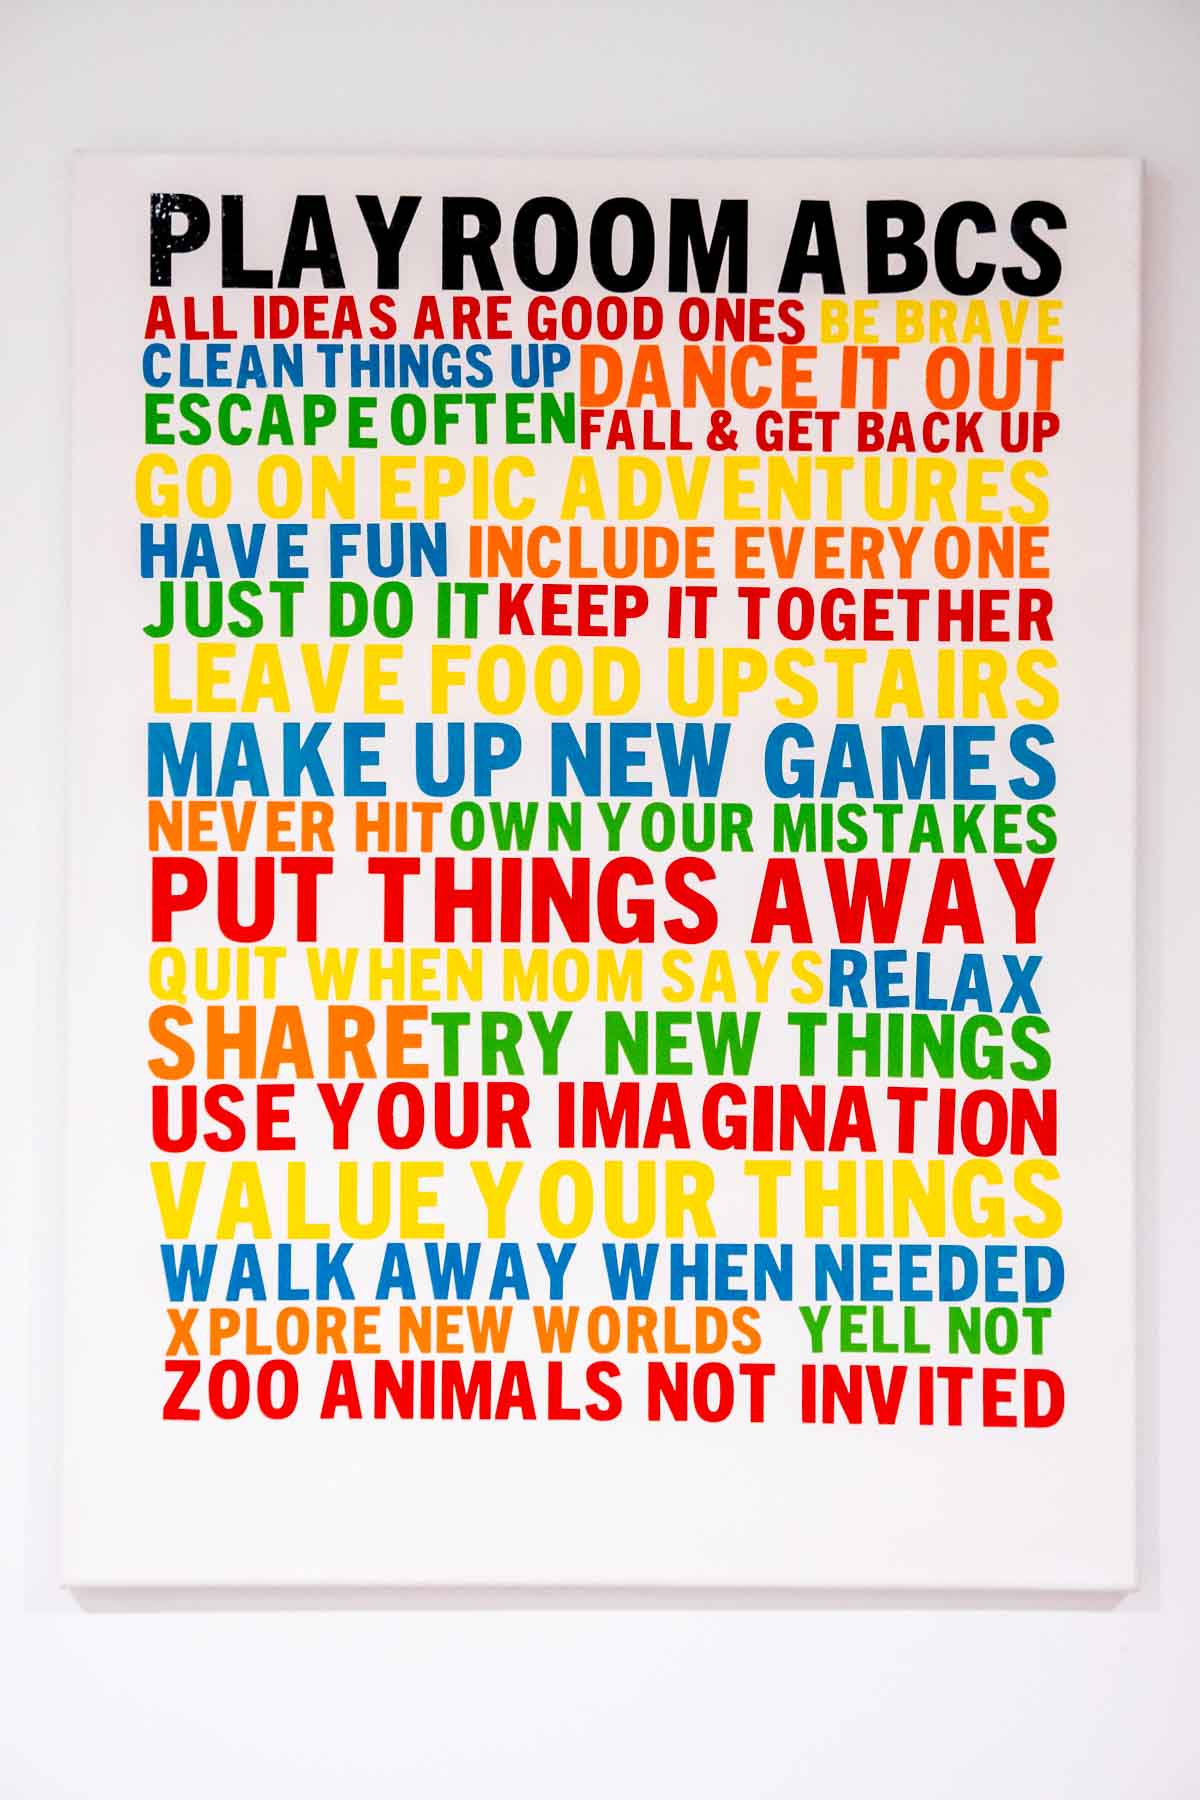
I kept feeling like there was something missing from our space (and not just the mat). I finally figured it out – there’s a big white wall right by the climbing area that just felt bare. So I pulled out my Cricut Joy and solved that problem! This Playroom ABCs sign is my version of the playroom rules – some silly and some real! When I read it to my boys, they laughed. Mission accomplished!
Supplies
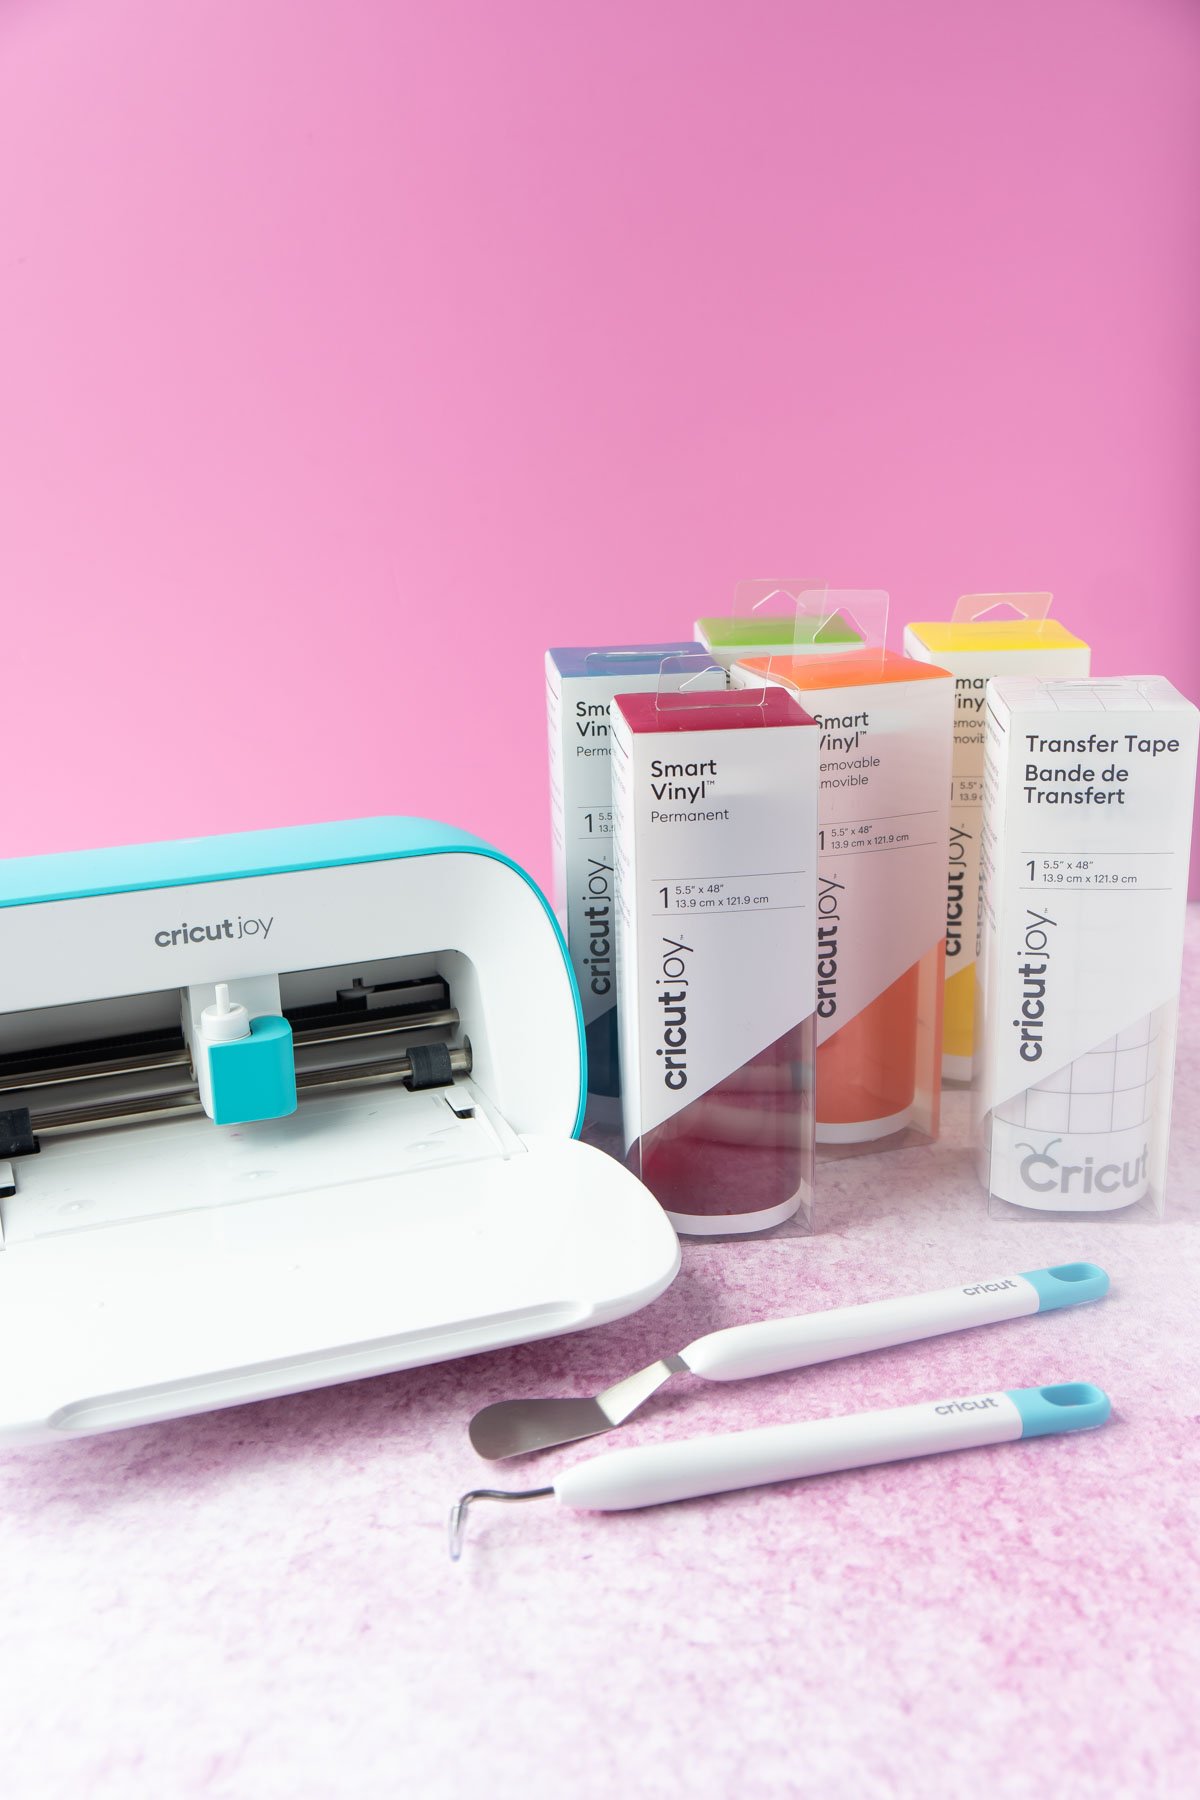
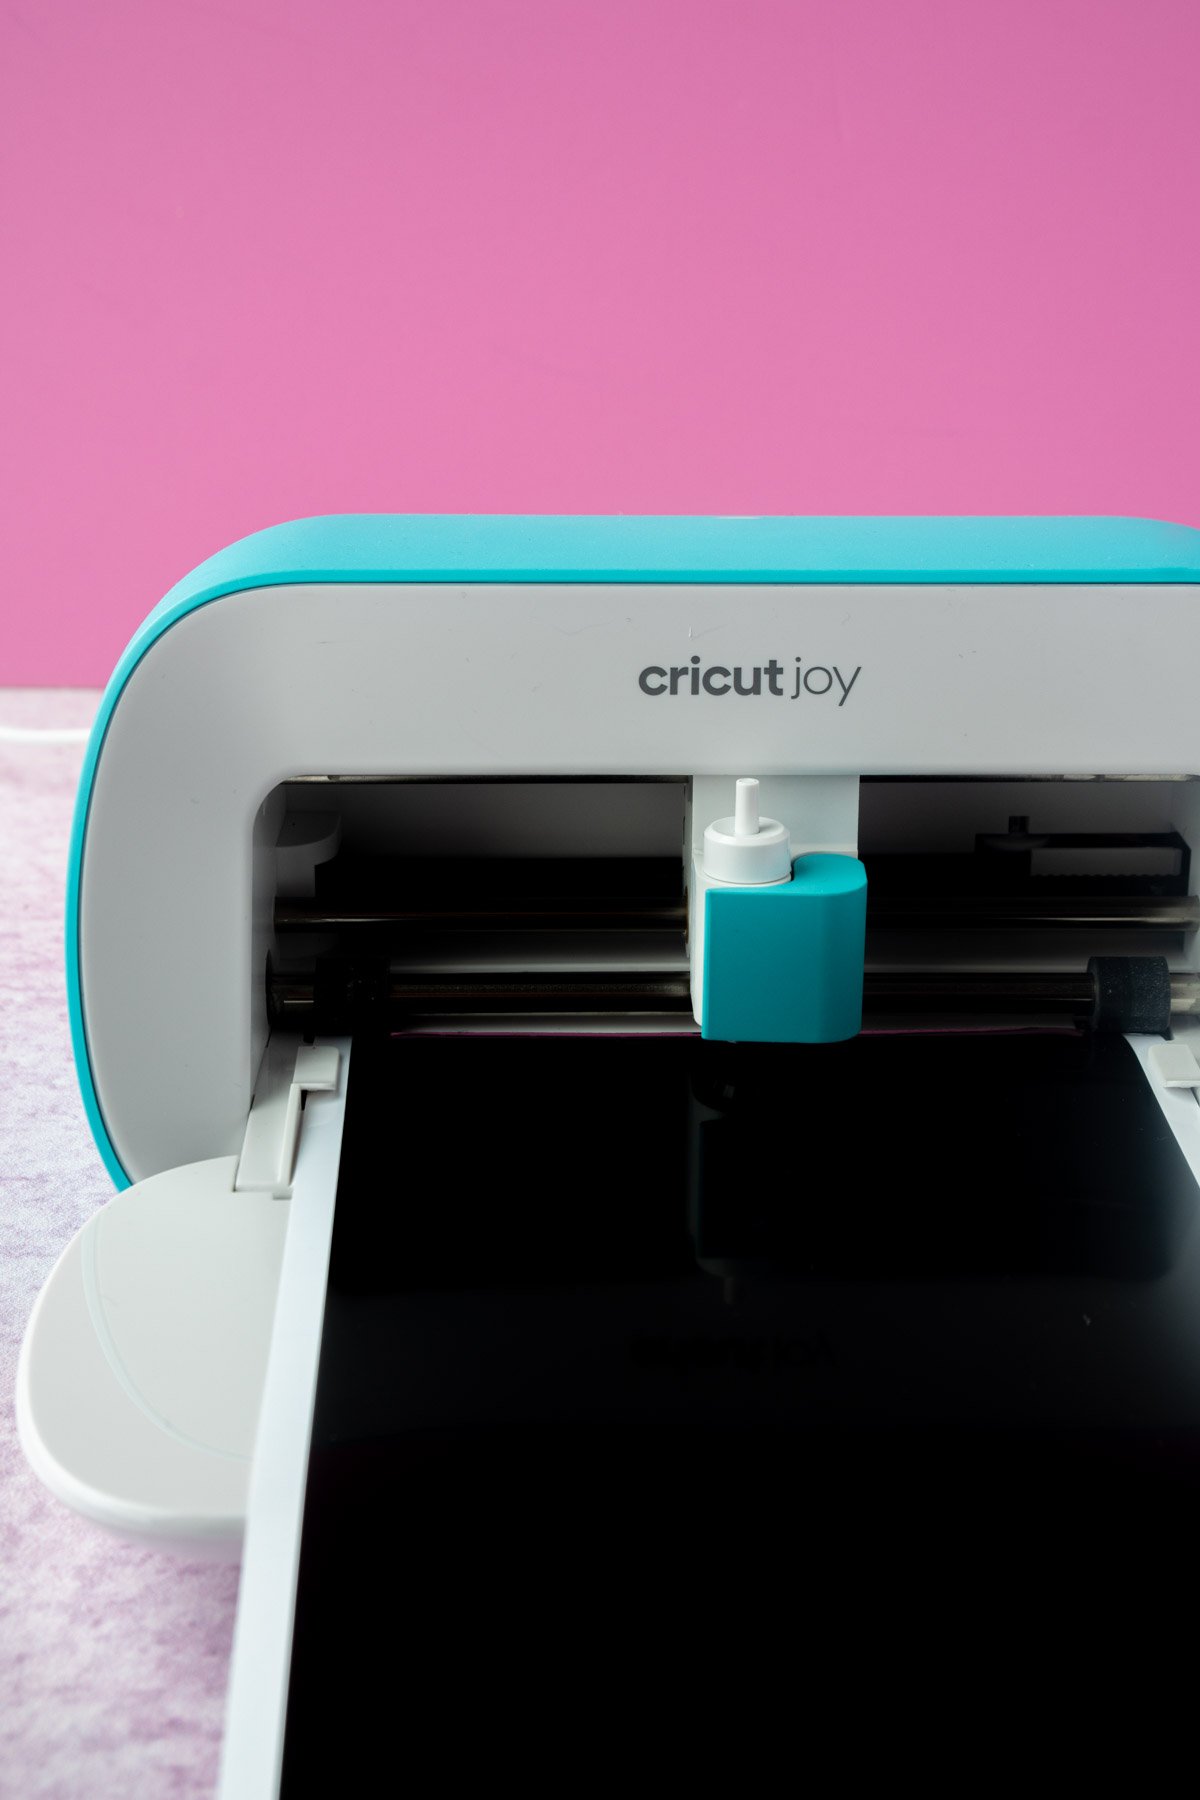
I used my Cricut Joy for this specifically so that I could do longer cuts without a mat. You could also do the same thing as a Cricut Explore Air project or with your Cricut Maker – they would just need mats! Other than the machine, you’ll also need:
Cricut Joy Transfer Tape – this is designed specifically for the size of the Cricut Joy Smart Vinyl so you won’t have to do as much cutting to size! It’s also one of my must-have Cricut Joy accessories! Cricut Weeder – this is one of my must-have Cricut Maker accessories, everyone needs one. You’ll use it to weed out the little pieces of the text! Cricut Joy Smart Vinyl – I used a mix of permanent and removable because that’s what I had but you can totally use either. Oh and the colors I used are tomato red, bright yellow, bright green, orange, and medium blue! Cricut Scraper – this is my favorite thing ever to use for transferring vinyl both to transfer tape and from transfer tape to other materials. It’s also great to get little pieces of vinyl off the mat when they get stuck! Scissors – depending on the size of your text, you’ll likely want to cut the vinyl and/or transfer tape so you don’t waste either! Canvas – I just used a regular art canvas like this one, make sure to measure your space before ordering your canvas to make sure it fits! Canvas hanging materials – I used a couple of these to make it easy to put up and take down the canvas (if I ever need to take it down). After just finishing our basement, I definitely didn’t want to put holes in the walls!
How to Make a Playroom Sign
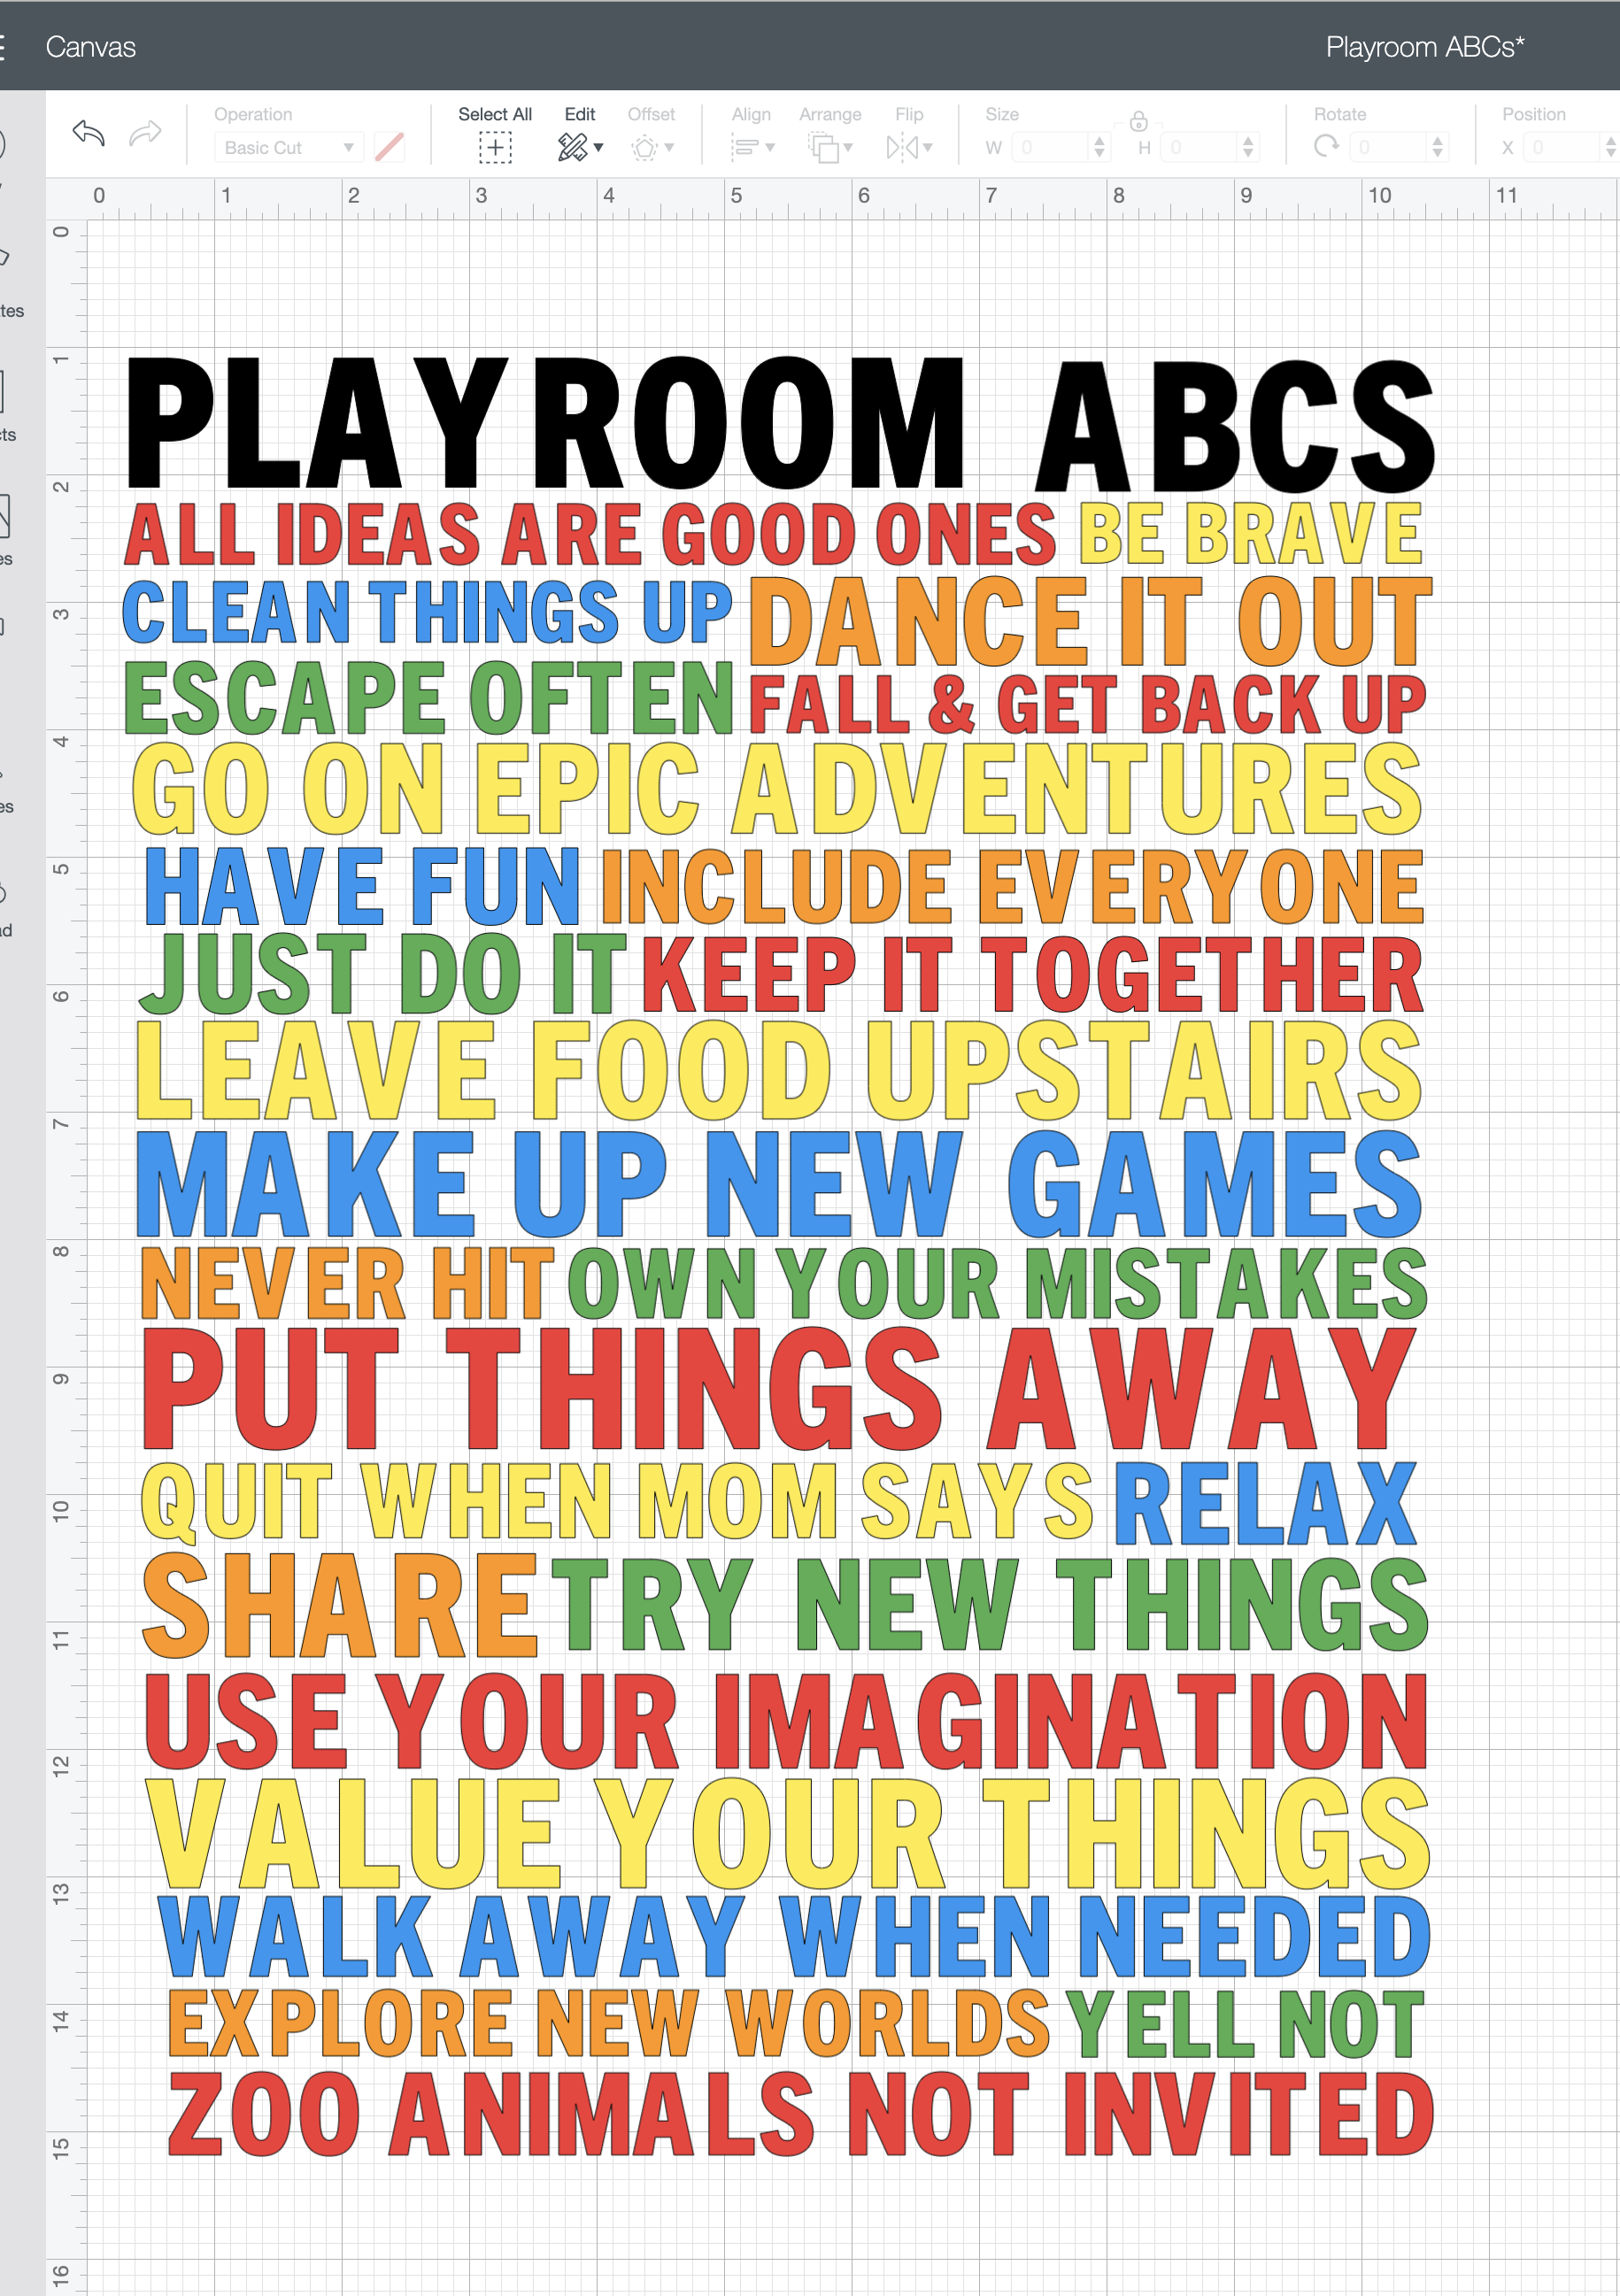
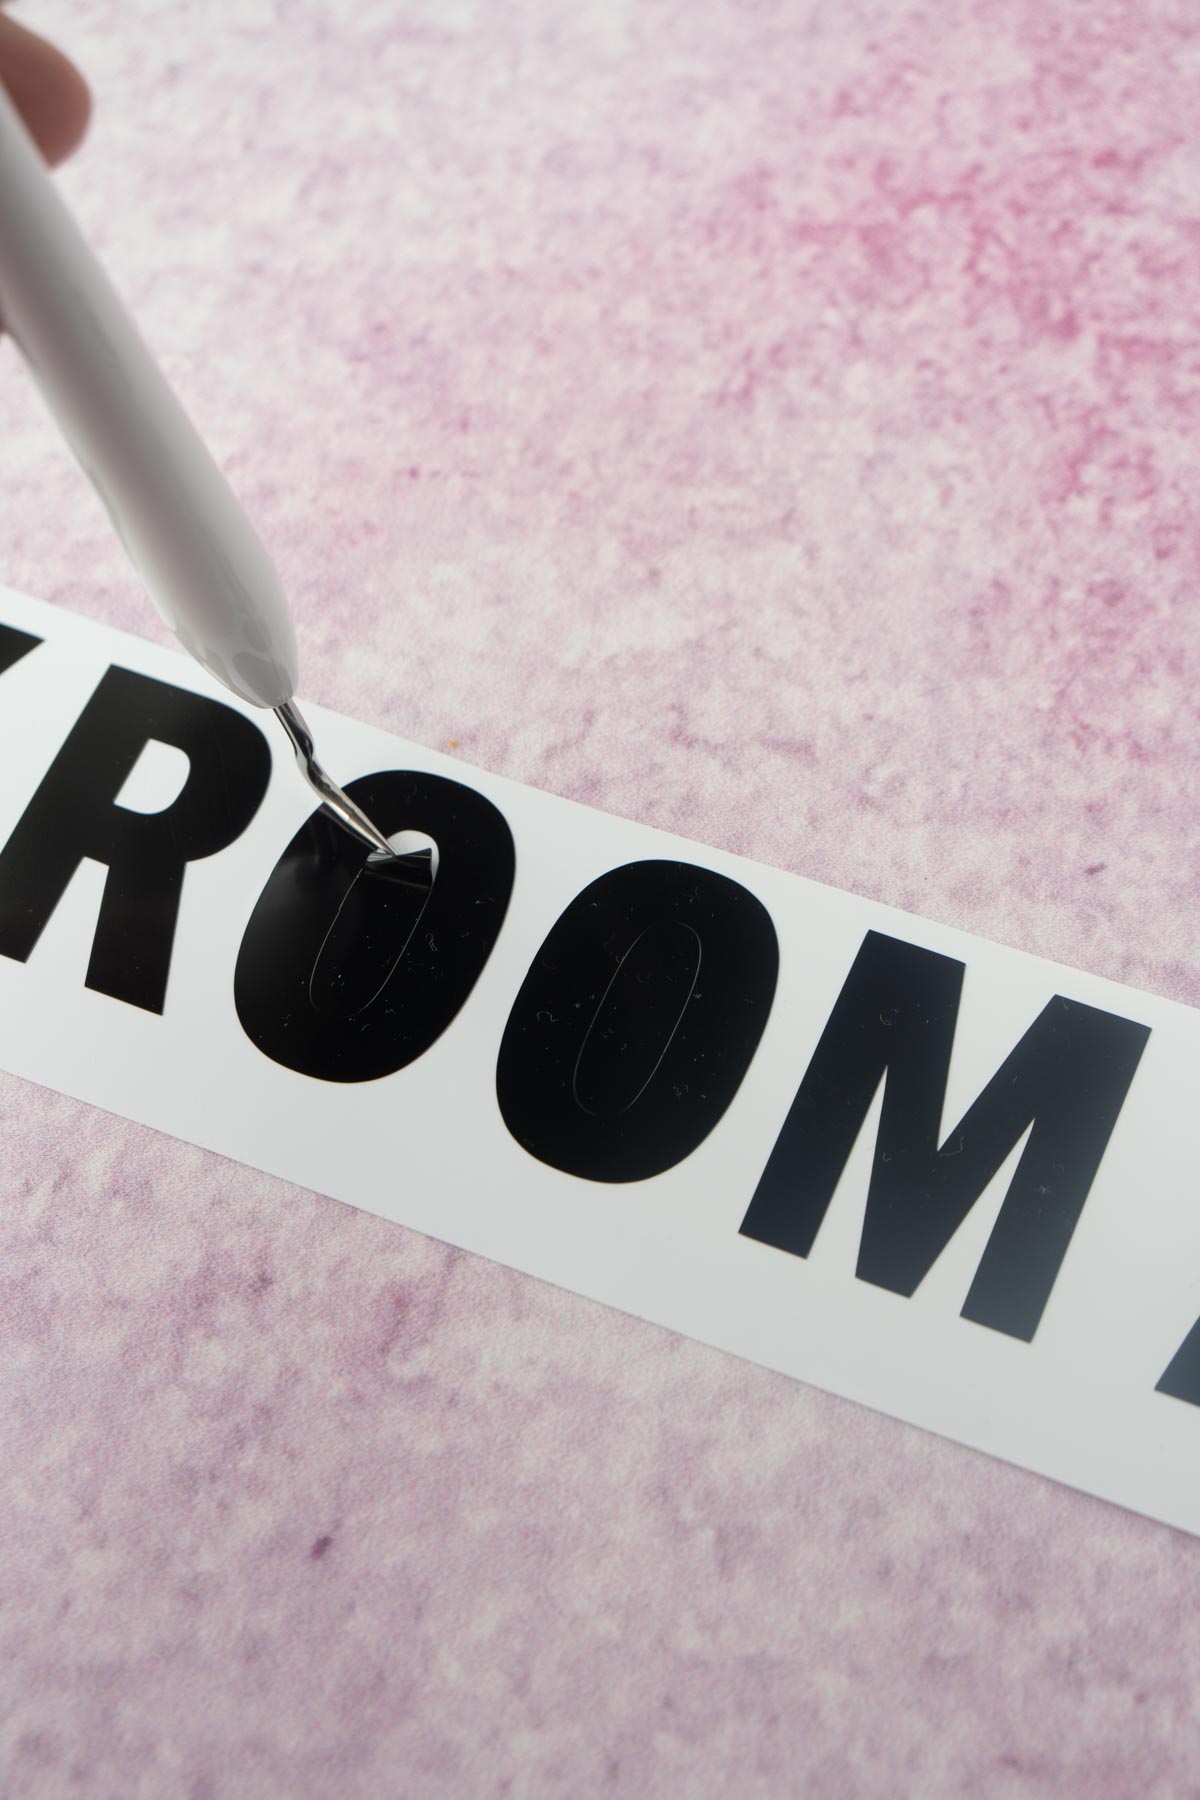
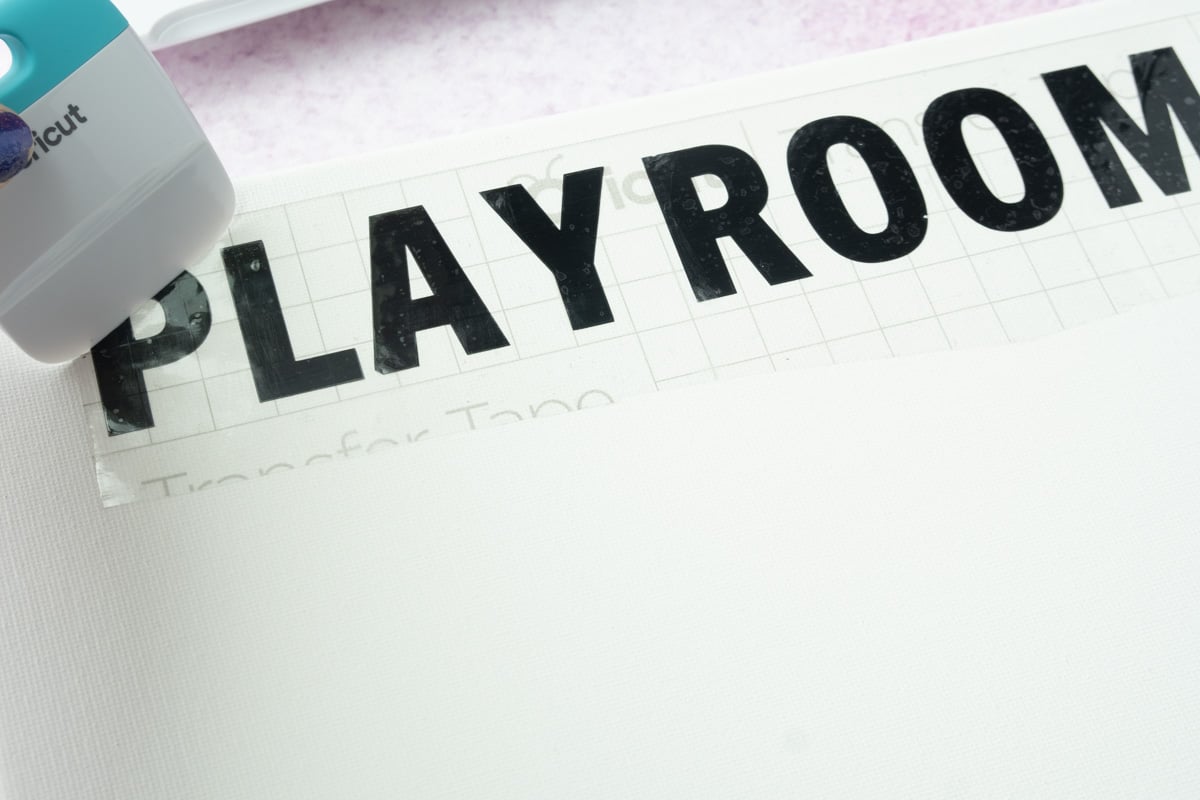
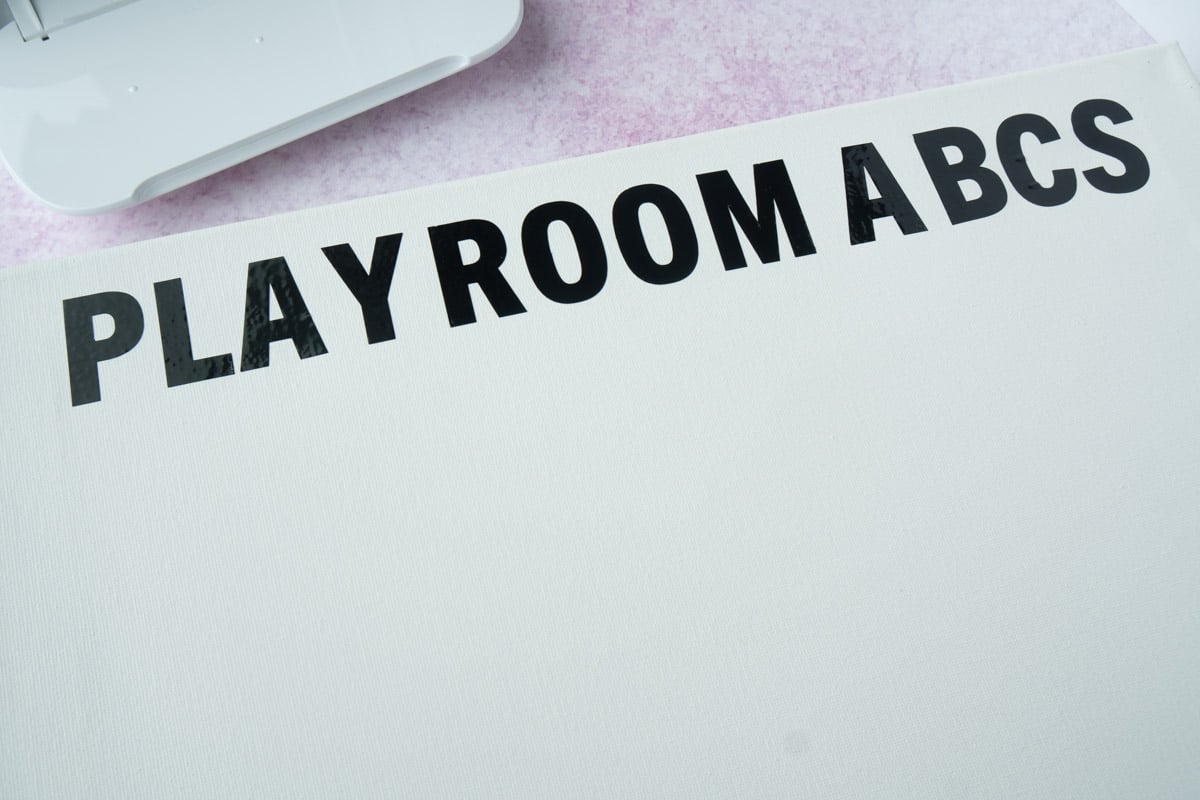
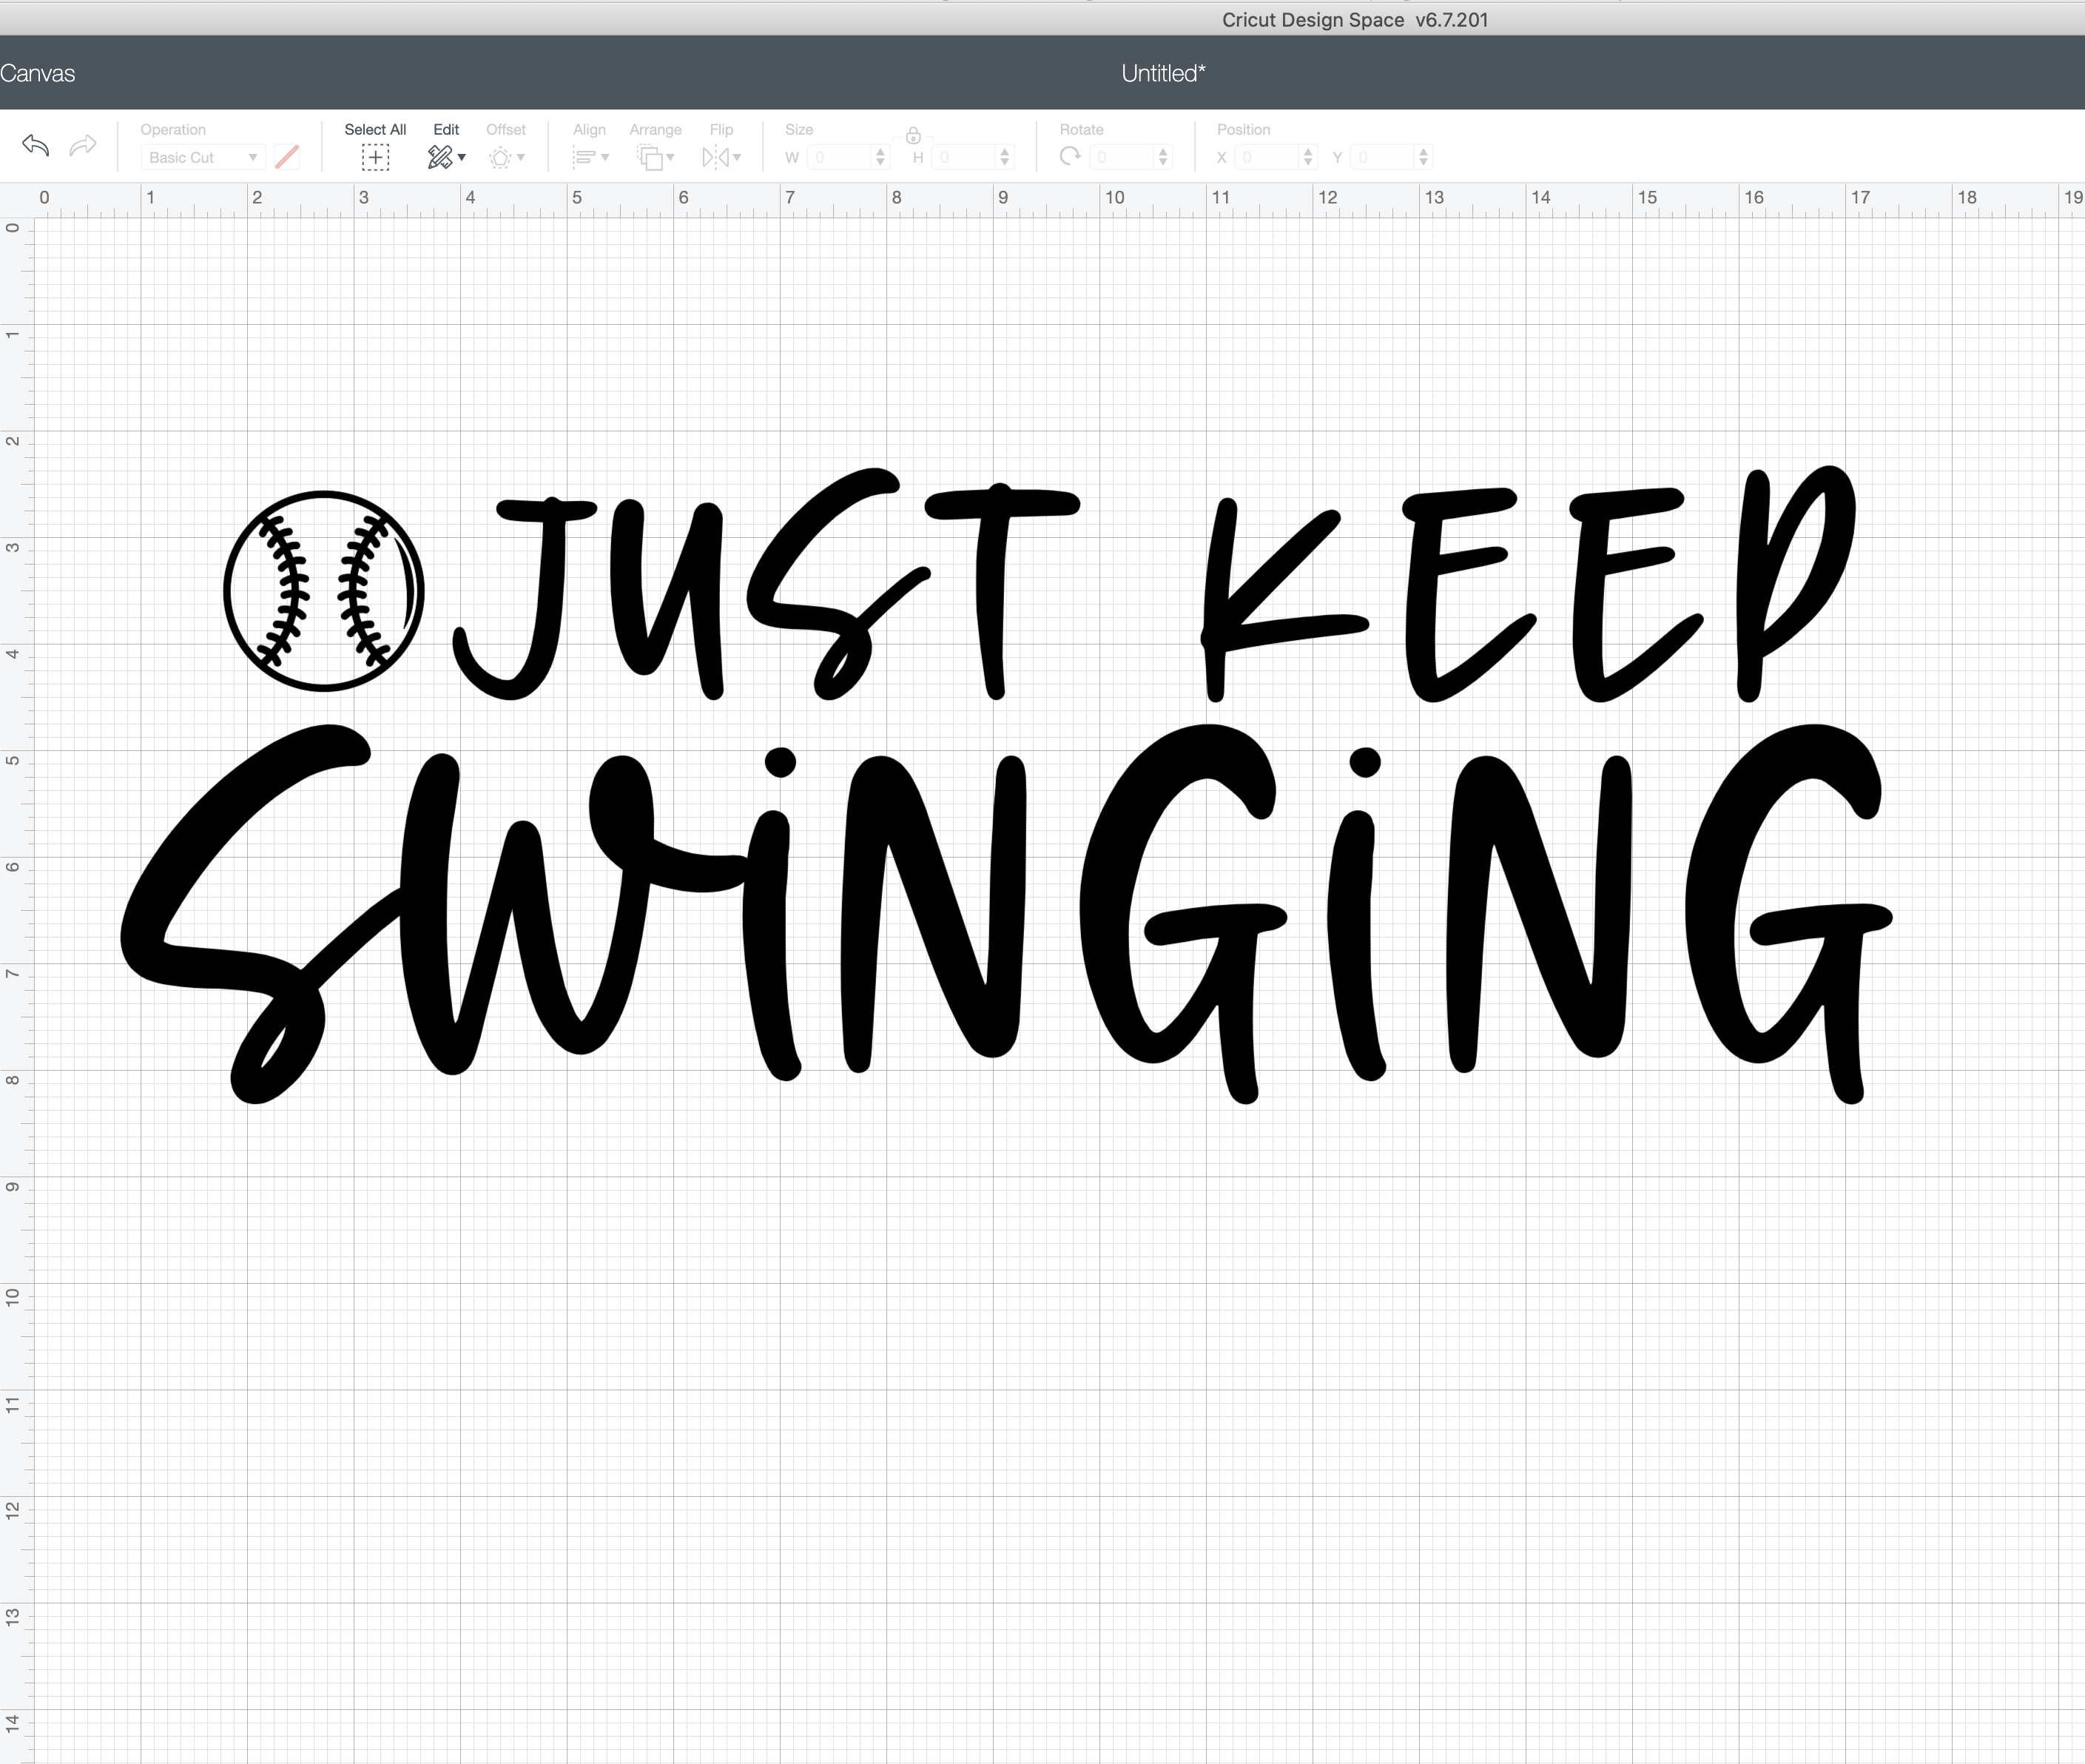
This sign is super easy to make! Open the design in Cricut Design Space here. Once it’s open, either click Make It if you’re good with my sizing or click customize it if you want to resize it or change some of the ABCs. I used Cricut Joy Smart Vinyl for the sign because it’s awesome. But also because you don’t need to use a mat and you can cut designs up to 20 feet long. My sign wasn’t that long but maybe the next one will be! All you do is choose the correct material in Cricut Design Space, load the vinyl into the mat, and tell it to cut. It’s so much easier than dealing with a mat (although that’s not too difficult). After you cut out your designs, use the Cricut weeder to remove the excess from the design. Then place some transfer tape on the back of the vinyl, rub it down to get the vinyl to stick to the transfer paper, and peel it up carefully. Place the vinyl down onto the canvas where you want it (with the transfer tape still attached) and rub it down onto the canvas. Remove the transfer tape slowly, pressing the vinyl down onto the canvas as you go. Repeat with all of the other lines of text to complete your project! Add hanging materials onto the back and hang wherever you want to add a fun dimension to the wall! I love love love how the sign turned out and think it just finishes the space off so well, especially with the bright colors that match the climbing area!
Playroom Relaxation Zone
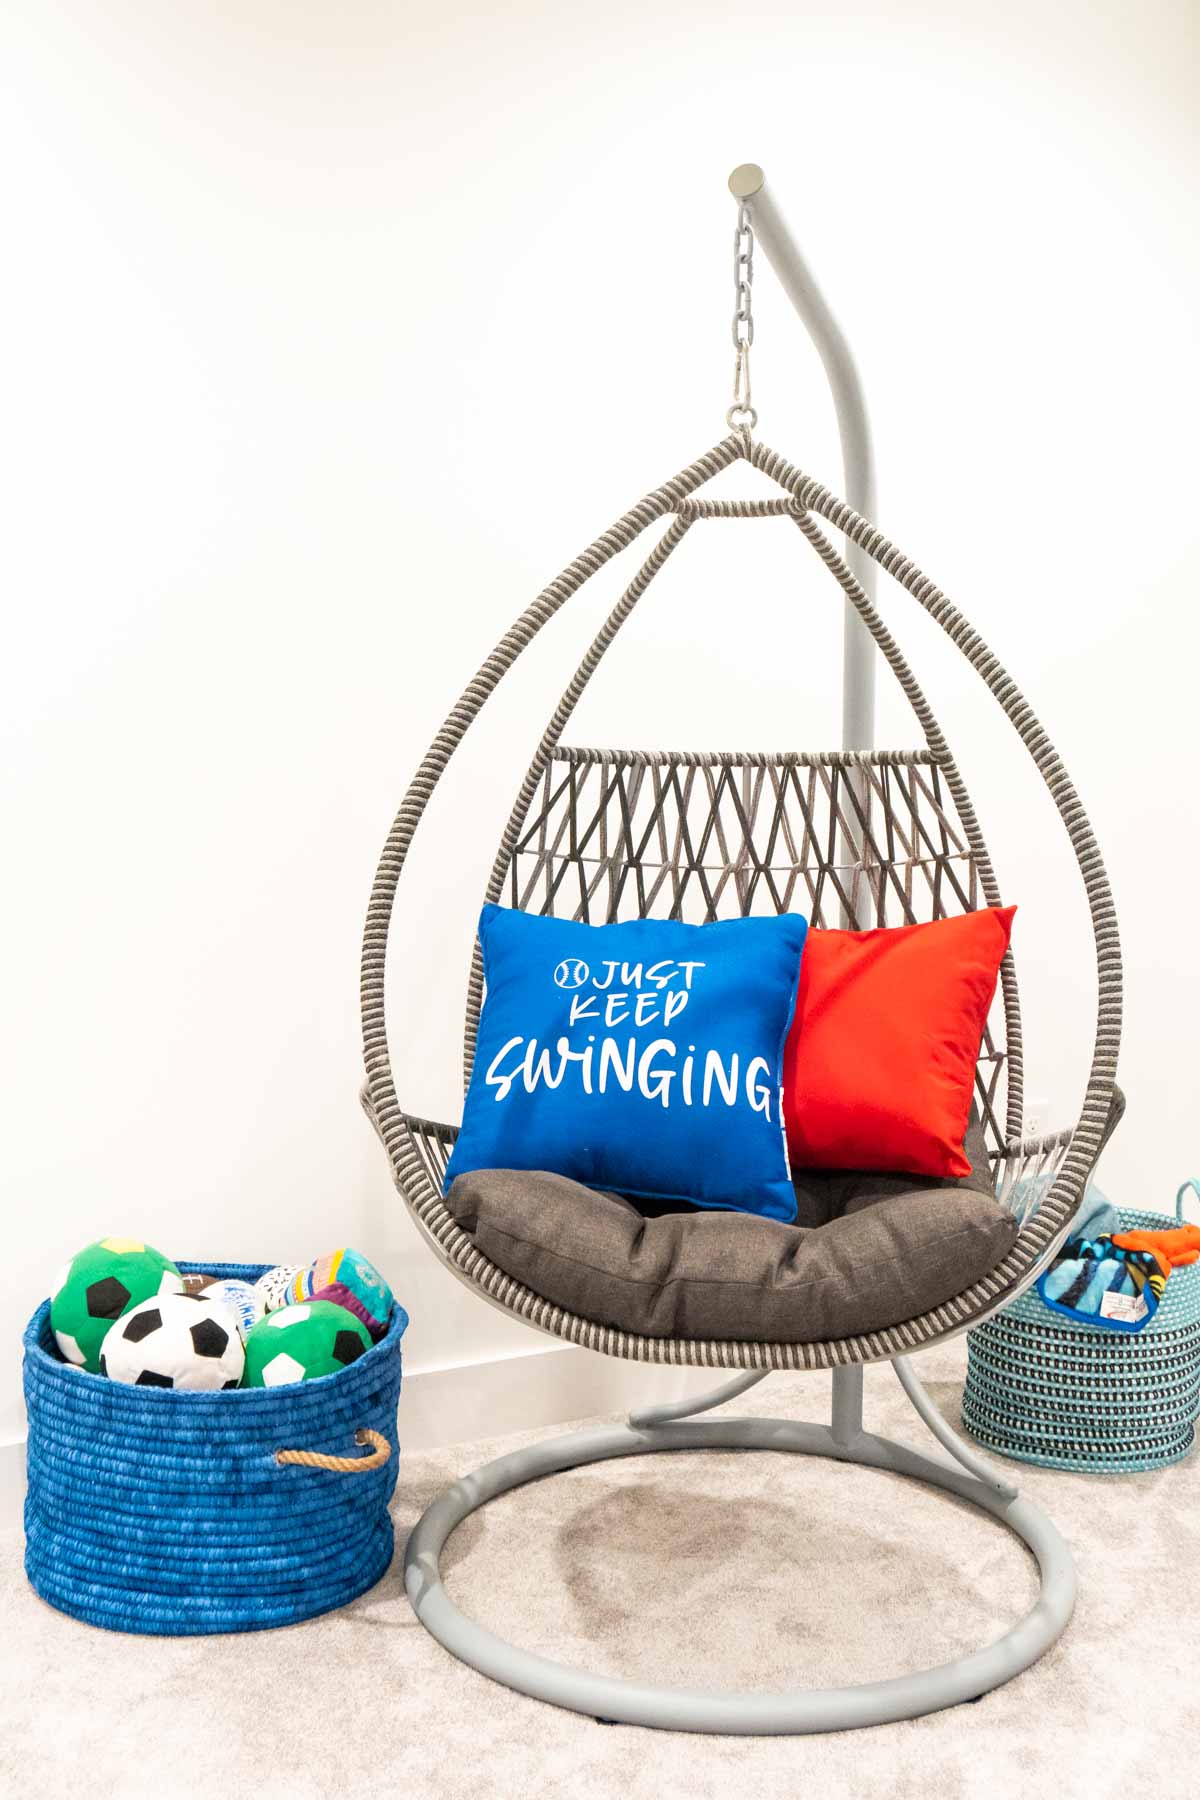
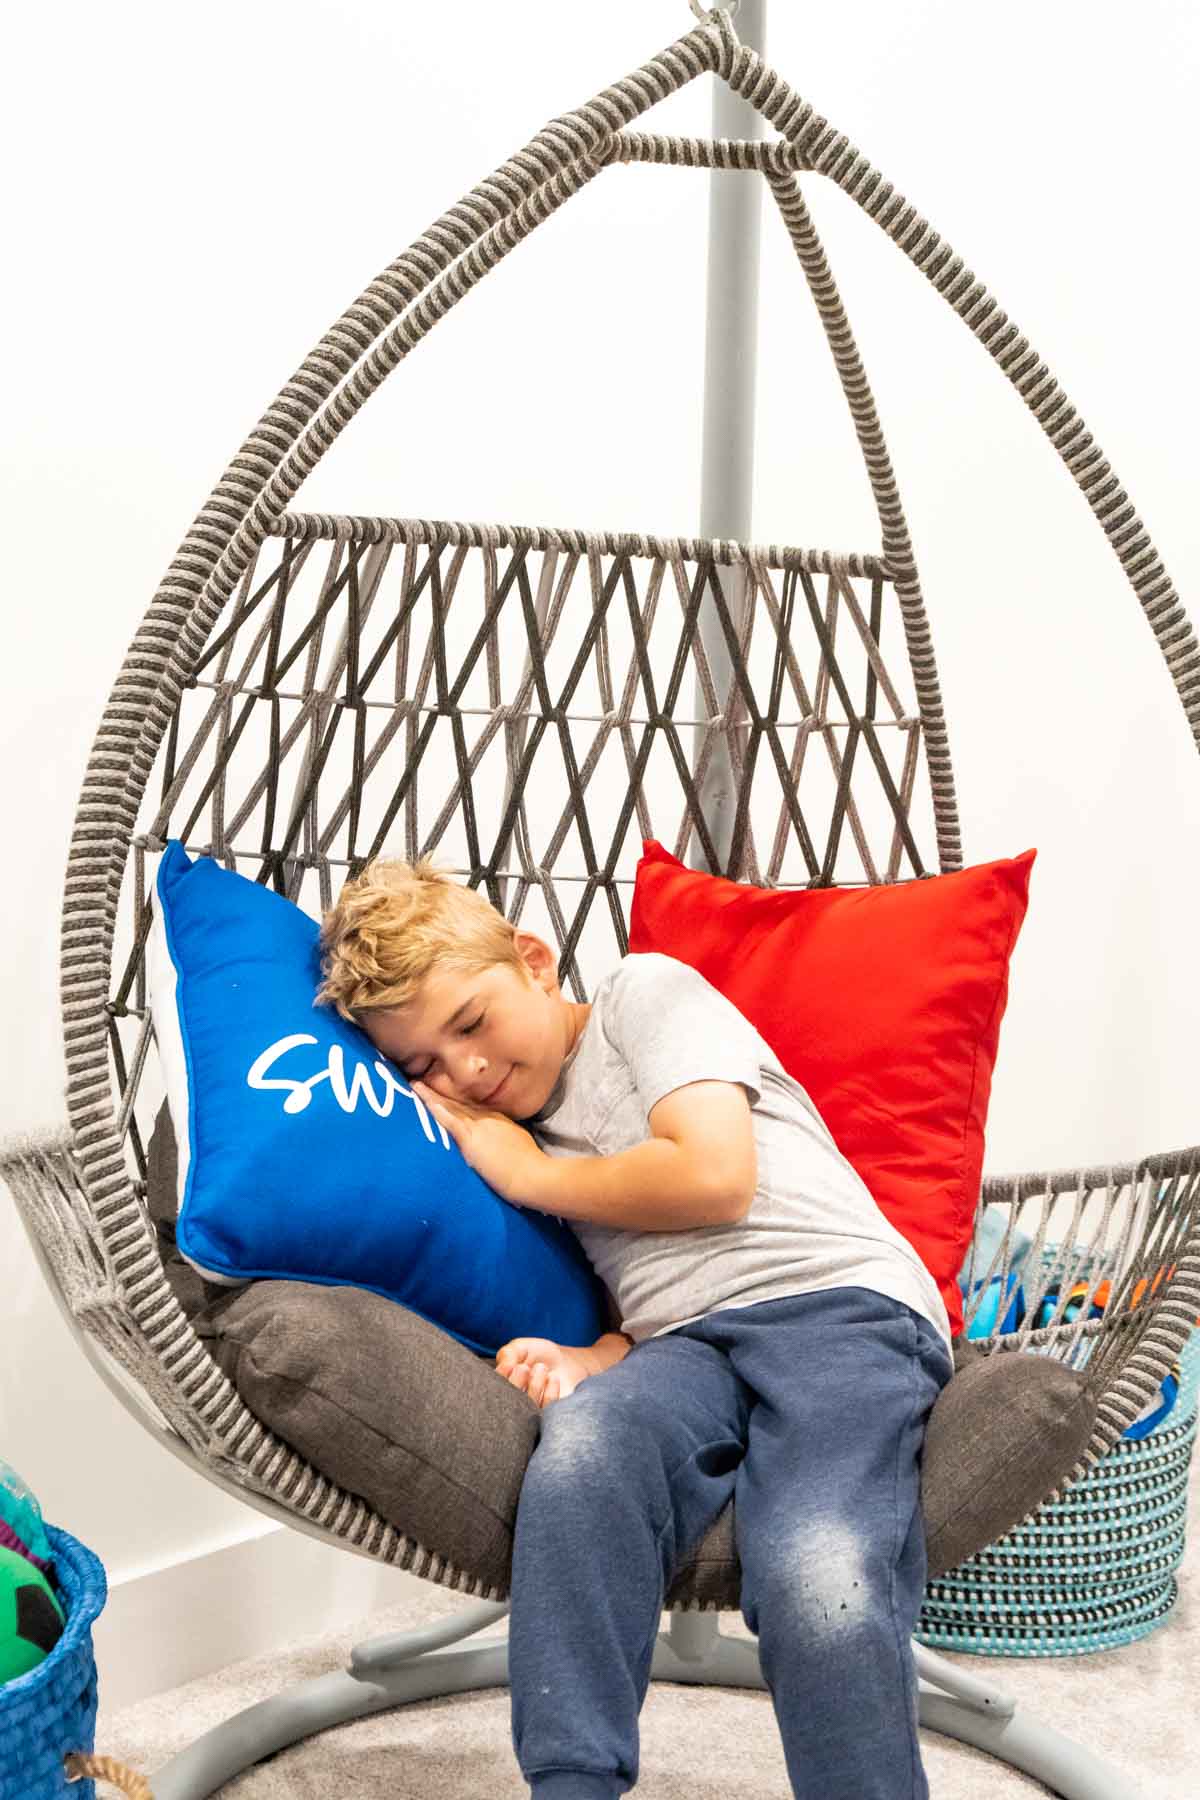
The second area in our modern playroom is a relaxation zone. My kids saw this chair swing at a store and fell it love with it instantly. I felt like the only way I could get them out was to buy the thing. Luckily, I love it too. It’s not only fun and modern looking, it’s actually really comfortable. I added a basket of blankets nearby to complete the relaxation zone!
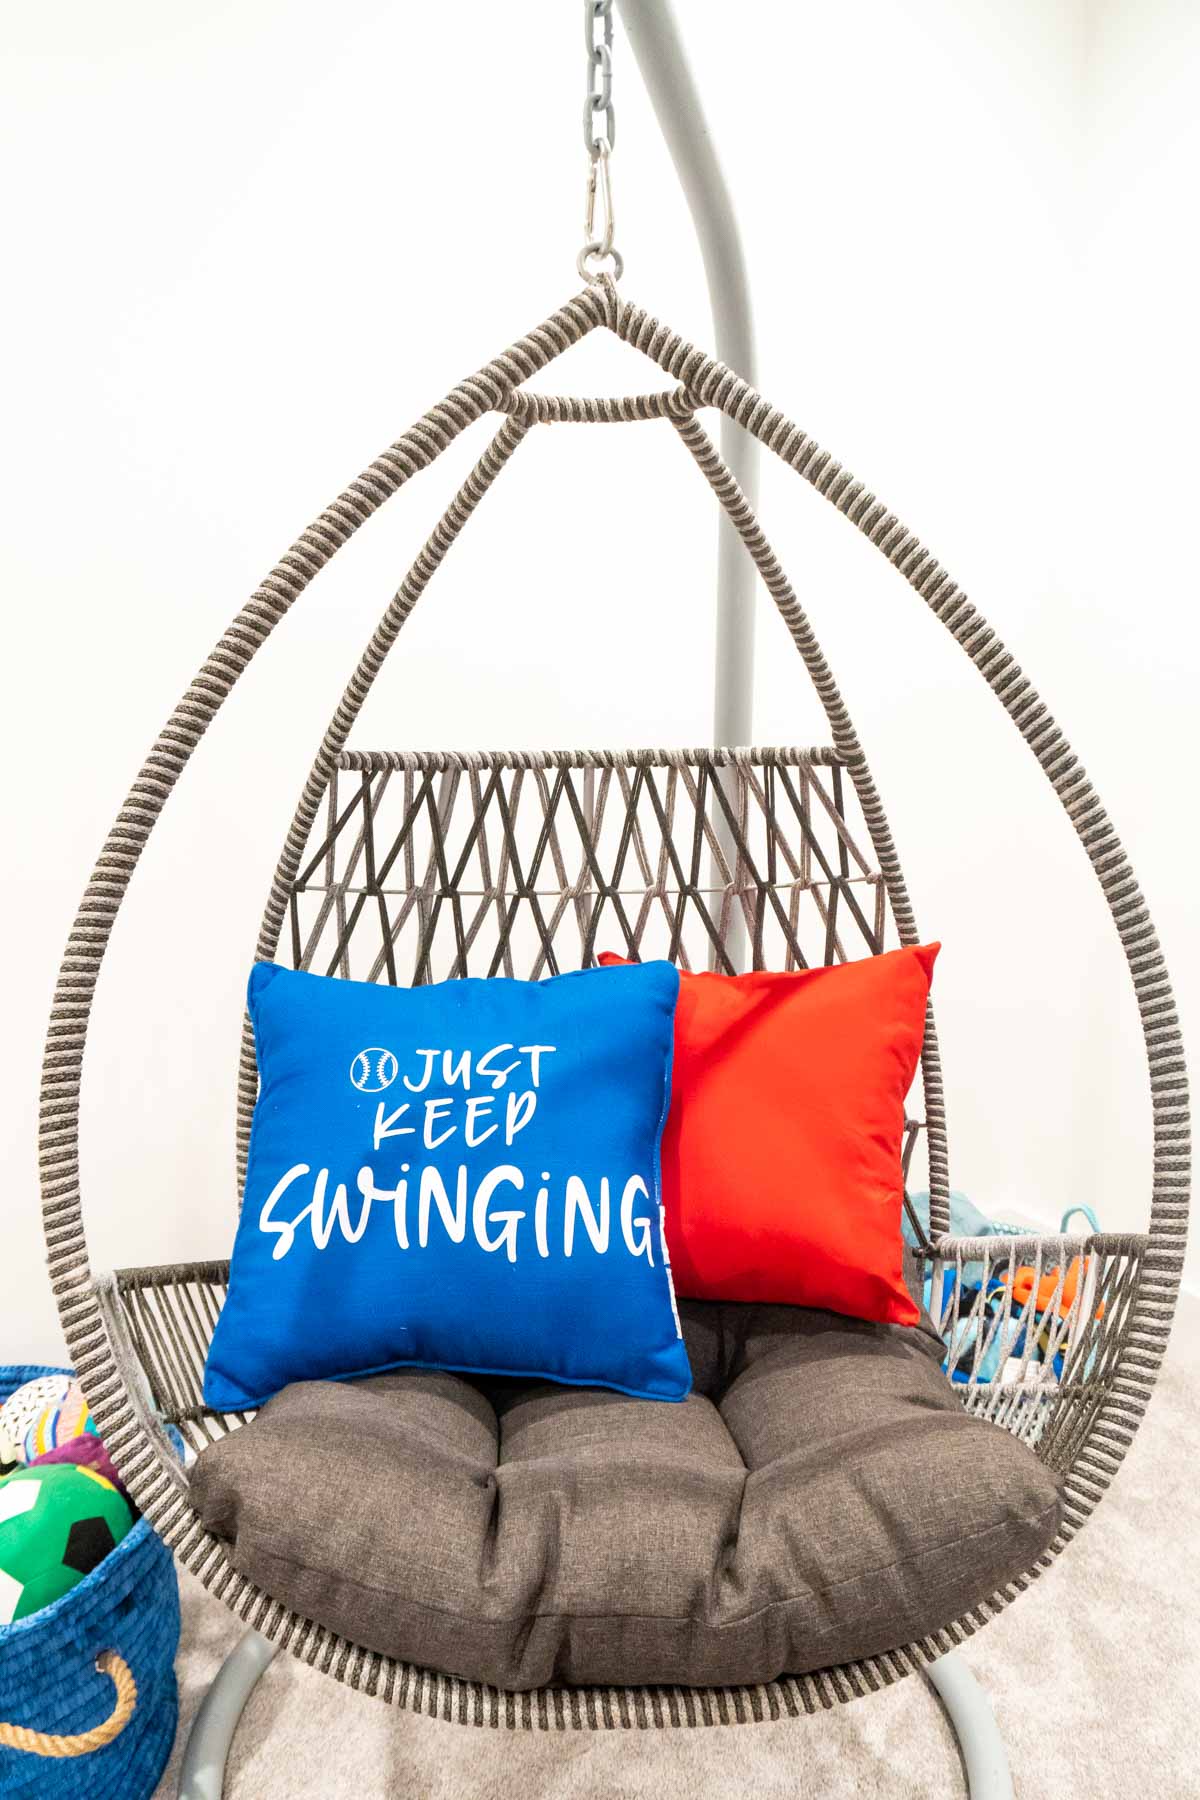
DIY Custom Playroom Pillows
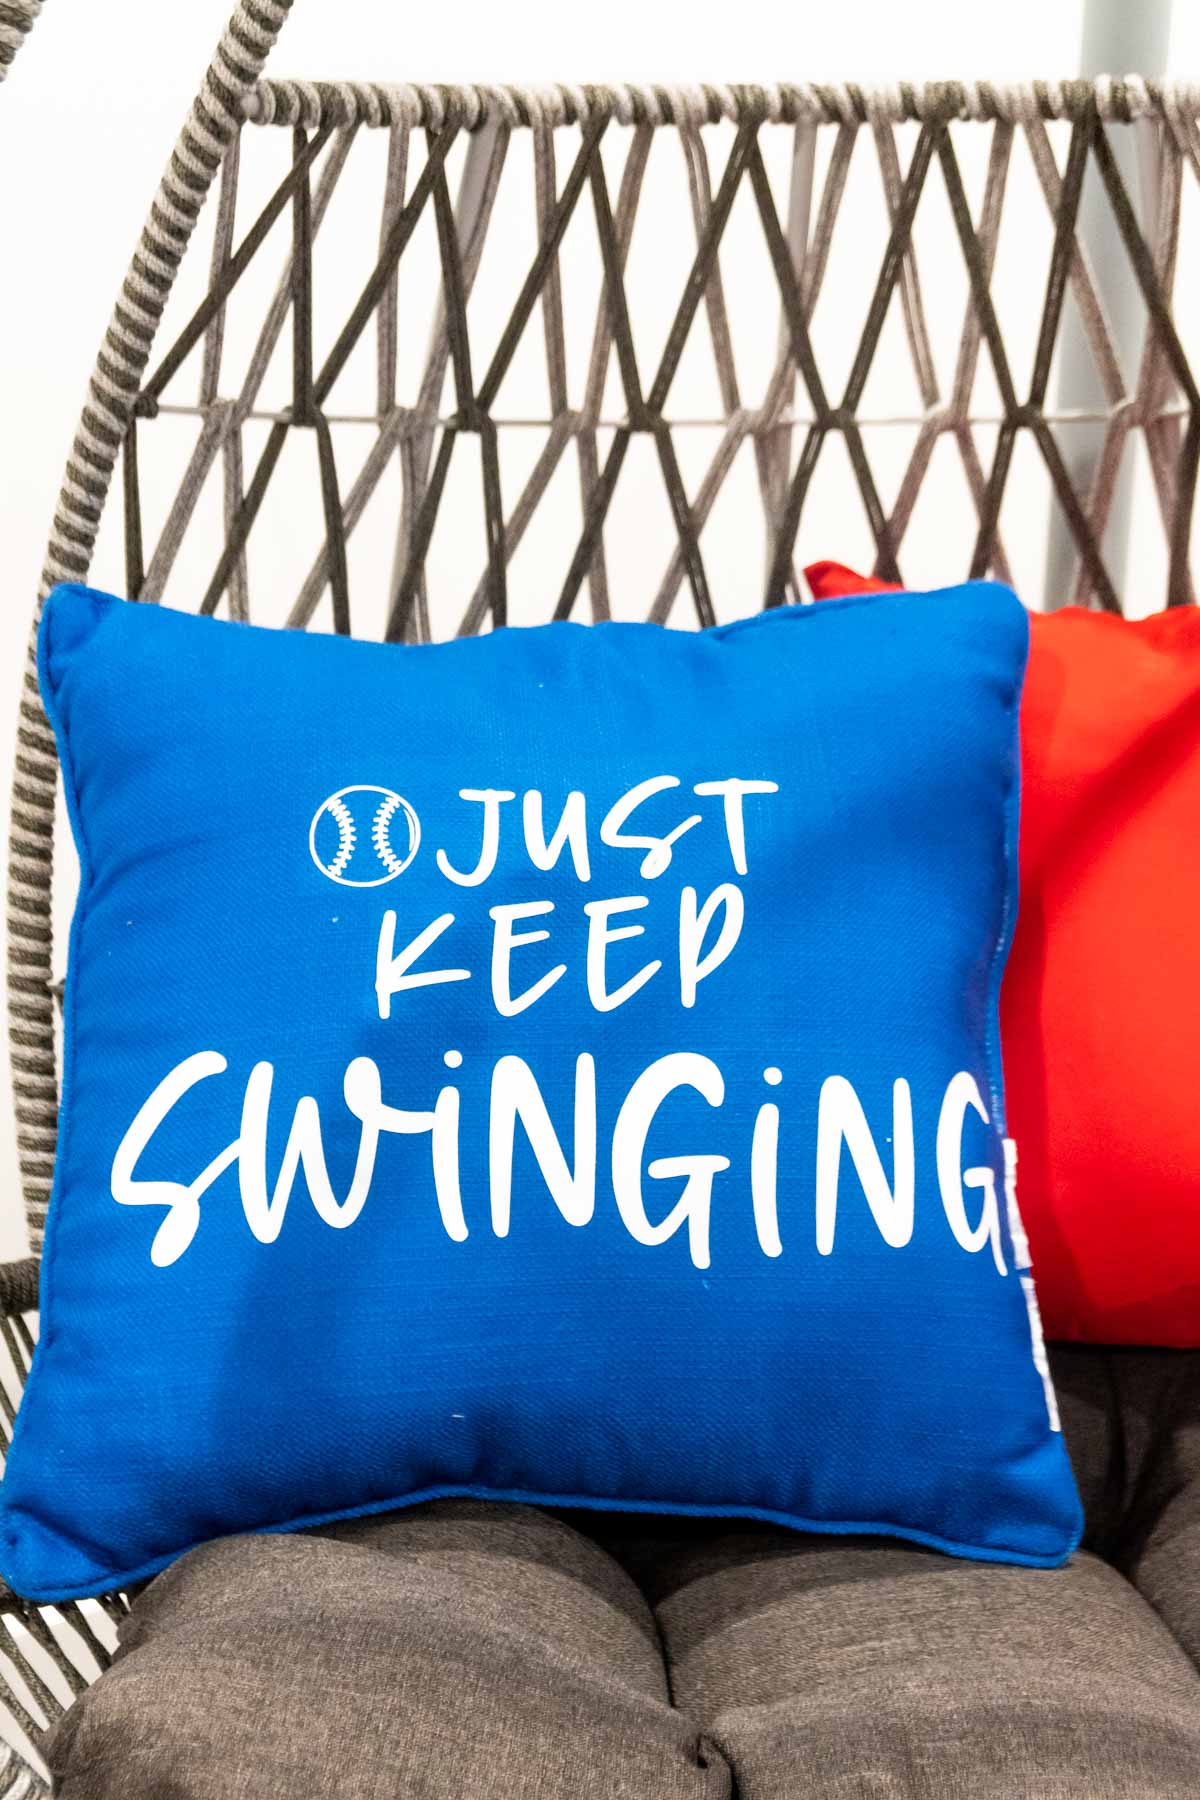
The one thing I don’t about the chair is that the pillows that came with it – they’re pretty brown and blah looking, not colorful like the rest of the playroom! My Cricut Joy came to the rescue again with some custom pillow designs that match the rest of the playroom way better! Okay so calling these custom pillows is a little bit of a stretch. I didn’t actually make the pillows, I just added some text to colored pillows I bought. I went with just keep swinging as a fun play on Dory’s phrase just keep swimming but also a fun play on the fact that the pillow goes in our swinging chair. And at the end of the day, we all really need to just keep swinging, even if we miss 95% of the balls (or whatever it is you’re swinging at).
Supplies
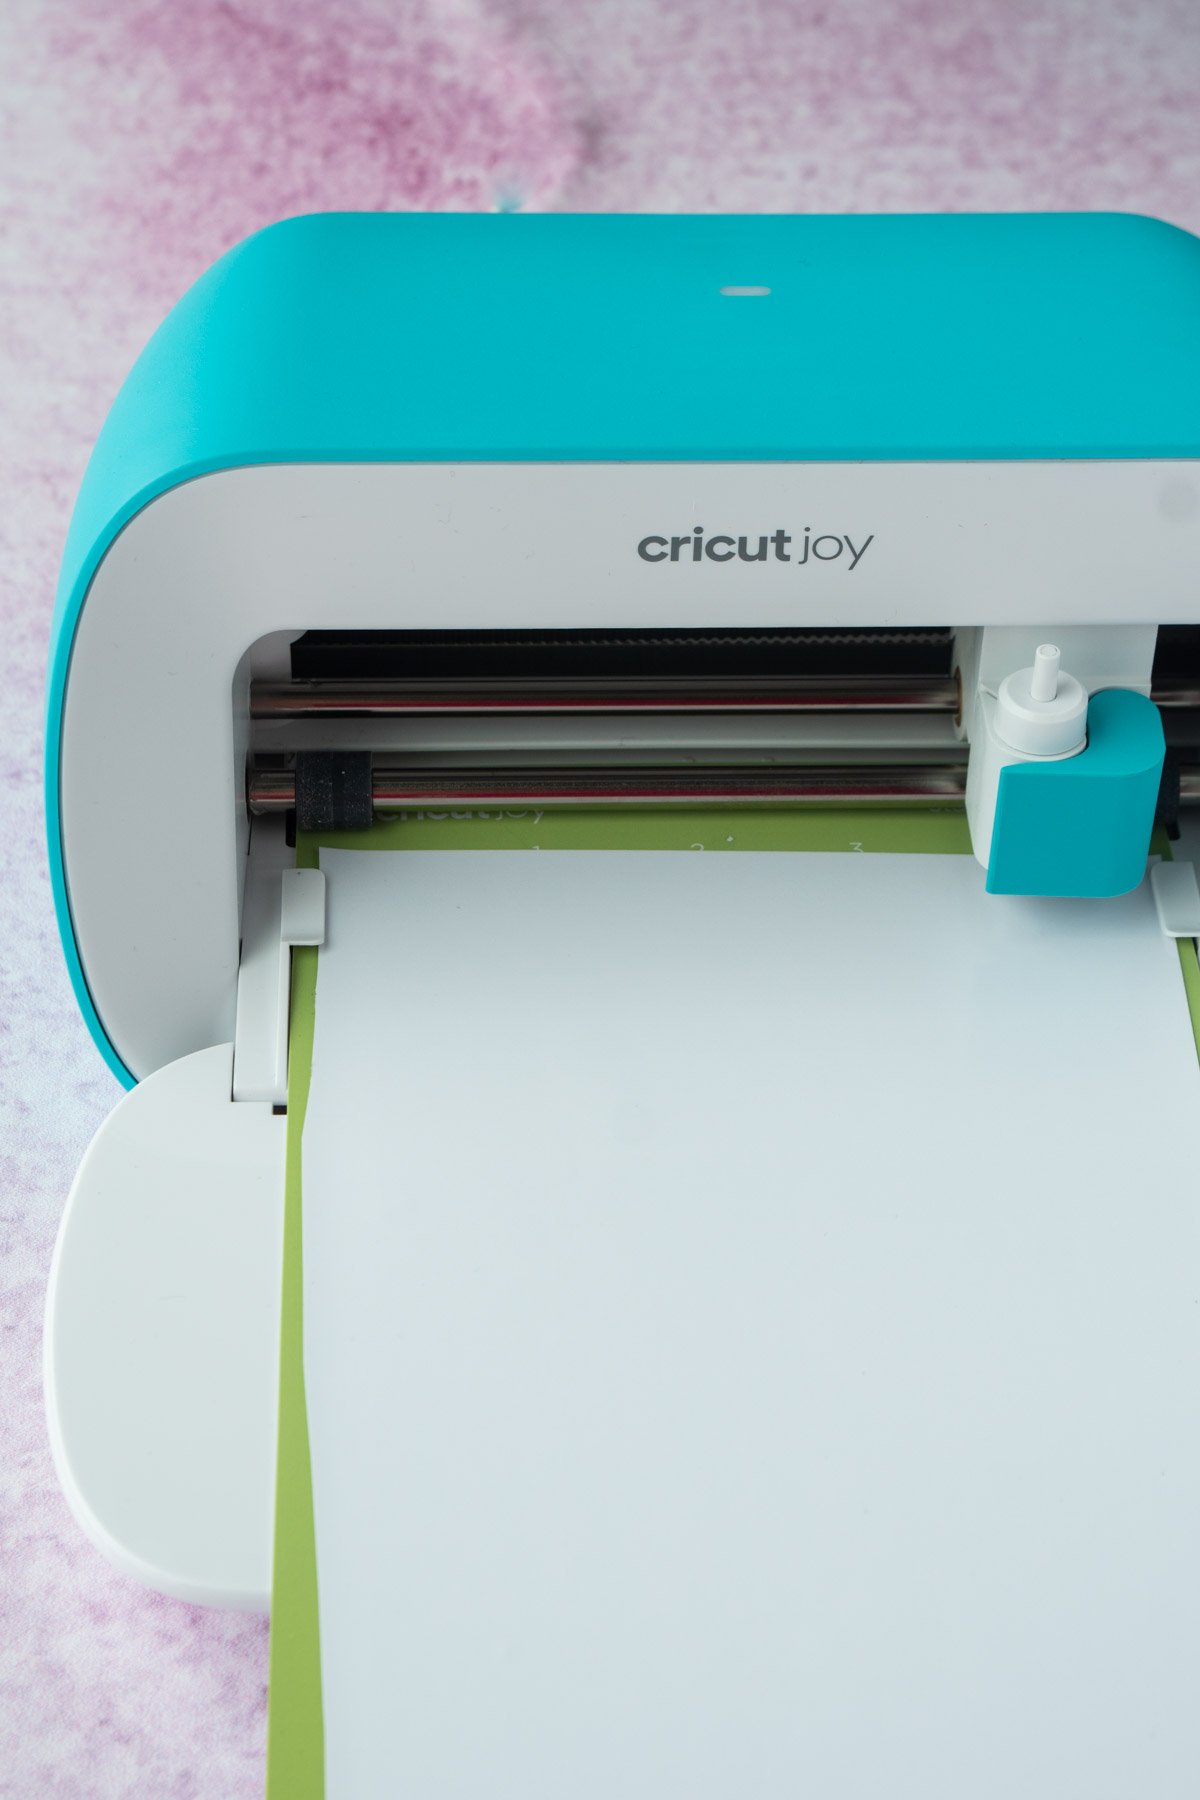
Just like with the sign project above, I used my Cricut Joy for the vinyl. You’ll also want to keep the weeder and scraper you used for that project handy! In addition, for the pillows, you’ll need:
Cricut Smart Iron-On OR Cricut Iron-On + A Cricut Joy Mat – if you’re using Smart Iron-On, you can just load it right into the Cricut Joy without a mat. If you’re not using smart materials, you’ll need to put your iron-on onto the Cricut mat first. I definitely prefer the smart materials if you have them! Cricut EasyPress – this is the easiest and best way to adhere the iron-on onto your pillow! I have both a regular EasyPress and an EasyPress Mini and love them both!
How to Make Custom Pillows
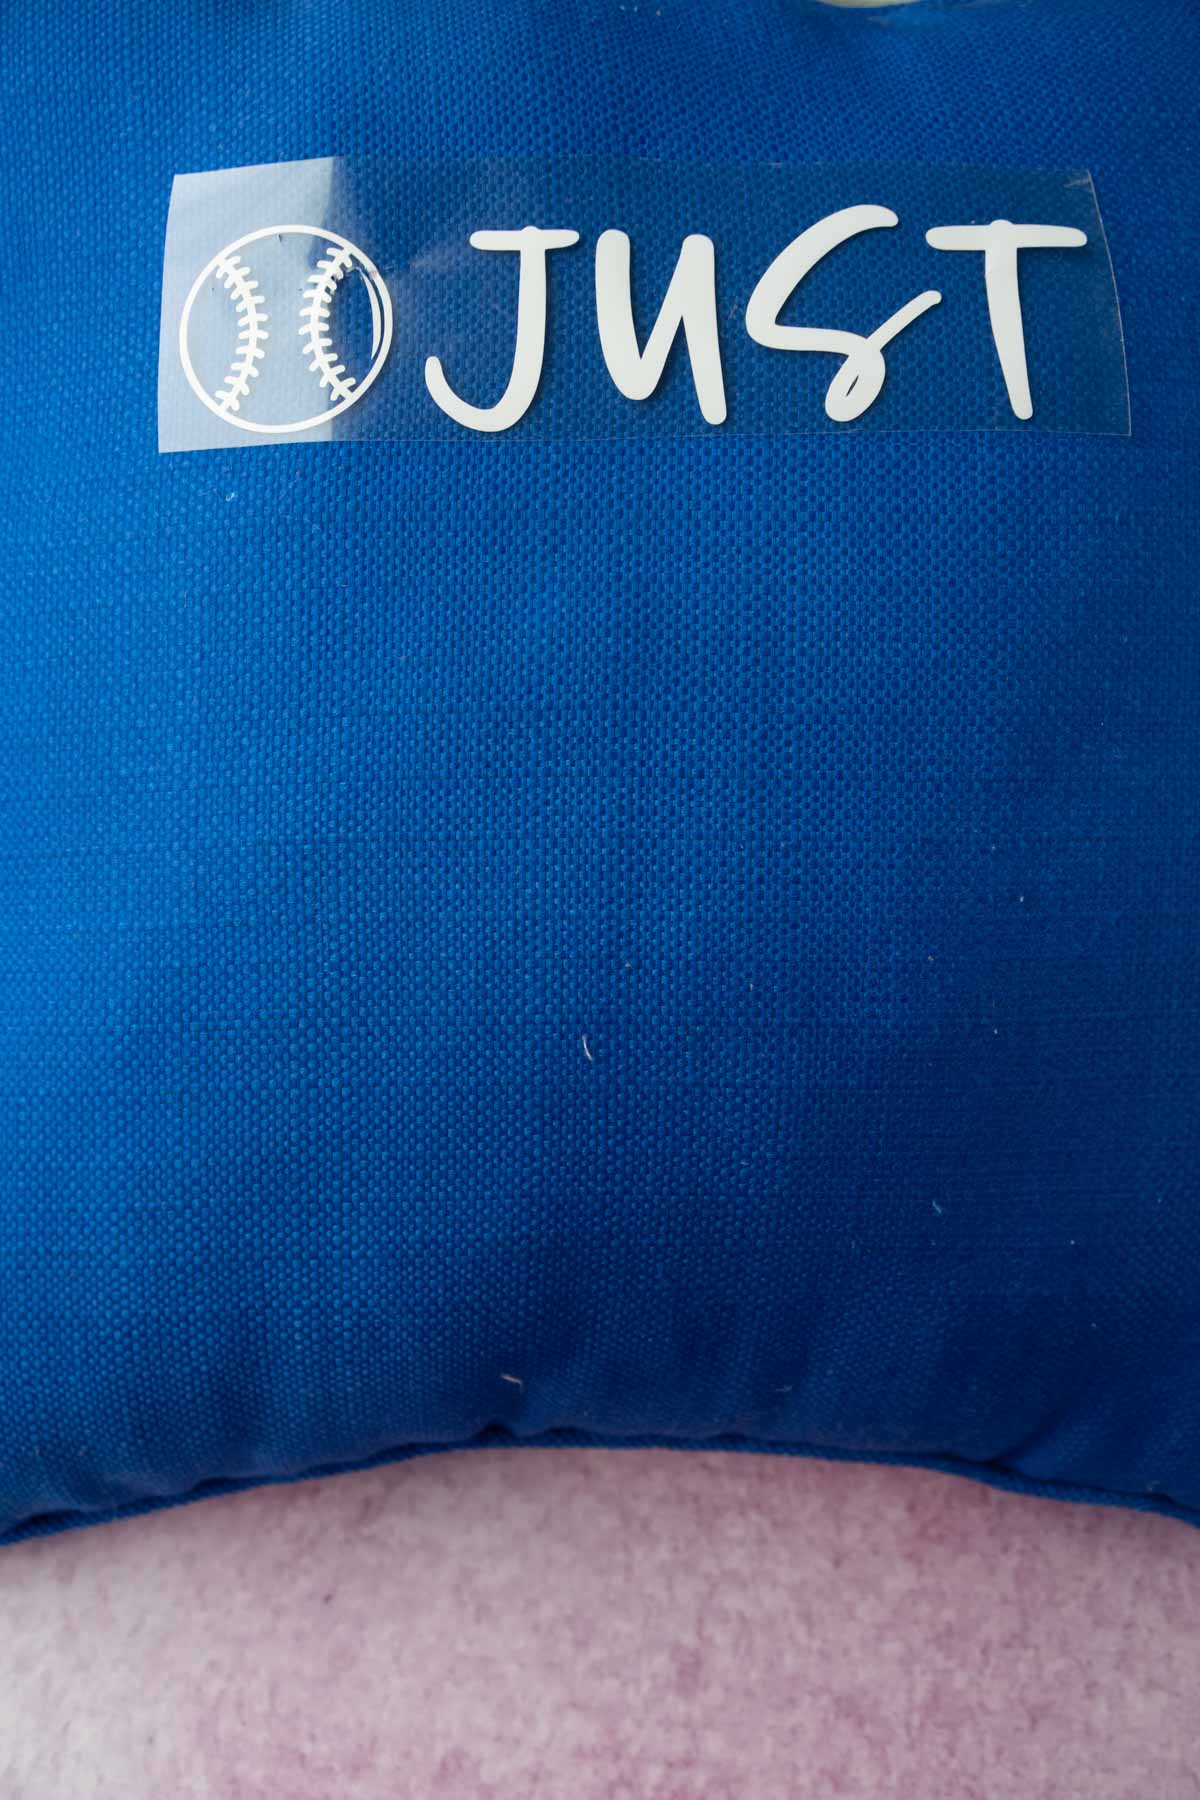
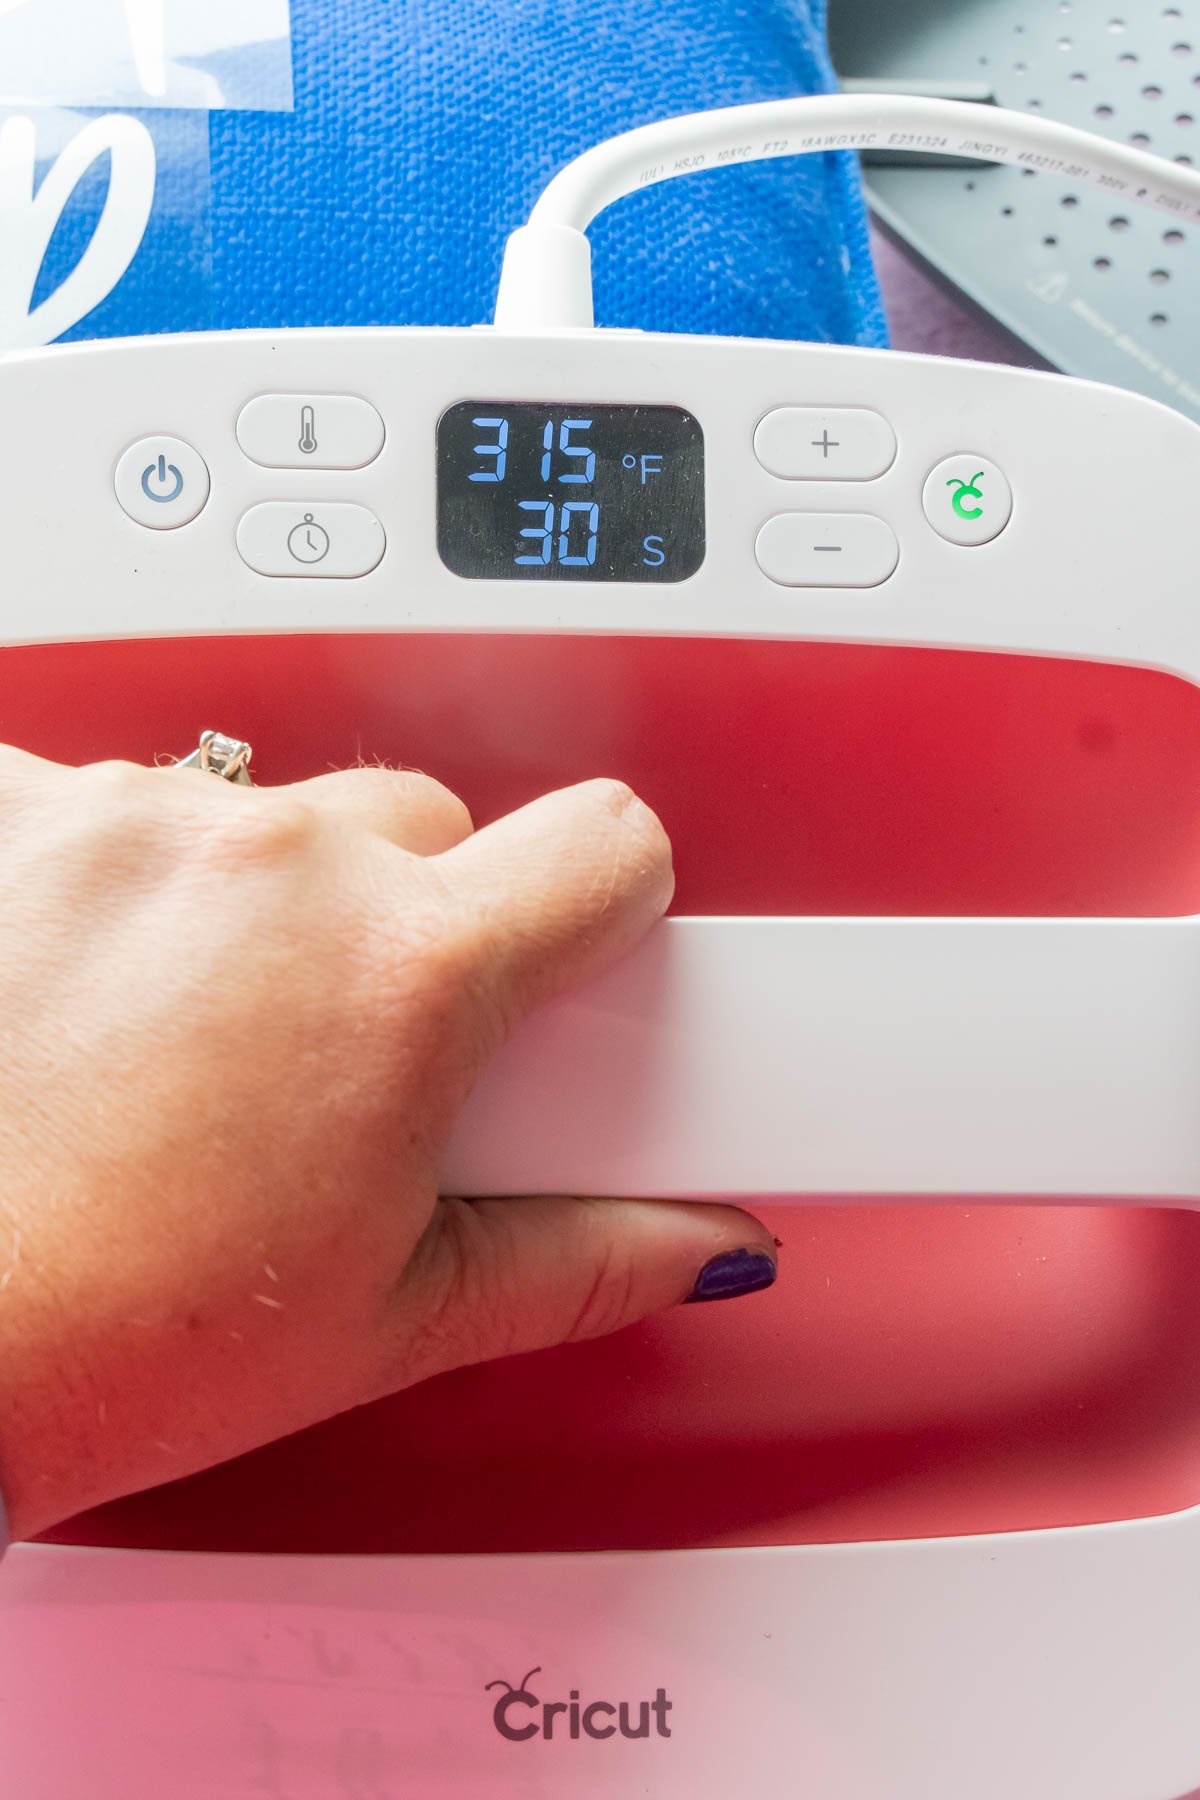
You could totally make the pillow covers yourself – it’s one of the easiest Cricut Maker projects ever – I just didn’t have the time. So I grabbed a blue pillow at the same home decor store and just added my own custom iron-on vinyl lettering. Open this Cricut Design Space file and just like with the playroom sign above, click either Make It or Customize if you want to change size, color, wording, etc. Once you’re ready to make your pillow, choose Cricut Joy and everyday iron-on as your material. And don’t forget to select mirror image since you’re using iron-on. You want the cut to be mirrored so that when you iron it on, it shows the correct direction. Cricut makes Smart Iron On that doesn’t require a mat, but I didn’t have any, so I just went with regular iron on that I cut and placed on a mat. Load your mat into the Cricut Joy and choose Go in Cricut Design Space. It’ll cut in mere minutes, especially with a simple design like this. Once it’s cut, use the weeder to remove an excess iron on vinyl. Place the design on top of the pillow where you want it and use either an iron or my preferred method – a Cricut EasyPress – to iron the design onto your pillow. I talk all about much I love my Cricut EasyPress here! If you’re using an EasyPress, heat it up according to these Cricut heat guides. Then press it down firmly on top of the pillow. Remove the backing whenever appropriate according to what the heat guide says. And there you have it – a customish pillow! I thought it was the perfect way to make this section of the playroom a little more colorful and fun! Plus, you can always use a few more pillows for relaxing! What do you think, do you have kids who would love these modern playroom ideas? Which part is your favorite?
More Easy Cricut Projects
If you liked these Cricut projects, you’ll love these others:
DIY Cricut Labels for Jars – see how easy it is to make DIY labels for canisters, pantry items, or really anything else with your Cricut Joy! Cricut projects for beginners – 25+ super simple projects you can make with your Cricut machine, seriously they’re so easy! Cricut teacher gifts – the best teacher gifts that you can make in minutes with a Cricut! Even my neighbor who’s a teacher said these ideas are the best! DIY dice – whether you want them to play one of these outdoor games or to use in your classroom or at home, these jumbo dice are super simple to make! Space decorations – see how easy it is to make space party decorations using a Cricut machine!