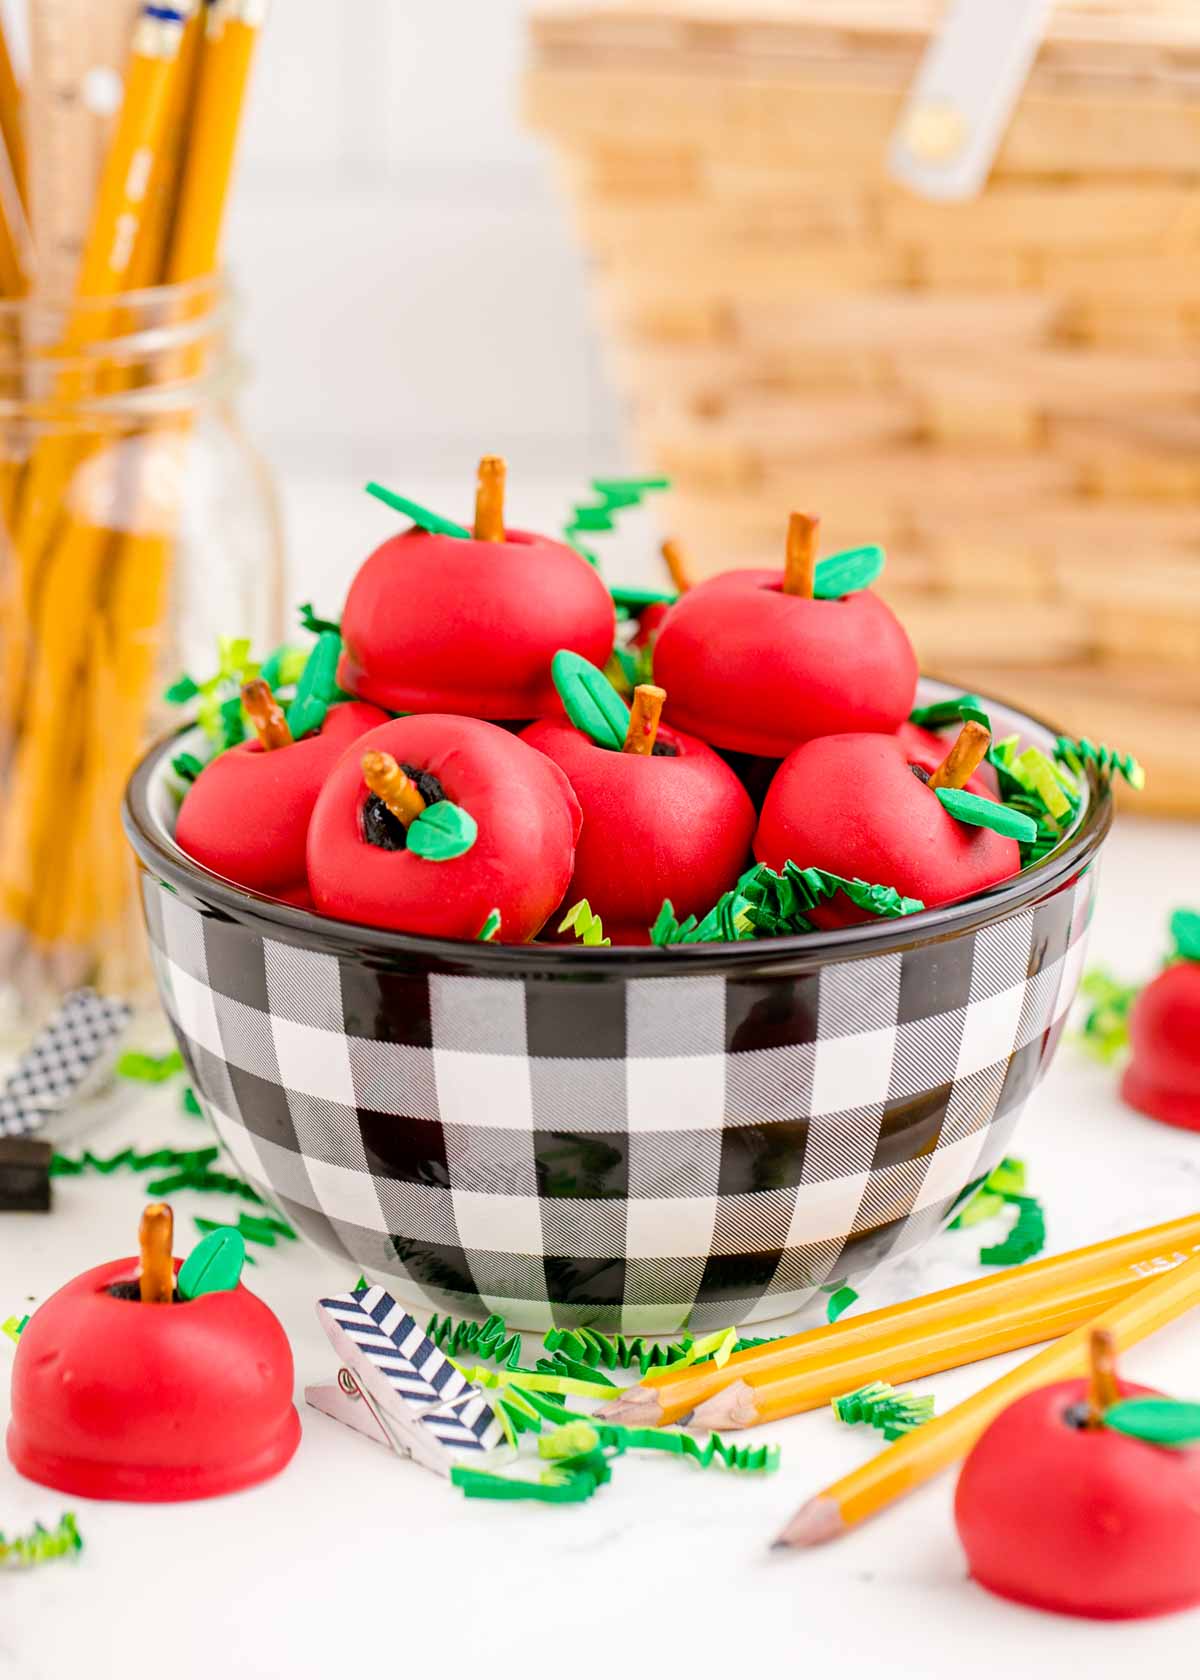
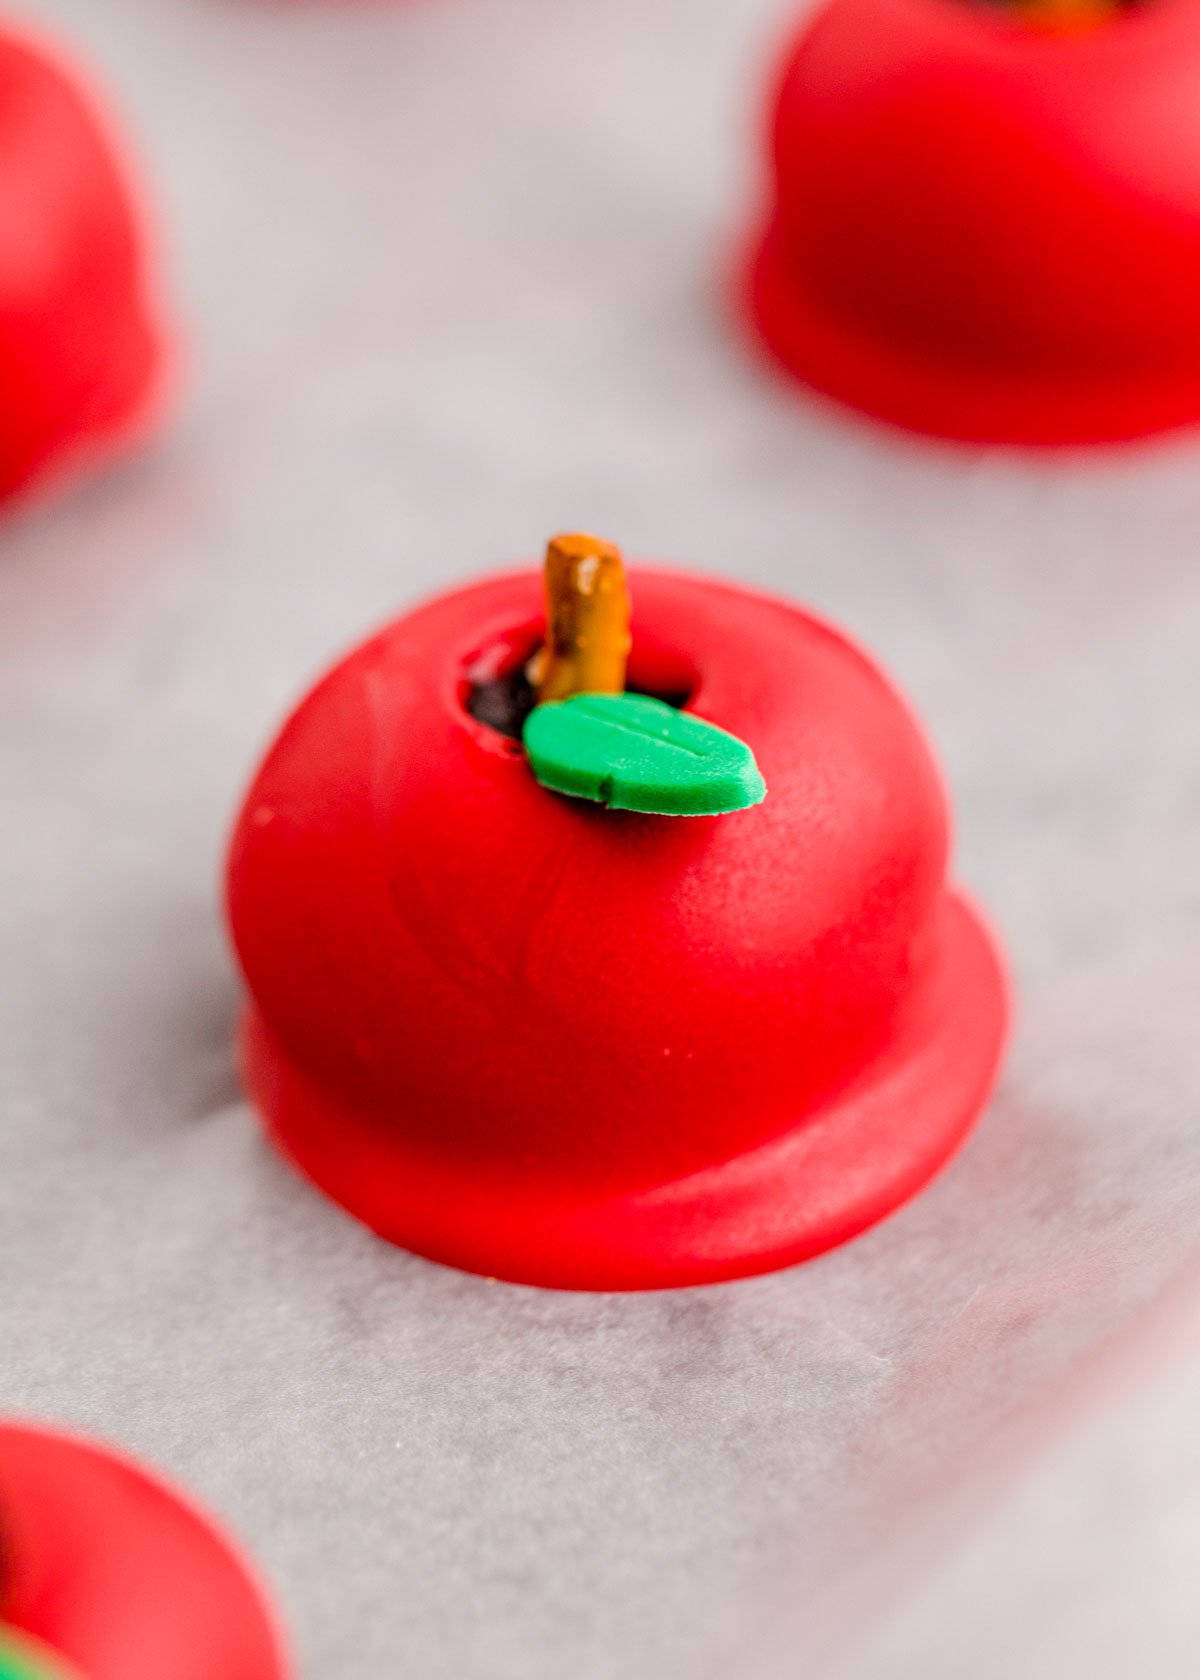
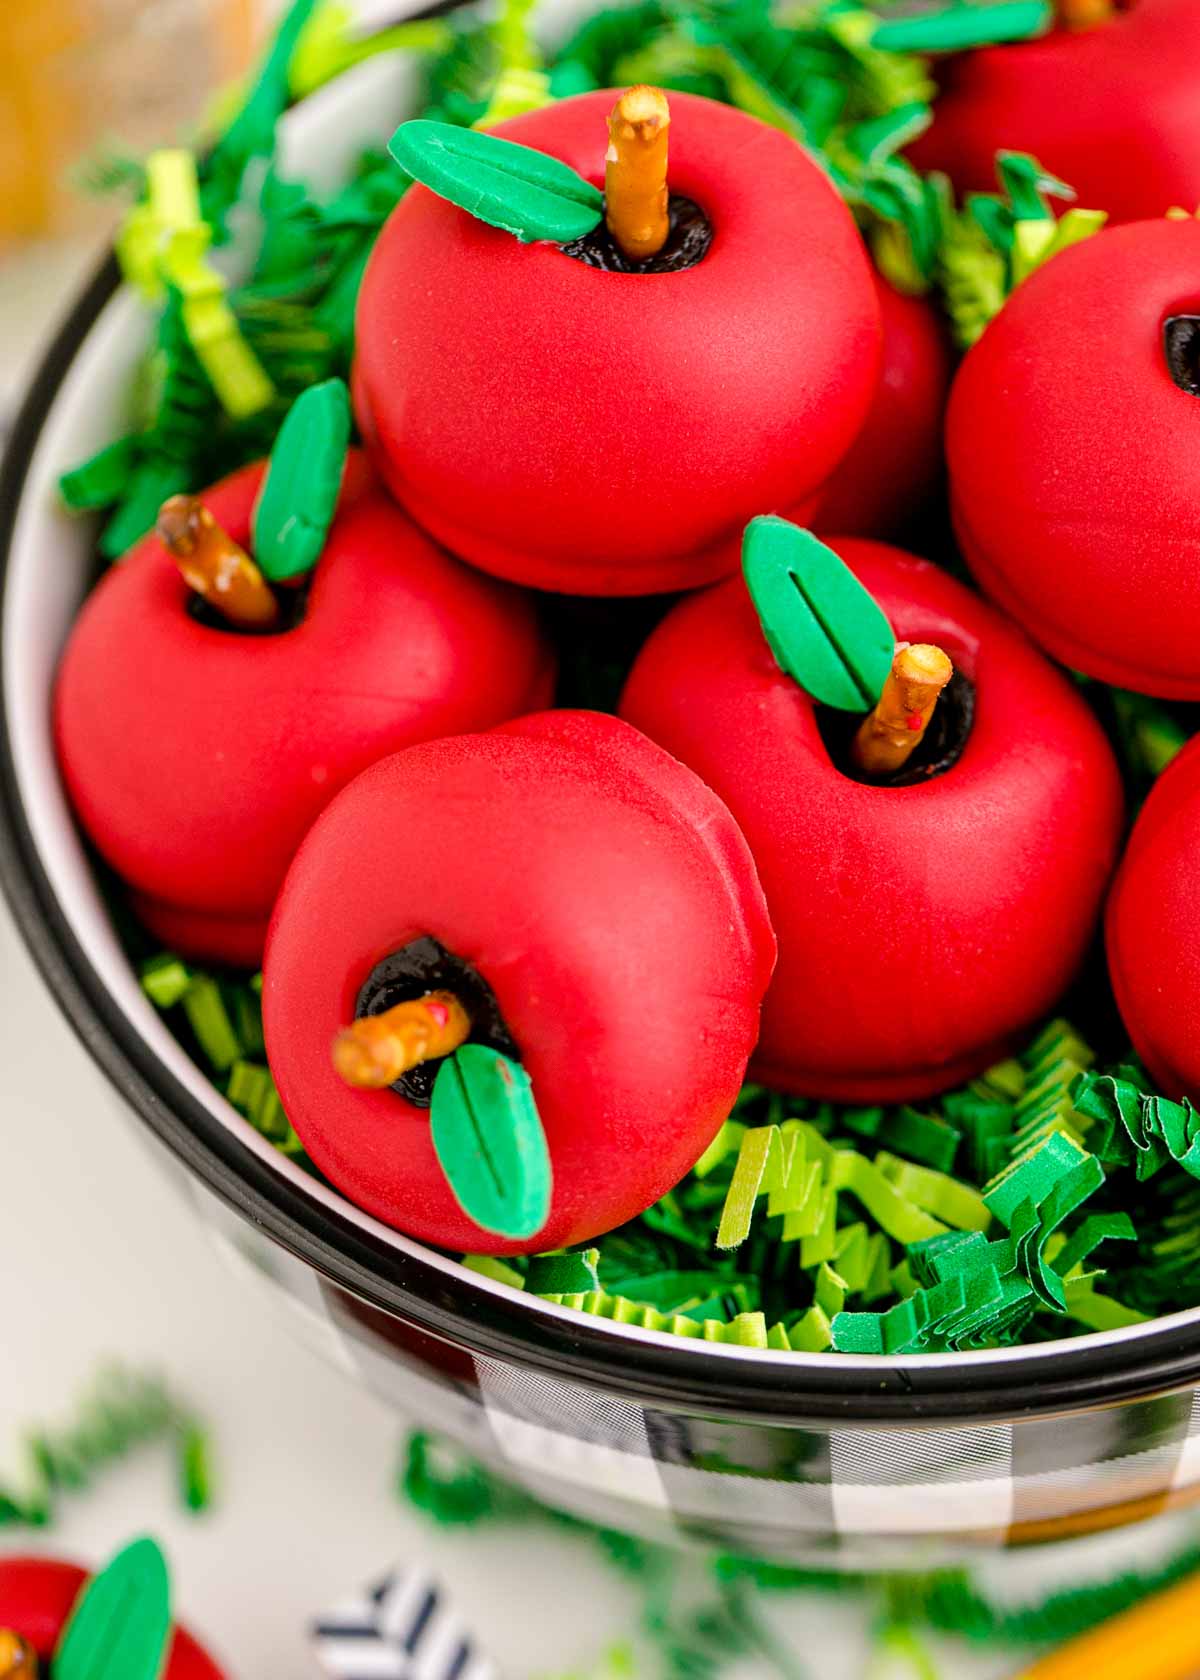
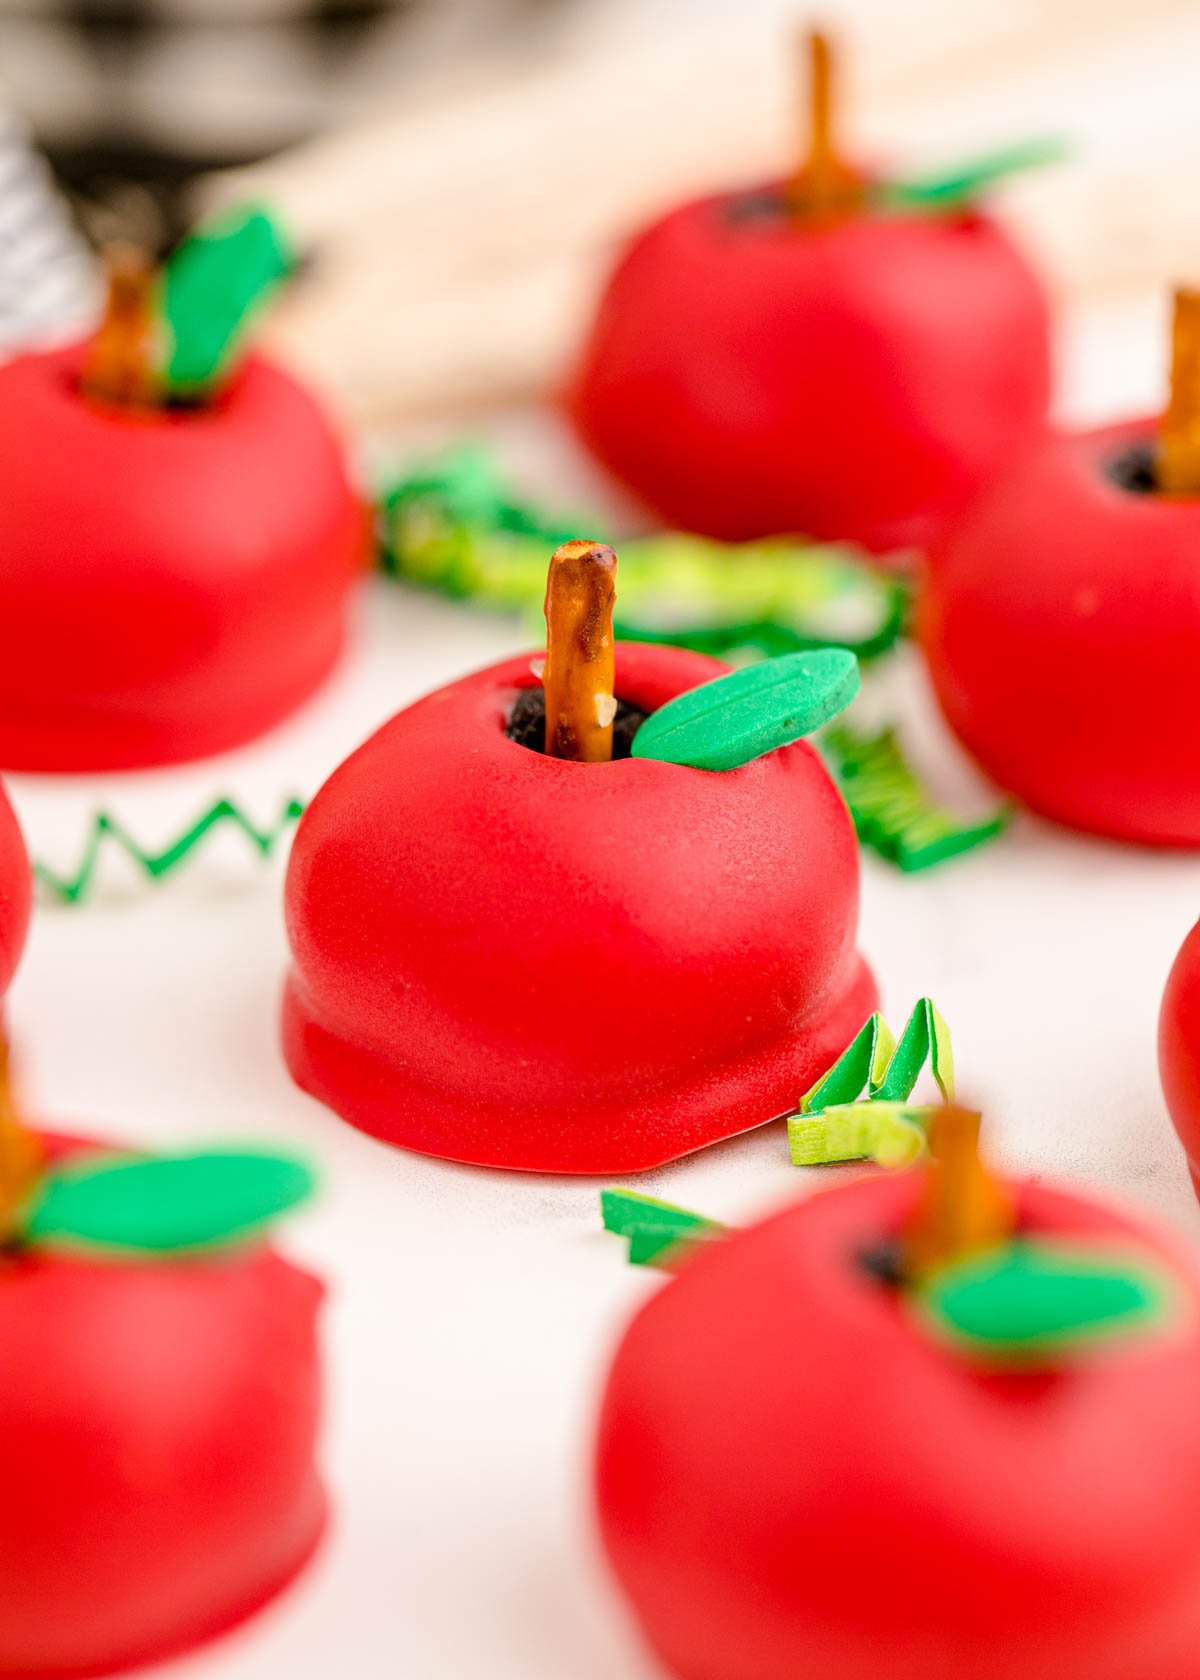
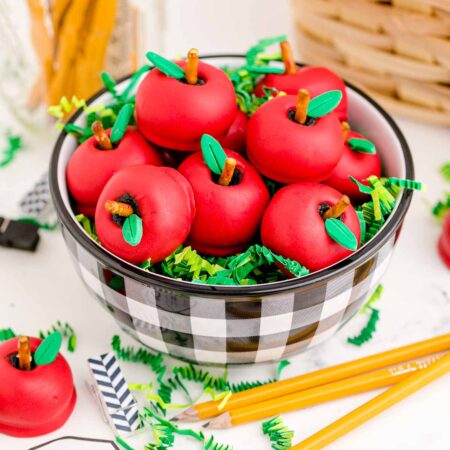
With the beginning of school just around the corner and fall just past that, I’ve already got apples on the brain! I’m a bit obsessed with making no bake Oreo balls because you can really turn them into anything AND they’re delicious. These apple Oreo balls are the perfect addition to any fall themed party, a back to school celebration, or even an after-school treat for the kids after their first day of school! Make up a batch now and enjoy them for weeks (or eat them all). They’re fun to make and even more fun to eat!
Why You’ll Love This Recipe
Adorable – does it get any cuter than little apple treats? These are just the cutest and taste good too! Easy – there’s nothing to this recipe as long as you have a way to crush Oreos and microwave candy melts! Fun gift idea – these are a super cute gift idea for teachers, families, and friends in the fall!
Ingredients
Ingredient Notes
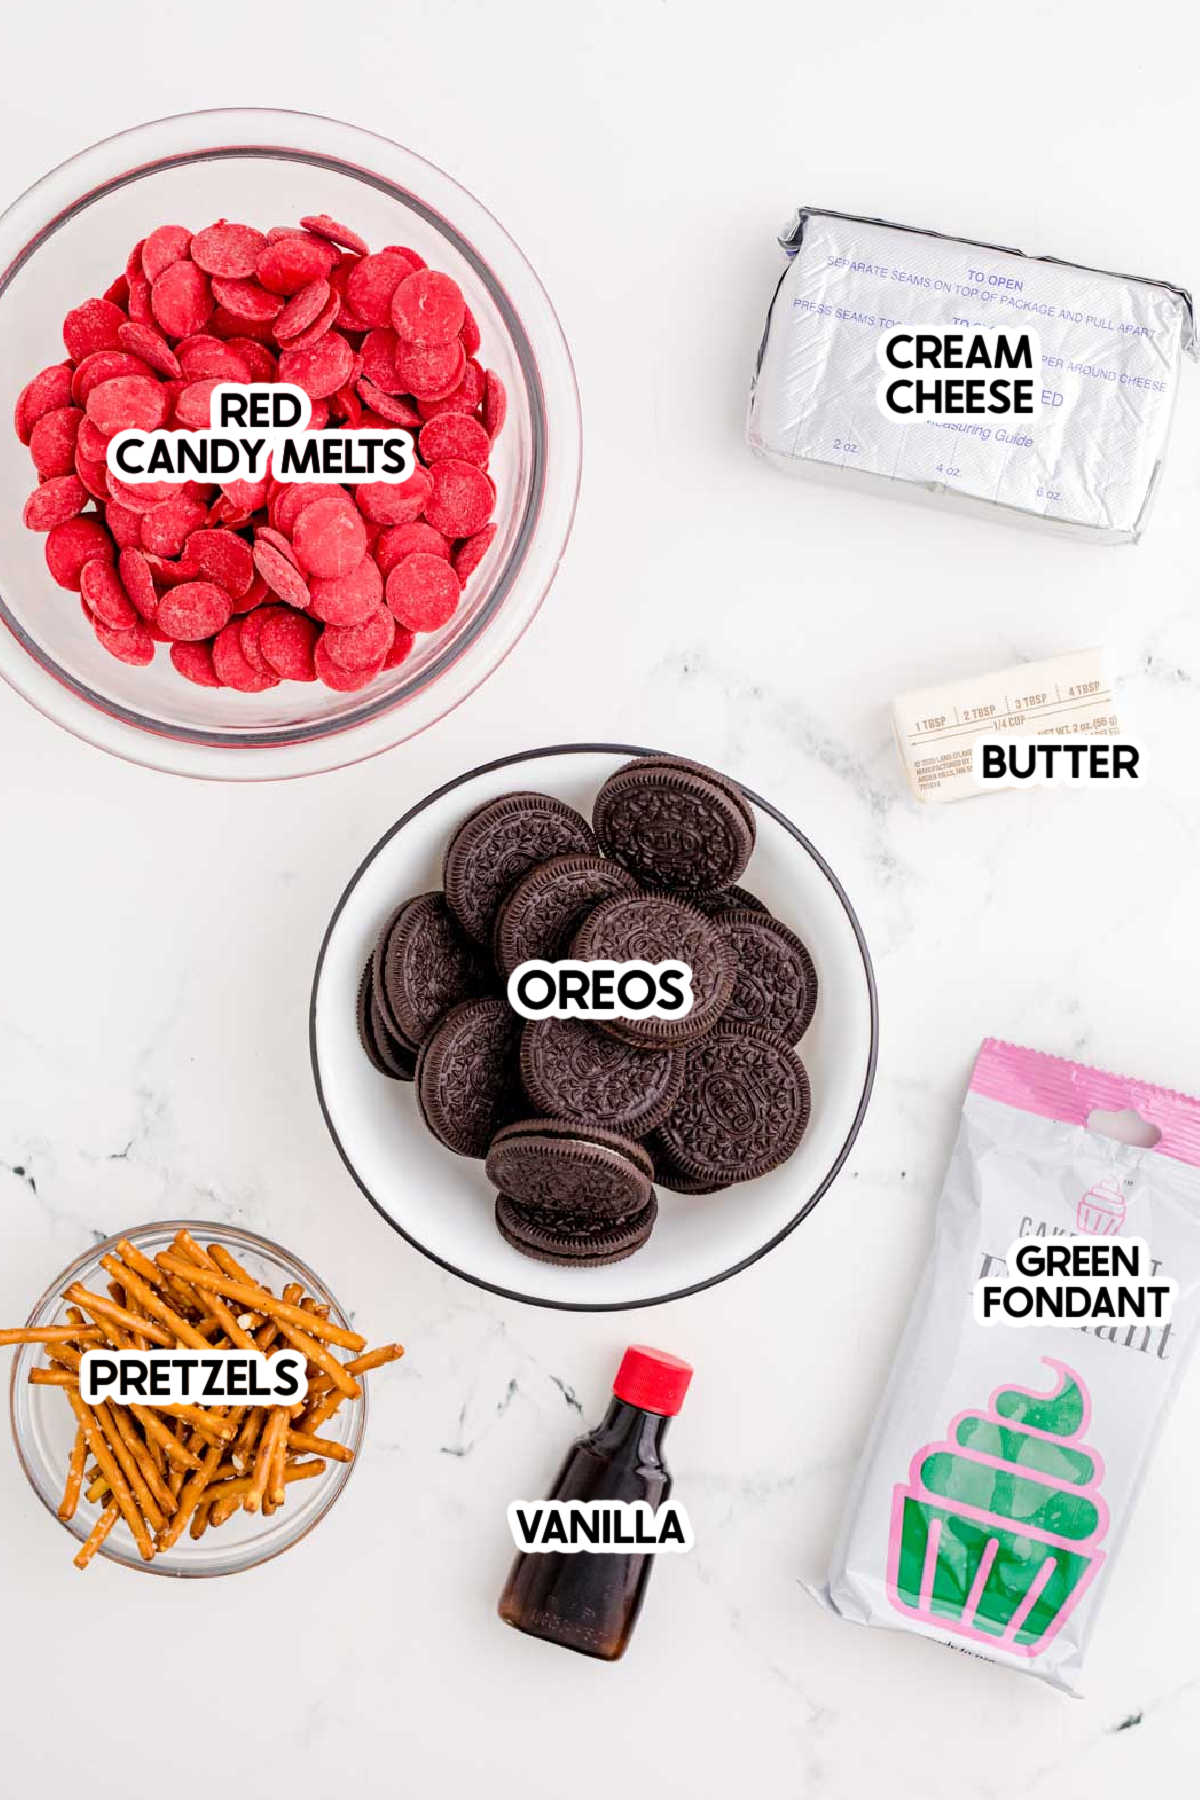
Oreo cookies – you’ll need 48 Oreos, which is one family size package. Skip the double stuf (use those to make these Oreo stuffed chocolate chip cookies instead). Cream cheese – I recommend using the full-fat stuff. You’ll also need to make sure it’s softened to room temperature. I typically pull it out about an hour before I’m ready to make these. Butter – you can use either salted or unsalted, it doesn’t really matter in this recipe. Just make sure the butter is also softened to room temperature, so it’ll cream with the cream cheese easily. Red candy melts – any type works, I went with a bright red color! You could also do a combination of red, green, and yellow candy melts if you want, but I like just the red. Green fondant – if you don’t like fondant or don’t have access to it (you can get it here), you can also just go simple and do something like a green M&M cut in half to look similar to a leaf, kind of like I did with these candy turkeys. Pretzels – pretzel sticks are the easiest but if you don’t have sticks and only have other pretzels, you could easily make the apple stems with a piece of broken pretzel too!
How to make apple oreo balls
If you’ve ever made Oreo truffles or Oreo balls, these are going to be very similar with just a little additional decorating! Also, I use the word truffles and balls interchangeably throughout this post, sorry! I call them both things on a regular basis.
Prep Your Ingredients
First, line a baking sheet with wax paper and break pretzel sticks in half, then set aside. You can also get all of your other ingredients as well to make it easier to make these quickly!
Make the Oreo Balls
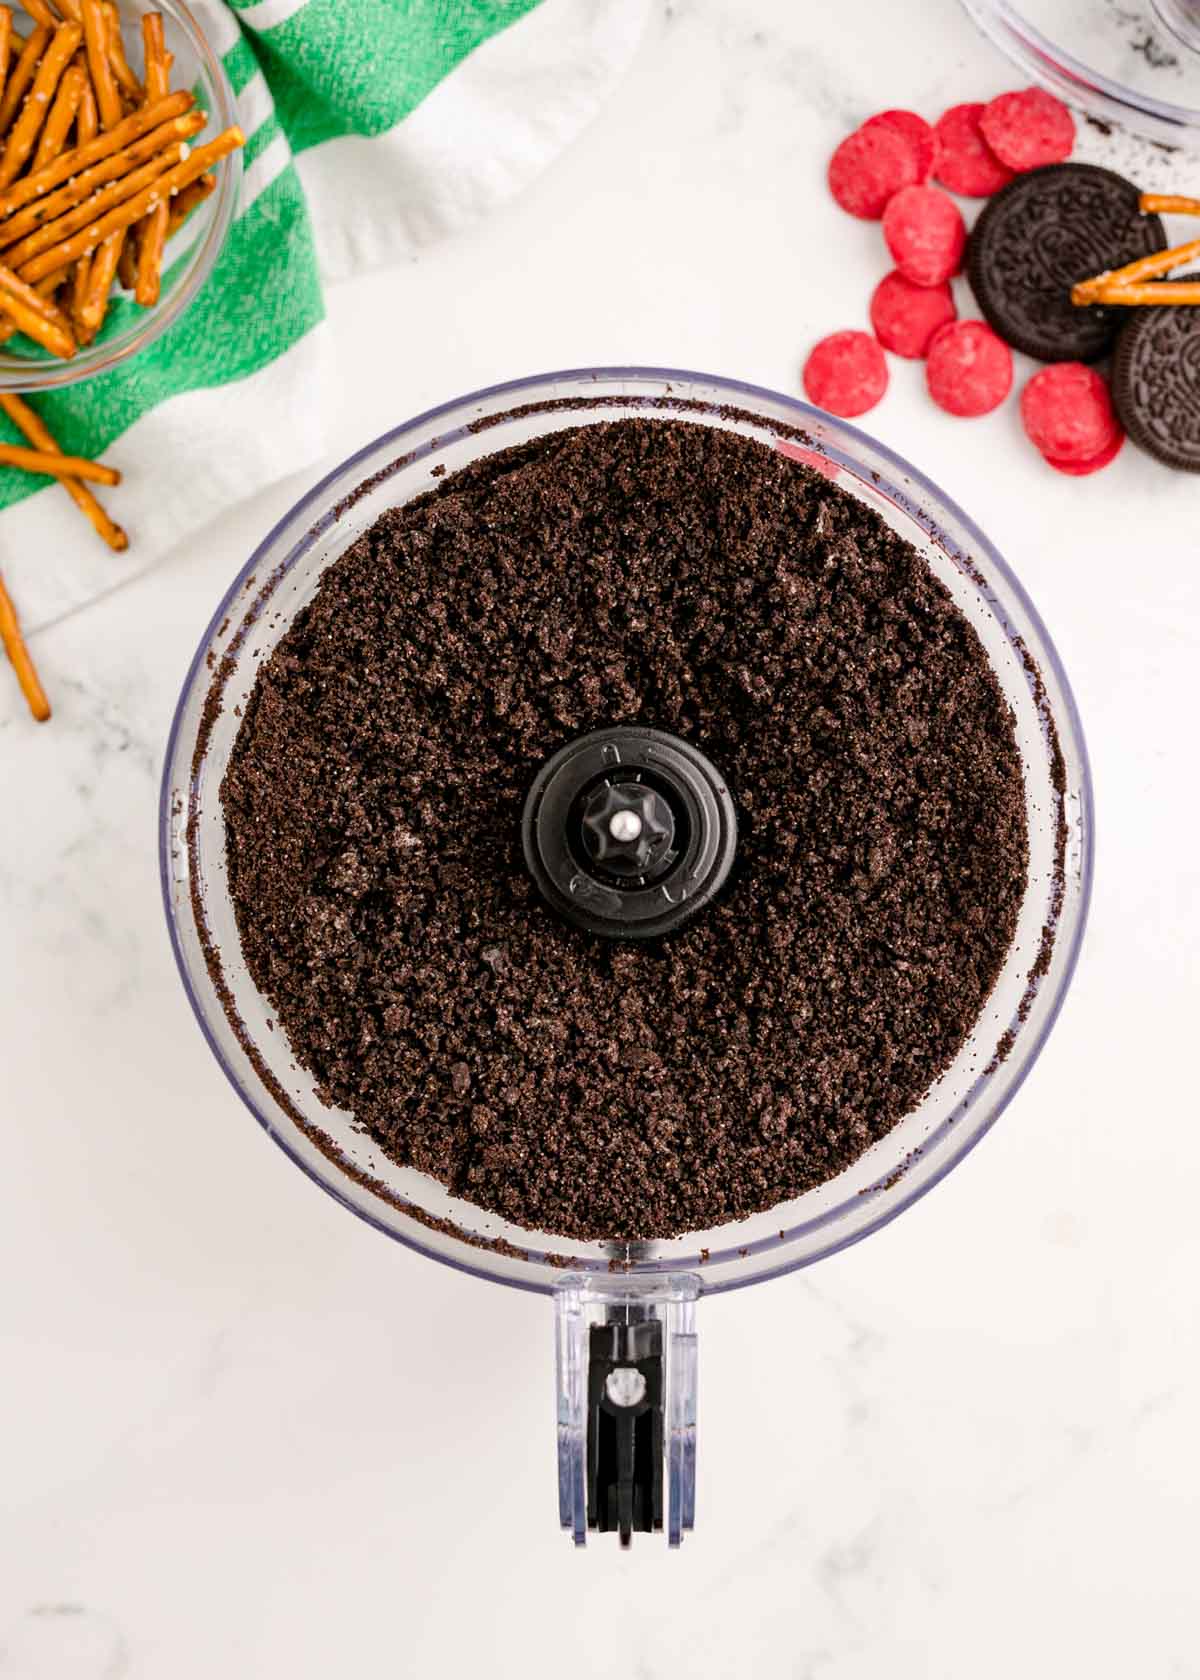
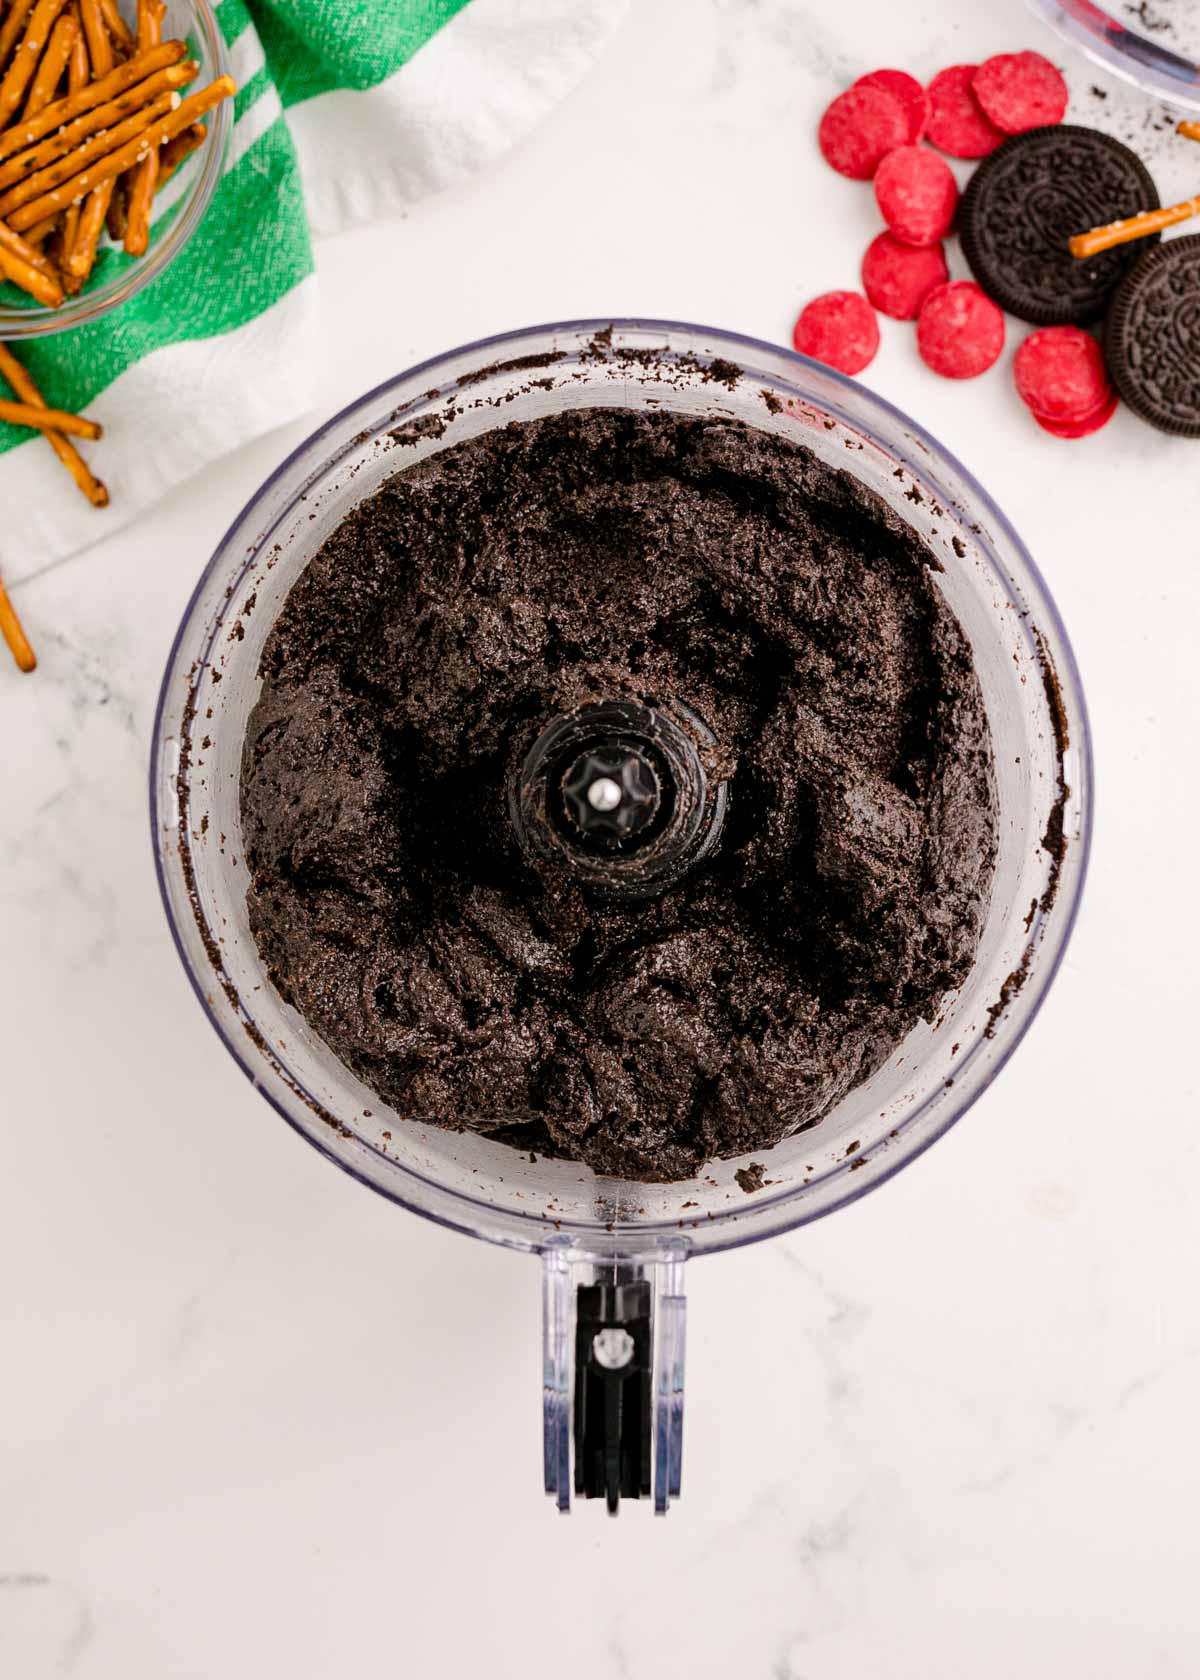
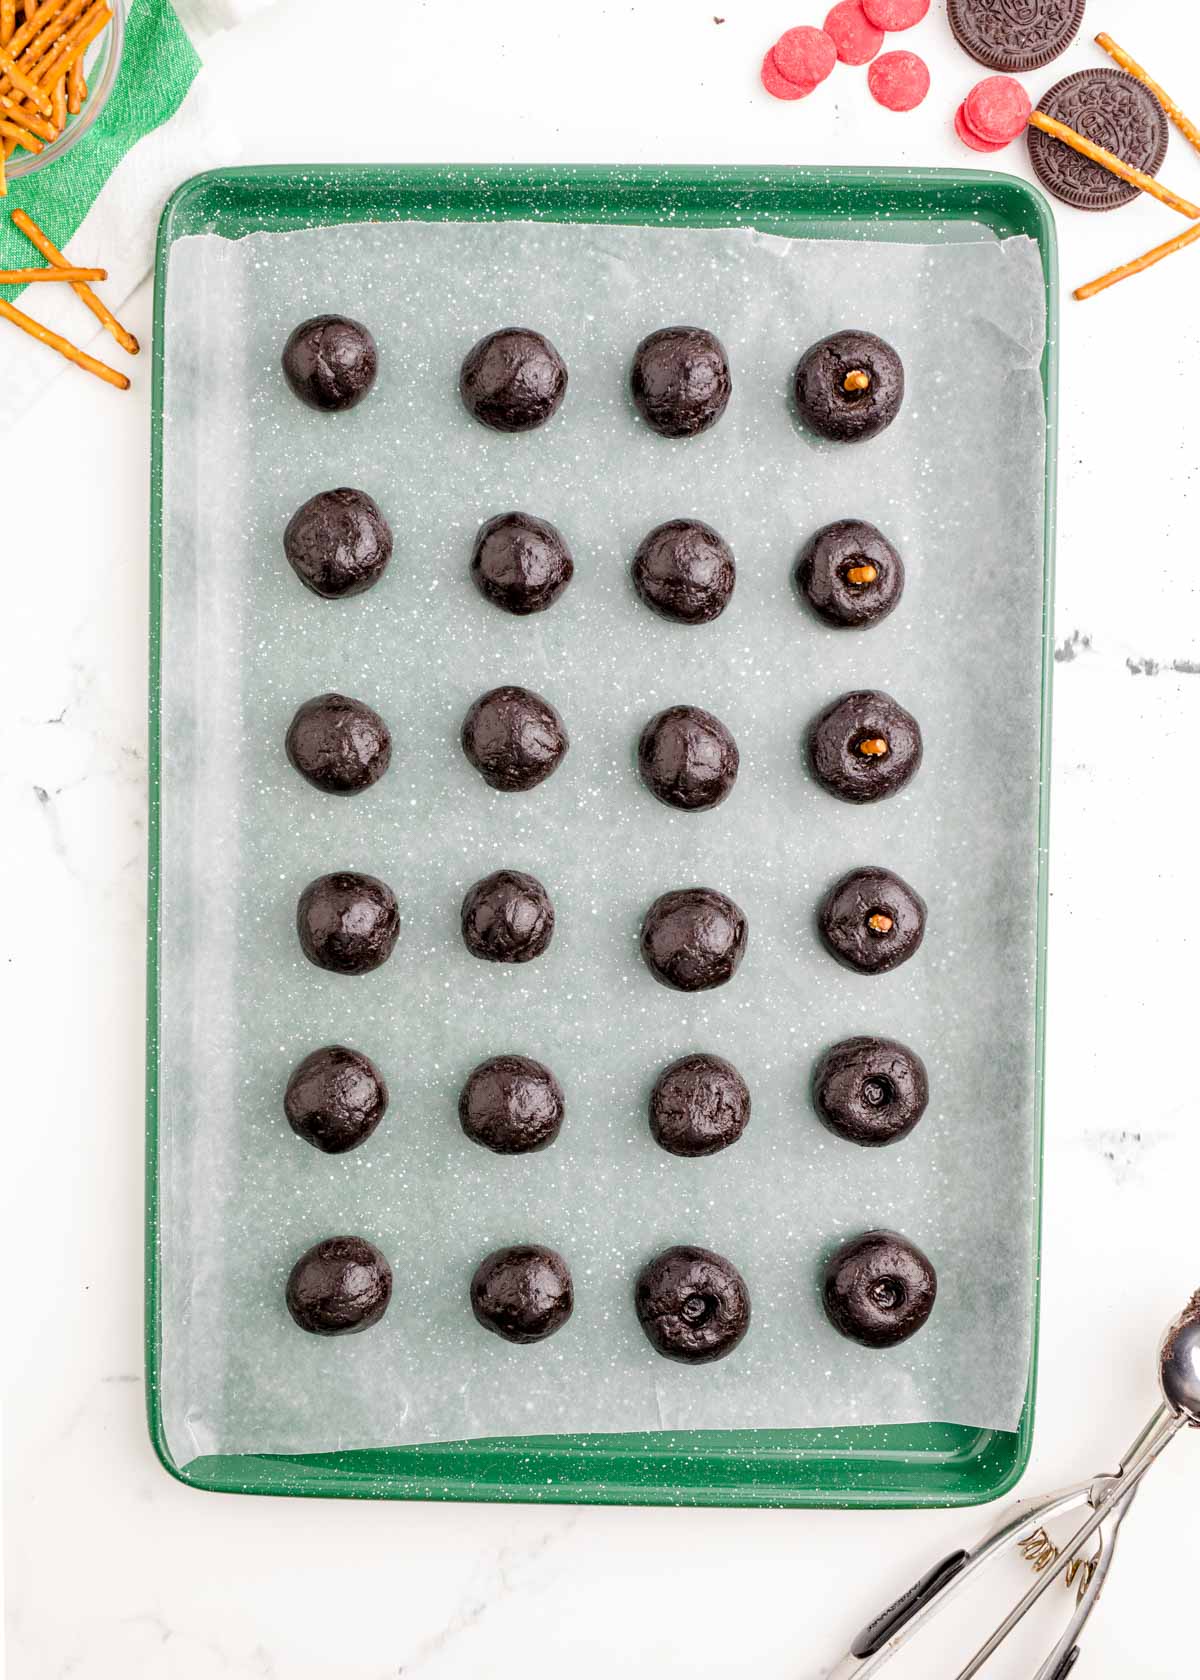
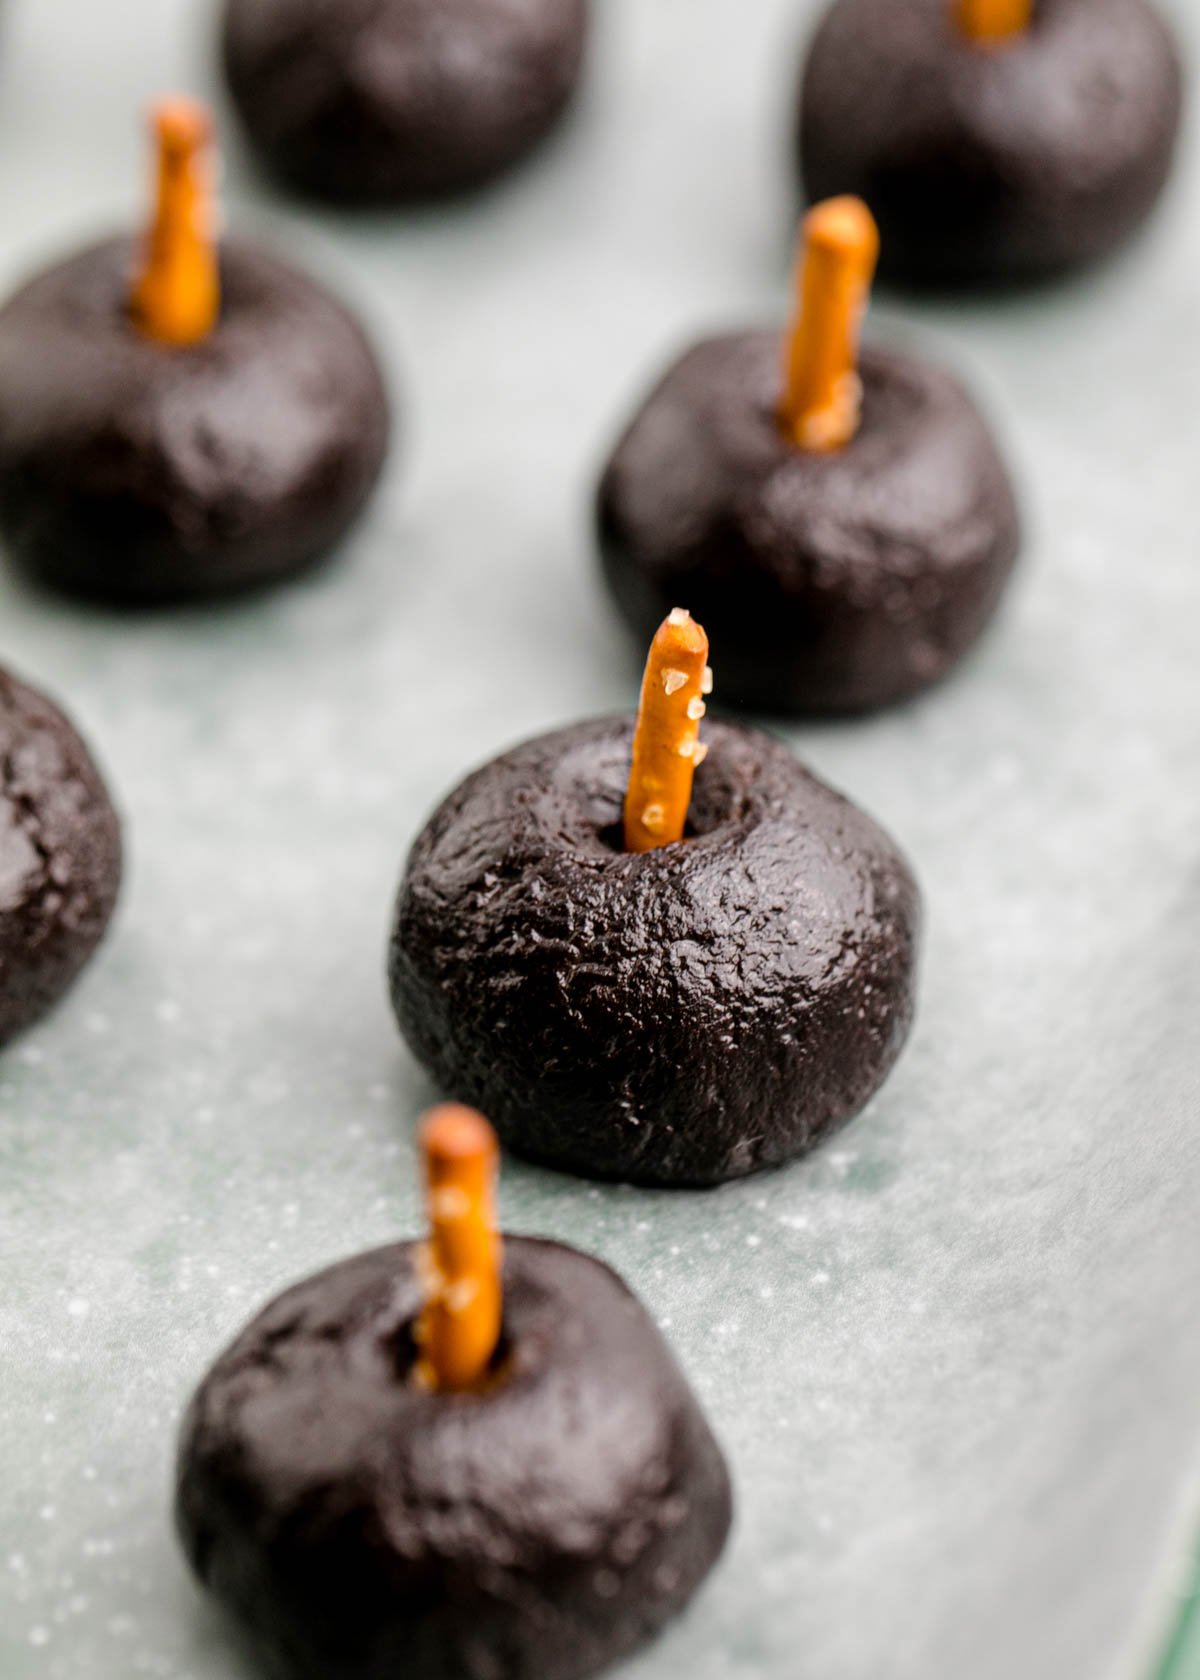
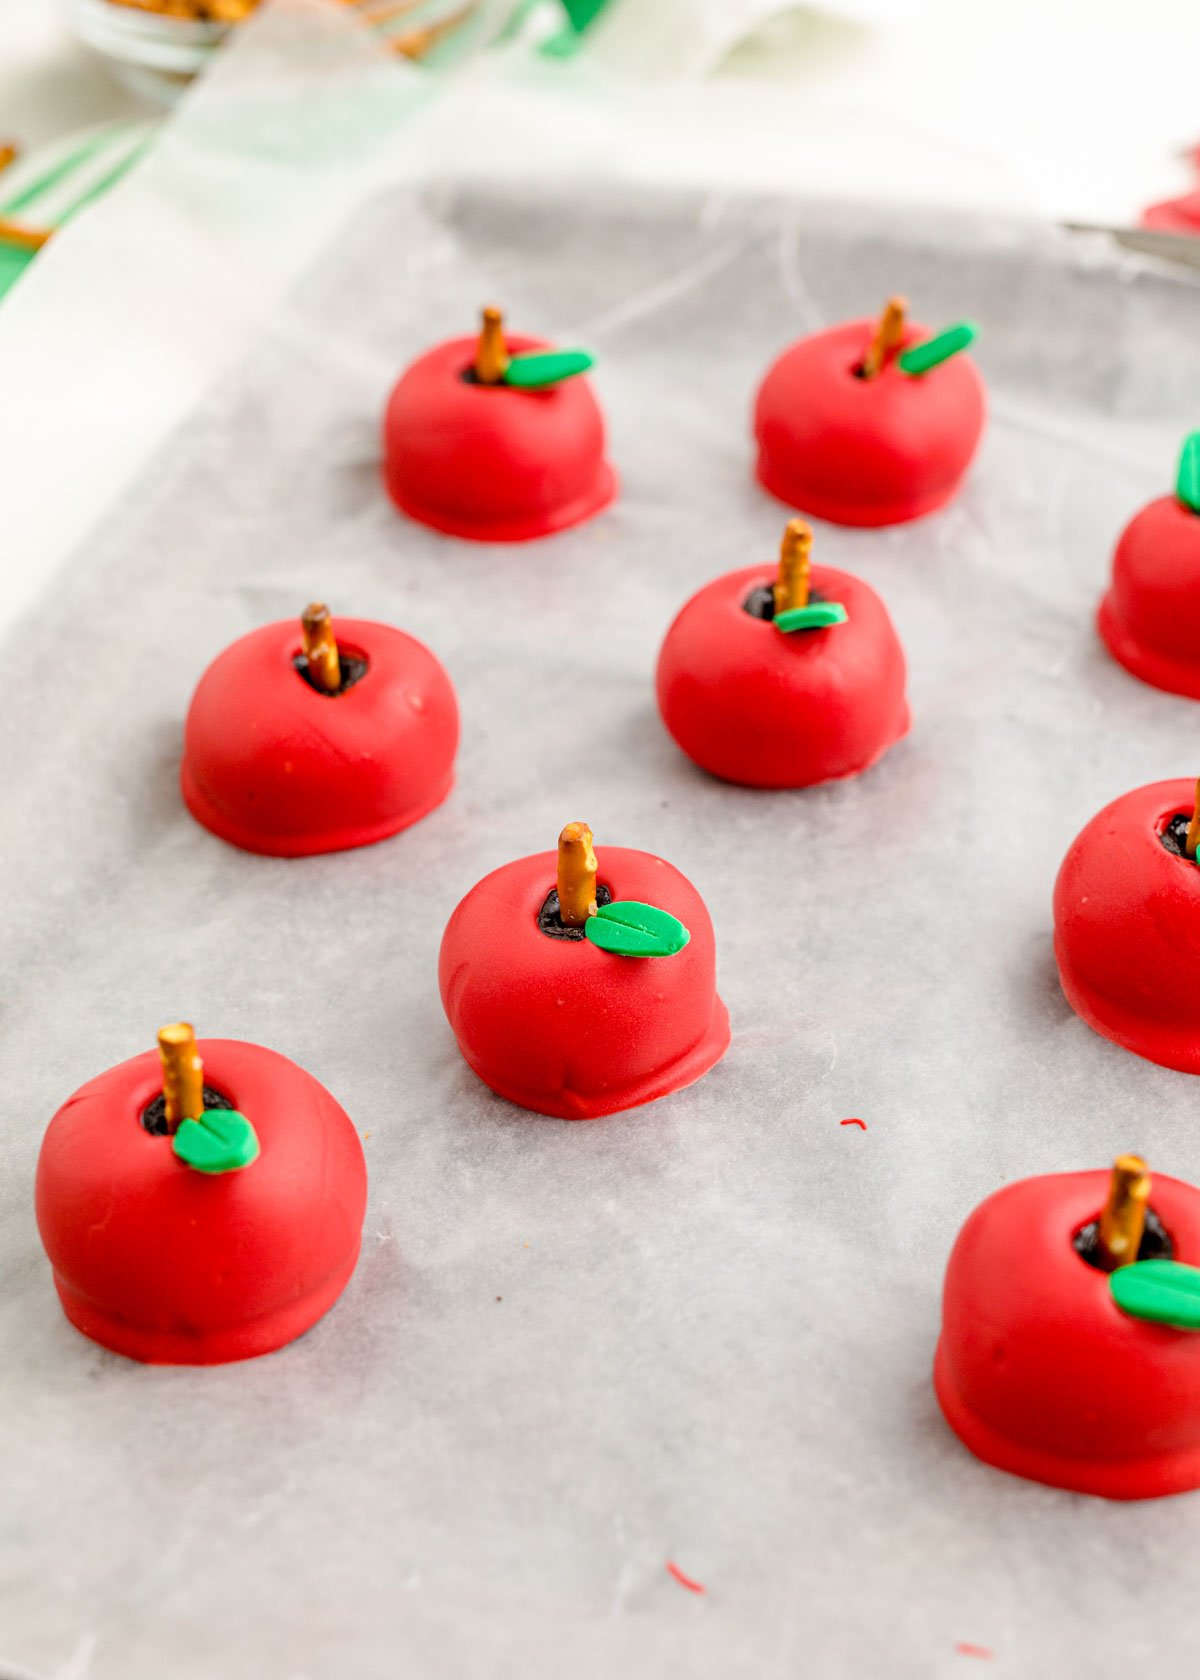
To make these fun fall treats, start by putting the Oreos in your food processor and pulse until they are a fine crumb. Now, add the cream cheese, softened butter, and vanilla to the crumbs and mix until they are well blended. Make sure you scrape the sides of the bowl several times while mixing so everything gets well combined. To make the mixture easier to roll into balls, place the mixture in the freezer for about 10 minutes. Remove the Oreo ball mixture from the freezer and use a 1″ cookie scoop to measure it out, then roll into balls and place on prepared baking sheet. Once all the truffles are rolled into balls, make a small indention in the top of each ball where the stem will go, then place half a pretzel stick into the indentation, with the broken side down, to create the stem. Make sure you leave enough pretzel showing that you will be able to dip the truffles in chocolate later. Put the truffles in the freezer for 20 minutes. This allows them to harden so when you dip them in the candy melts, they don’t just fall apart.
Cut the Fondant Leaves
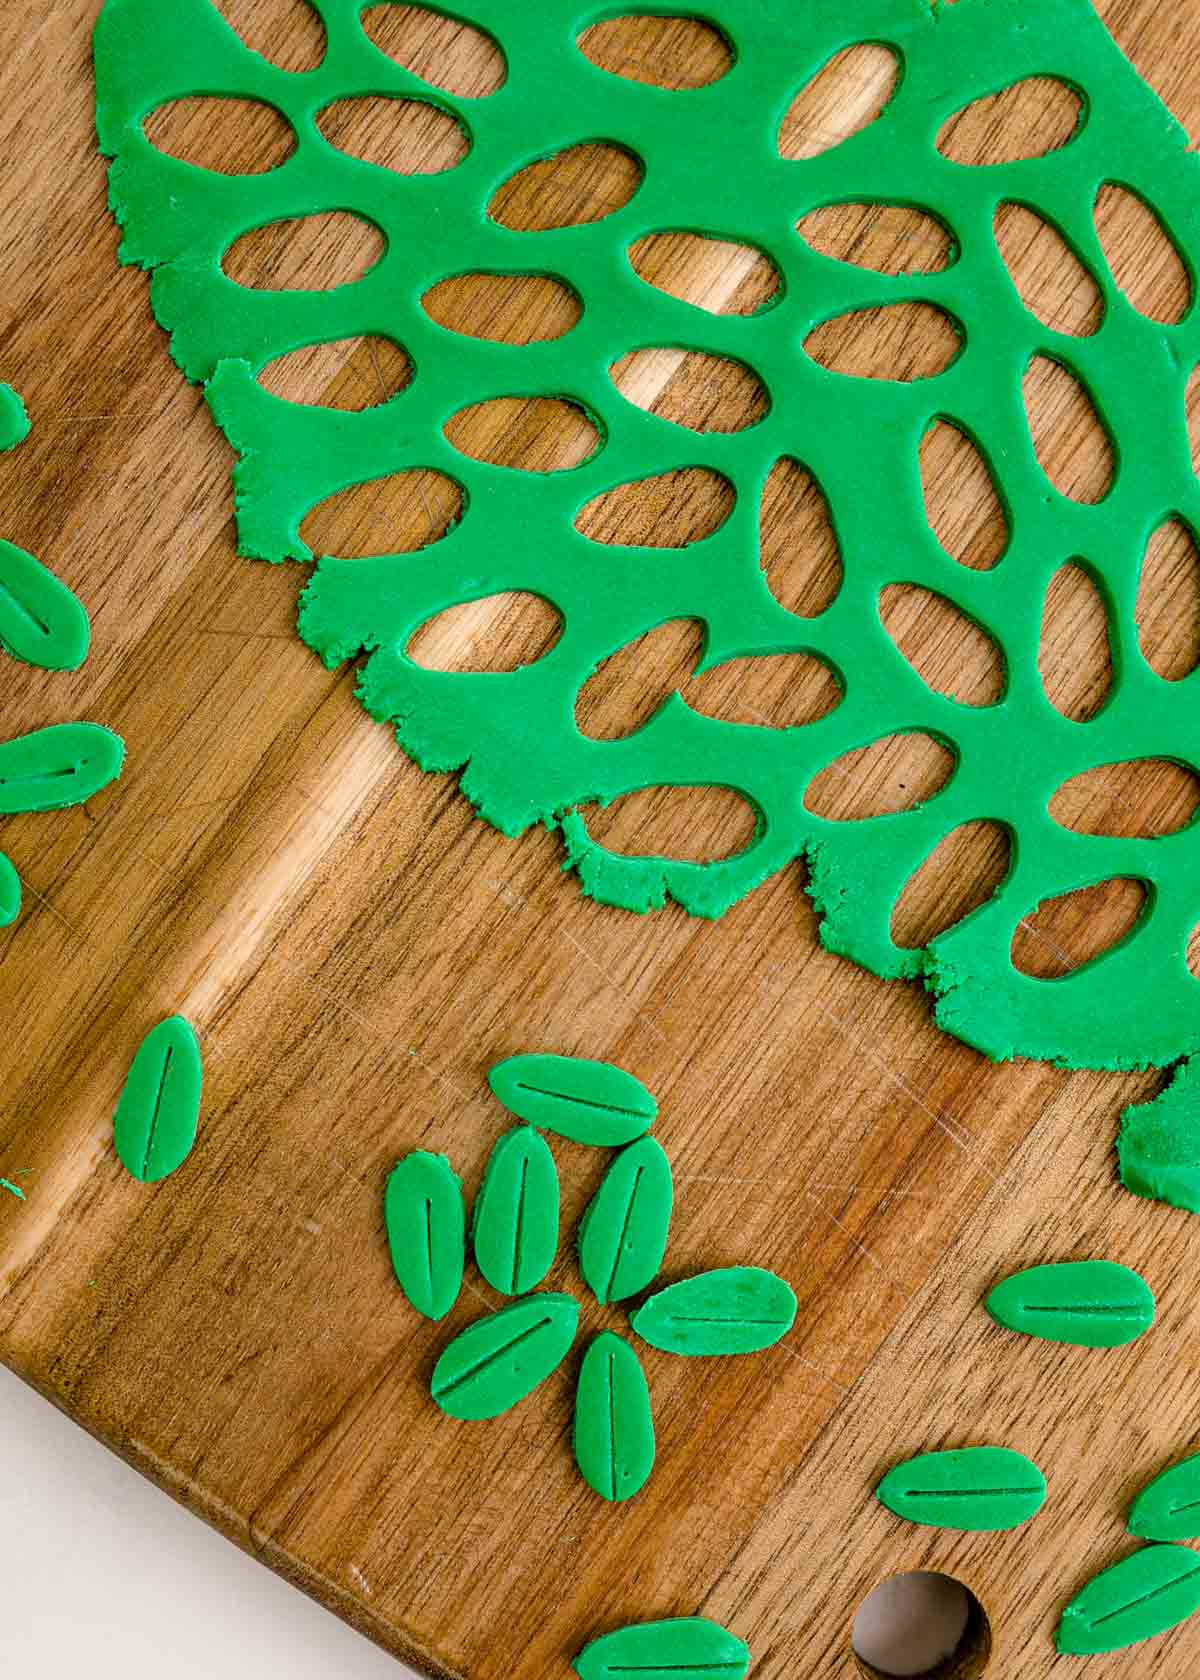
While the truffles are chilling, use a small leaf shaped cookie cutter or a knife to cut the green fondant into tiny leaves for the apples. Set aside until you’re ready to assemble.
Dip the Oreo Balls
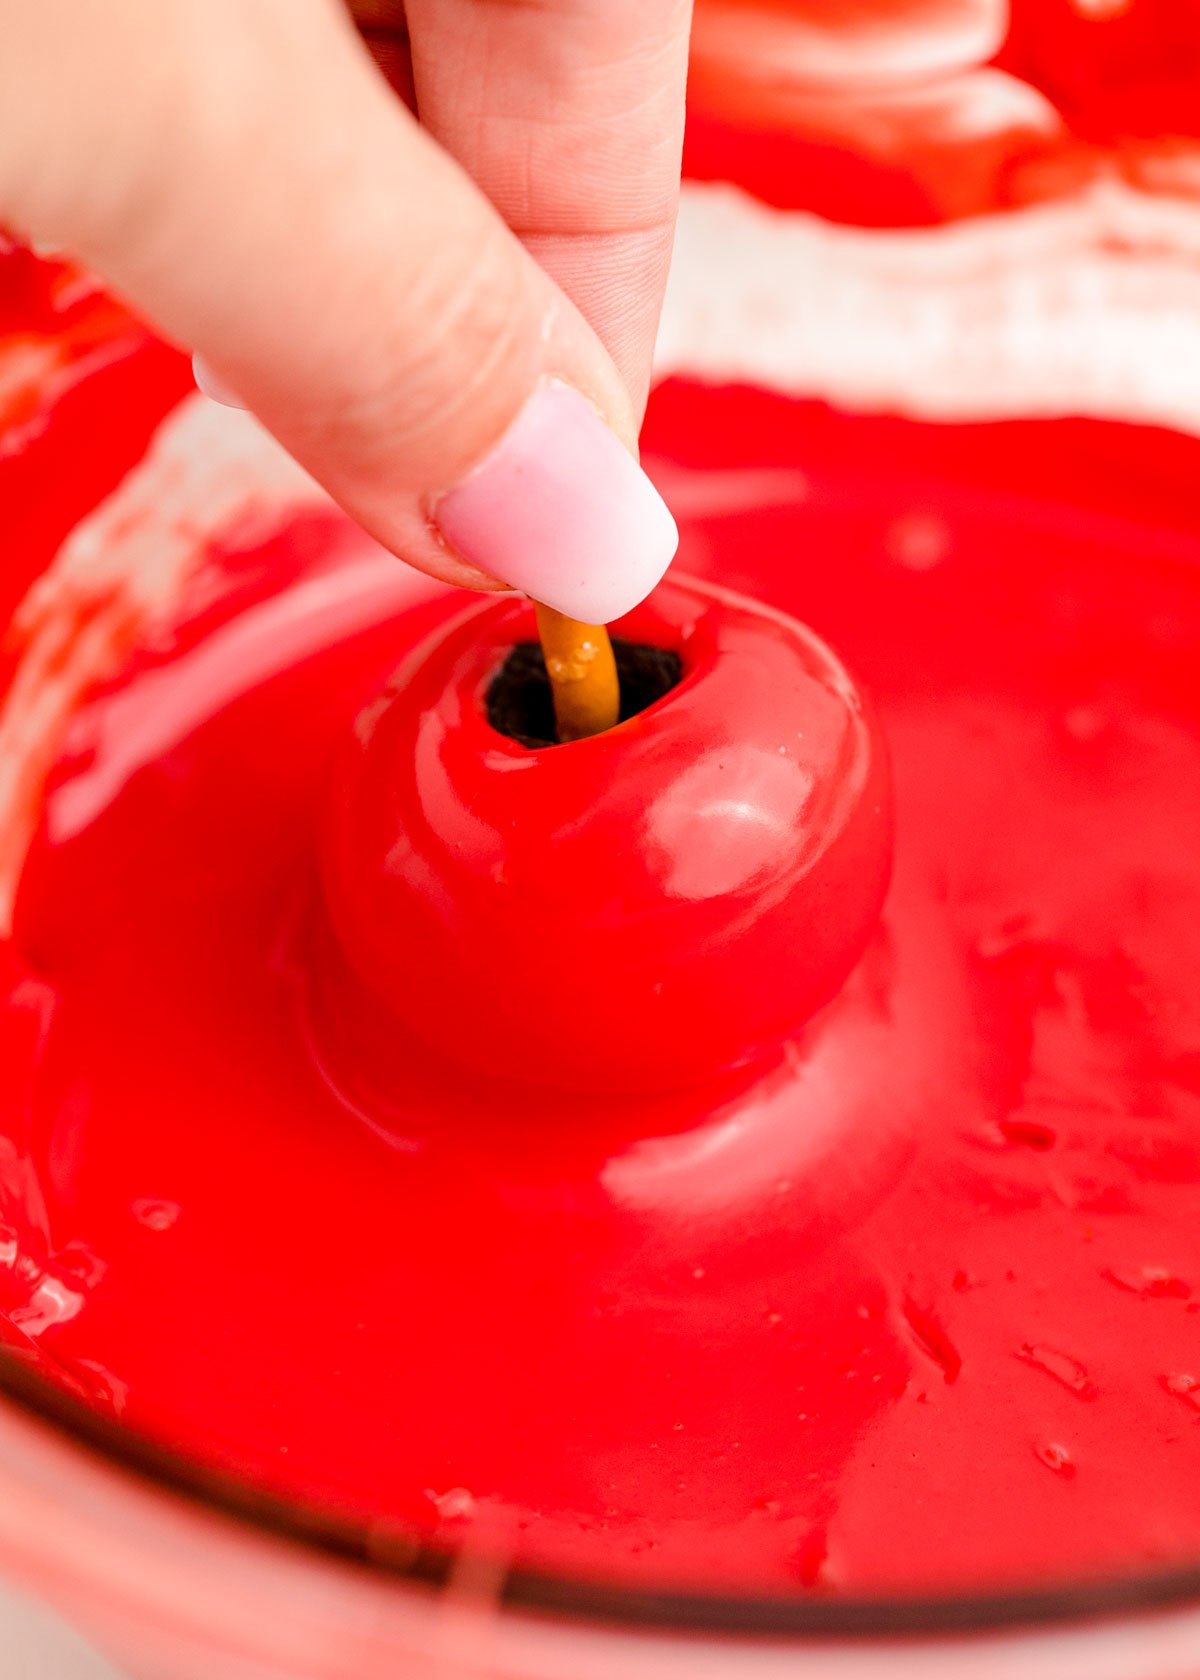
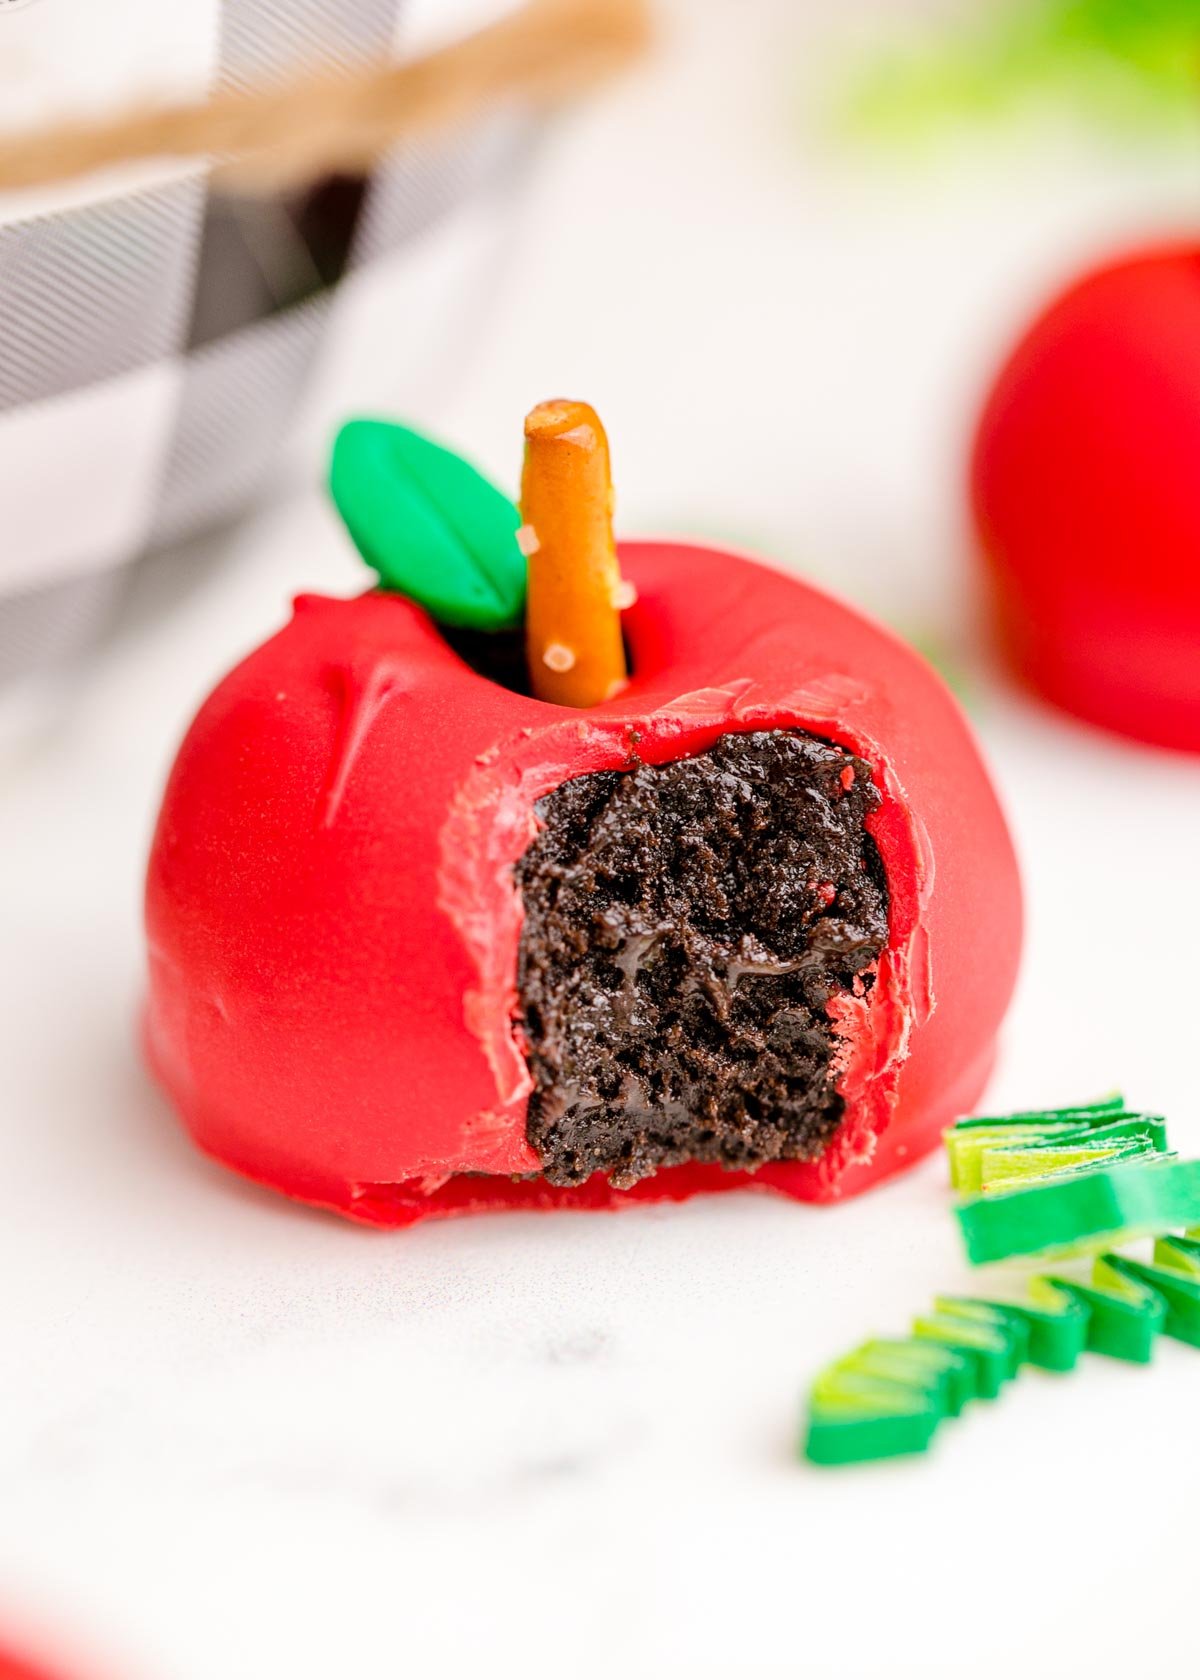
Once the Oreo balls are just about at 20 minutes, melt the red candy melts according to the package directions, then when balls are finished chilling, dip each ball in the melted chocolate and place on prepared baking sheet (with the parchment paper). Immediately add a fondant leaf to the apple before the candy melts harden. If you wait too long, the leaves won’t stick. After all the balls are dipped and leaves have been added, place in the refrigerator for at least 20 minutes to allow the chocolate to harden completely. Once they’ve had a chance to cool and the outsides harden, you can place them in fun containers to gift to people or enjoy right away! That soft center combined with the hard outside is not only cute but delicious too! These would make really fun (and sweet) back to school teacher gifts, especially if you add them with these sweet teacher tags, these apple gift tags, or even these teacher appreciation gift tags! Or gift them as party favors at an apple party! Or serve them up at a fall party, these would make really cute fall party ideas!
Expert Tips
Work in batches, especially if you’re making more than just one batch of this recipe. Leave the Oreo balls in the fridge until you’re ready to work with them and only take out a few at a time. Make sure to add the fondant leaves as soon as you put down the truffles so that they stick to the apples. Otherwise, they’ll just keep falling off and everyone will be frustrated about it! Store the apple Oreo balls in the refrigerator until you’re ready to serve or give away. They’ll keep in the fridge for up to three weeks (if they last that long). If you’re giving away, you can place them in airtight containers or bags and store those in the fridge.
More Easy Fall Treats
If you’re looking for delicious fall recipes, these are some reader favorites!
Caramel apple board – a fun way to serve up caramel apples, with tons of caramel apple toppings to try too! Caramel apple dip – this delicious dip is perfect for serving with apples in the fall! Caramel apple drink – a fun 3-ingredient drink that’s great for all ages! Pumpkin crunch cake – the ultimate fall dessert with layers of pumpkin, cake, and crunch! Pumpkin cookies – these fun 4-ingredient pumpkin cookies are easy and delicious!
